Advanced Guitar Mixing Tips
Introduction
It’s time to dive into some advanced tips for mixing both electric and acoustic guitars. Mixing guitars can be tricky, and it’s common to get stuck along the way. In this article, we’ll share some helpful advice to help you overcome the most common challenges.
Mixing guitar tracks isn’t always easy. Even if you have great guitar recordings, you might wonder how to make them sound rich and stand out in the mix.
Let’s get started and explore some practical tricks and techniques you can use the next time you’re mixing guitars in your song.
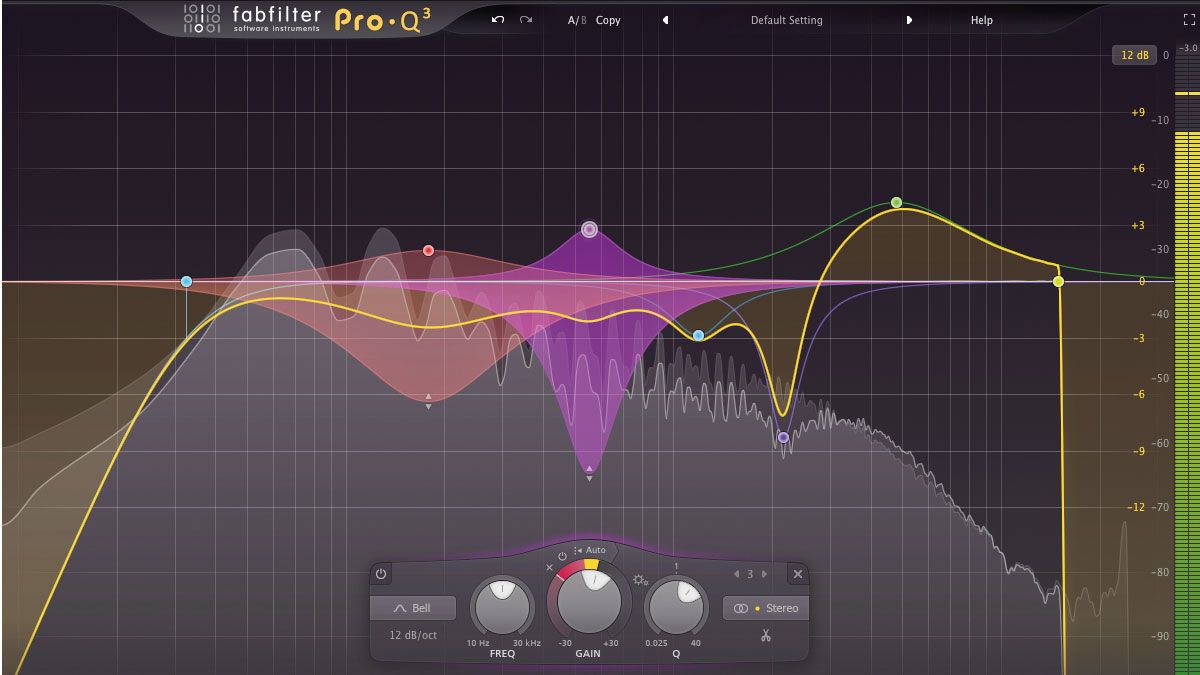
1. Cleaning the Guitars for Further Processing
While this may not be the most advanced tip, it can help you achieve more advanced techniques by giving you a clean sound and guitar tracks that are ready for further processing. When we talk about cleaning up tracks, we mean cutting out unwanted frequencies from the digital signal—frequencies that shouldn’t be there in the first place.
To start, a simple low pass filter and high pass filter will take care of the basic cleaning by removing unnecessary low and high frequencies. After that, listen to the body of the guitar and reduce any frequency areas that don’t sound right or don’t fit well with the rest of the song.
We recommend using a dynamic EQ for these cuts. A dynamic EQ will only reduce certain frequencies when their levels go above the threshold you set, so you won’t affect the sound when those frequencies play at normal, desirable levels.
For guitar frequencies, it often works well to slightly boost the upper mids, create a gentle dip in the low mids, and carefully cut the low end. This way, you can add body to the guitar without muddying up the lower end of the entire guitar bus.
2. You Shouldn’t Mix in Solo
One of the most common mistakes musicians make when mixing is soloing their instruments, like guitars, while working on a mix. Remember, your guitars will never be heard in isolation—listeners will always hear them in the context of your full mix.
There are times when soloing the guitar is helpful, such as when doing detailed audio repairs or comping guitar takes. But once you’ve finished processing your guitar tracks, turn off the solo button and listen to how the guitars interact with the rest of your mix. A guitar can sound very different on its own compared to how it sounds with other instruments.
Whether you’re compressing, EQing, or doing any other processing on your guitar parts, always do it in the context of the whole mix. This helps you achieve the right balance and ensures that the guitar sits properly with the other elements.
Since the guitar is usually a lead instrument in guitar-based music, mixing it alongside the other elements will give you a better sense of how it fits in the track. Because the guitar is both a lead and a challenging instrument to process, working on it in context is the best approach.
3. Transient Shaper For Plucked Sound
Adding a transient designer to a guitar sound that feels too jangly can help reduce its plucky character. This process smooths out the guitar and allows it to sit better in the mix. There are many ways to play the guitar—plucking, picking, slapping, and more.
Each style of attack has its own intensity, and every player has a unique touch. Naturally, there will be times when the sound of picking, plucking, or slapping the strings gets too loud or harsh. To reduce unwanted pick or plucking noise, you have several useful tools at your disposal.
A transient shaper can help tame the pluckiness of the guitar, making it sound more natural. This not only helps with later compression but also improves the overall sound of the guitar in the mix. Don’t overlook this step—give it a try whenever you’re dealing with this issue in your guitar tracks.

4. Saturate Acoustic and Electric Guitars
Adding a warm saturation effect to your signal can create pleasing harmonics. Acoustic guitars, in particular, benefit from tape saturation, which adds density and vibrancy, often resulting in a warmer, more “vintage” sound. Saturation can also enhance kick drums, 808s, vocals, and guitars, and it’s a great way to minimize high-end harshness—a common issue with electric guitars.
You can achieve saturation effects using compression and certain EQs as well. The Waves J37 is a popular choice for this effect, but there are many other plugins available that can simulate tape saturation effectively.
While there’s nothing wrong with using a broadband saturator, a multiband saturator gives you more control by letting you target specific harsh frequencies. If you’re willing to add some color to your guitar recordings, saturation can solve many top-end issues without the need for extensive frequency hunting or extreme subtractive EQ.
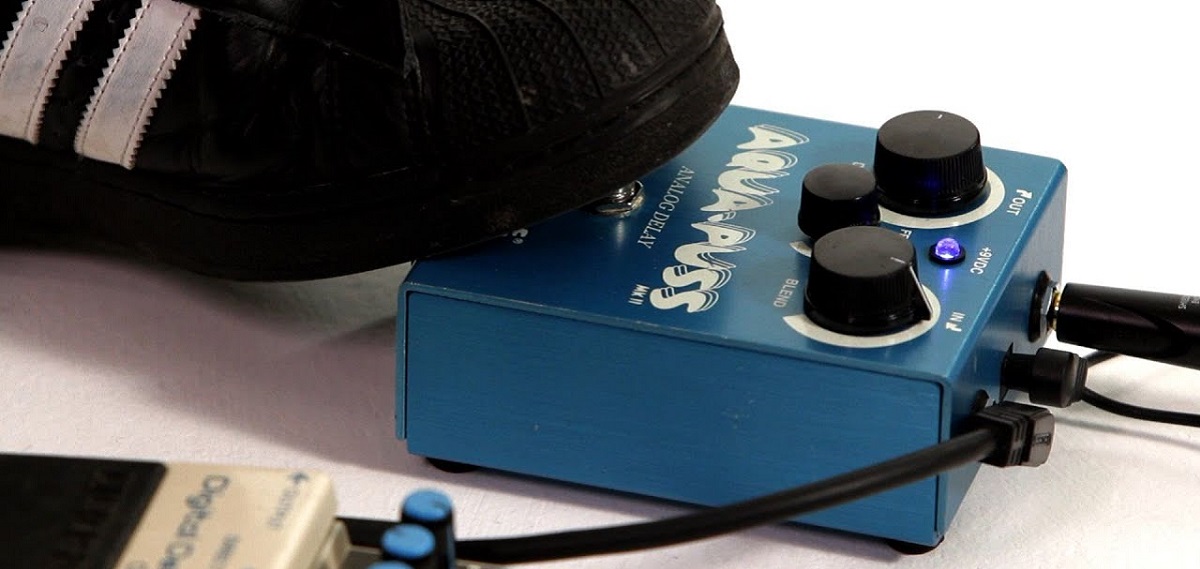
5. Using a Slap Back Delay
There are tons of hit records that use slapback delay effects. Setting it up is simple. When you think of delay, you might imagine a long canyon where your voice echoes over and over.
Slapback delays work differently—they give you just a single echo. The original sound is repeated only once. Imagine clapping your hands in a narrow alley between two buildings and hearing your clap bounce back quickly.
Since the repeat is so fast, it adds a sense of space to the sound. We love using slapback delay on guitars and vocals, especially in a mix, because guitarists and vocalists enjoy this effect when they play live. It adds energy and depth without needing reverb, so you don’t have to worry about your sound being washed out.
Our approach is to use more effects after the slapback delay, but we usually start with it to build the foundation of the sound. Vocals and guitars are the most common choices for this effect, but really, you can use it on anything you like.
6. Reamping the Guitar Part
Reamping is a process where you first record a dry or clean track, and then re-record that track by sending it through amplifiers and effects. There are many advantages to reamping: from the musician’s perspective, you usually capture the freshest and best performances.
In the past, guitarists had to play for hours while engineers moved microphones around, trying to get the perfect sound. By the time the engineer was ready, the guitarist was often tired and more likely to make mistakes.
With reamping, you record the performance first and worry about the sound later. This way, you can capture the musician at their best. Once you’re happy with the take, you can move microphones, switch amps, or add effects at your own pace.
Reamping also lets you fine-tune the sound of the track as the mix evolves. For example, if a rhythm guitar track sounds too thick and takes up too much space in the bass range, you can change it during reamping. Just remember, once you start reamping, there’s no going back.
7. Layering Several Guitars for Variation
When working with clean rhythm guitars or acoustic guitars, adding subtle variations to your strumming patterns is a great way to create interest. After locking in your main part, try strumming a slightly different pattern on the double track. You don’t need to change the whole thing—just mix it up a bit. This gives your parts and your mix some left and right movement. Picking patterns with single notes can work really well for this technique, too.
If you add rhythmic variations to double-tracked, single-note picking patterns, they can start to sound a bit like delay taps. To create a defined, driving groove, try playing several bars, then pick the one or two that feel best and copy/paste them throughout the part.
In electronica, it’s common to stack big keyboard patches in this way, and the same approach works for rock, pop, or country. Try layering similar parts with slightly different octaves or sounds for a fuller mix.
8. Parallel Compressor for Control
Parallel processing is another excellent use of compression. When you use parallel processing, you’re blending a heavily compressed signal with an uncompressed (dry) signal. There are a few ways to do this: you can send your audio to a compressor on a return track or aux bus, or you can use a compressor with dry/wet mix controls.
Parallel compression is especially common when mixing guitar parts that have a wide dynamic range but lack overall body. This technique is very helpful when your mix is dense and you want a clean guitar solo to stand out.
When the strings rub against the frets, you can hear every note being played. Parallel compression gives you more control over these details than traditional compression. Try compressing by at least 6dB, with a medium attack and a fast release.
This approach significantly reduces the transients, allowing you to bring out the sustain or “tail” of the guitar sound, which makes it thicker. Adjust the aux channel’s fader until you notice a clear difference between the heavily compressed and dry signals.
9. Experimenting With Reverbs
When mixing your song, it’s important to balance all the elements so they fit together in the stereo image. Reverbs—both stereo and mono—can help you fill out the space and keep your guitars balanced in the mix.
For example, adding a stereo reverb to an electric guitar solo that’s panned dead center can give it more width. This makes the guitar sound larger and helps the reverb stand out, since it isn’t hidden directly behind the dry signal.
If you double-track your electric guitar and pan the two takes hard left and right, you create a wide, stereo sound. However, even with this approach, there’s still plenty of room in the center of your mix.
You can use your stereo guitar signal and pan it to the center to create a mono reverb effect. In most digital audio workstations (DAWs), you can use the stock utility device to collapse stereo reverbs into mono, letting you fill the center of your mix as needed.

10. Using Amp Simulators
Connecting your guitar to an amp sim is simple and straightforward. First, plug your guitar into your audio interface. Then, open your DAW and create a new audio track. If your interface has multiple inputs, make sure you select the correct input channel.
To use the amp simulator plugin, just add it to the channel strip like you would with any other audio effect. Turn on input monitoring, and you’ll be able to play and instantly hear any changes you make in the plugin.
Amp simulators can deliver sounds that truly rival those of physical amps and pedals, all at a fraction of the cost. Since DIs bypass room acoustics, bedroom musicians can achieve a level of sound quality that would be hard to get otherwise.
Because all processing happens inside your computer, you can always do A/B tests or completely rethink your tones—without having to rerecord every part from scratch.
11. Using Exciters or Bigness
Some people classify exciters as distortion effects, but there’s actually more to them than that. An exciter enhances the higher frequencies of a signal (usually 4kHz and above), adding extra overtones, richness, and crispness to your mix. This creates an improvement in sound that simple EQ can’t achieve on its own.
Exciter plugins shape the harmonic content of your mixes and instrument tracks, making them sound brighter and sometimes a bit grittier. Because of this, it’s important to be careful with how much harmonic exciter you use on your guitar.
With a modern harmonic Exciter VST, you can boost your recordings by first passing the original audio through a filter (like a bandpass or high-pass), then into a harmonic generator. Finally, the exciter blends the natural, lush, and smooth harmonics back into the dry signal. This process can make your guitars sound fantastic!

Conclusion
In addition to the standard mixing techniques that every guitar track should go through, we’ve also shared some less common approaches that can be useful in specific situations, depending on the song you’re working on.
Lead guitar parts often require the most attention. You might need to tackle the room sound if the part was recorded directly with a mic on the amp, and dial in the right guitar EQ settings to make it sound just right. Try out some of the guitar tips we’ve mentioned here—we hope they help you achieve the results you’re looking for.
If you have any questions about the tips and tricks we’ve shared in this article, please let us know in the comment section below. We’re always here to help!