Mixing Electric Guitars
Introduction
Mixing electric guitar is an essential skill, as this instrument is used in so many songs. Electric guitar recordings are a common part of arrangements in a wide range of genres—including rock, pop, and even EDM.
While some traditionalists may scoff at the changing musical landscape, electric guitars have broad appeal because they’re extremely versatile and fit into many types of music.
However, despite their versatility, electric guitars can be tricky to record. The very qualities that make them so flexible can also make them challenging to work with. The good news is that you don’t need to be an expert to get professional results. By following some universal guidelines, you can achieve a great mix. Here are some of the most basic processes to keep in mind when mixing electric guitars.
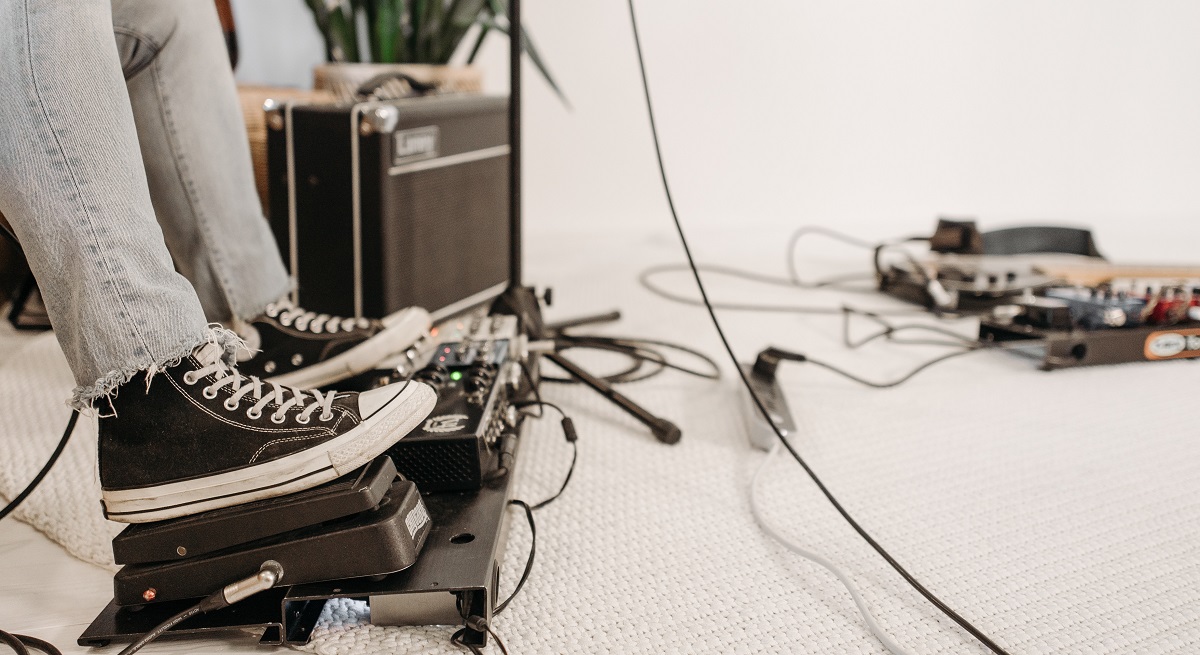
Amp and Pedalboard Setup
Every engineer knows that if something doesn’t sound right at the source, it won’t sound right in the final mix. The electric guitar is no exception. However, because of the way guitar amplification works, changing the sound at the source can be technically challenging.
Convincing a guitarist to change a tone they’re comfortable with isn’t easy—you’ll need clear, respectful, and non-patronizing reasons. Earning their trust is essential if you want them to consider your suggestions.
This is why many guitarists only hear their tone straight from their amplifiers. Ideally, they’ll point the amp towards their ears, but even then, they’re only hearing it from 2-3 meters away. In the worst case, the amp is firing the sound at their feet.
You can’t always fix an amp’s tone just by tweaking the EQ on the amp or on the pedalboard (if it has one). As the guitar signal travels from the amp and pedalboard to the speakers, it often passes through a complex chain, with signal levels rising and falling dramatically along the way.
To sum up, properly setting up the amplifier and pedalboard effects before recording is crucial. If you get this step wrong, you’ll have to redo it later. So, pay close attention and listen carefully to the signal you’re recording. If it meets your standards—and industry standards—then you’re ready to move on and start mixing the electric guitars.
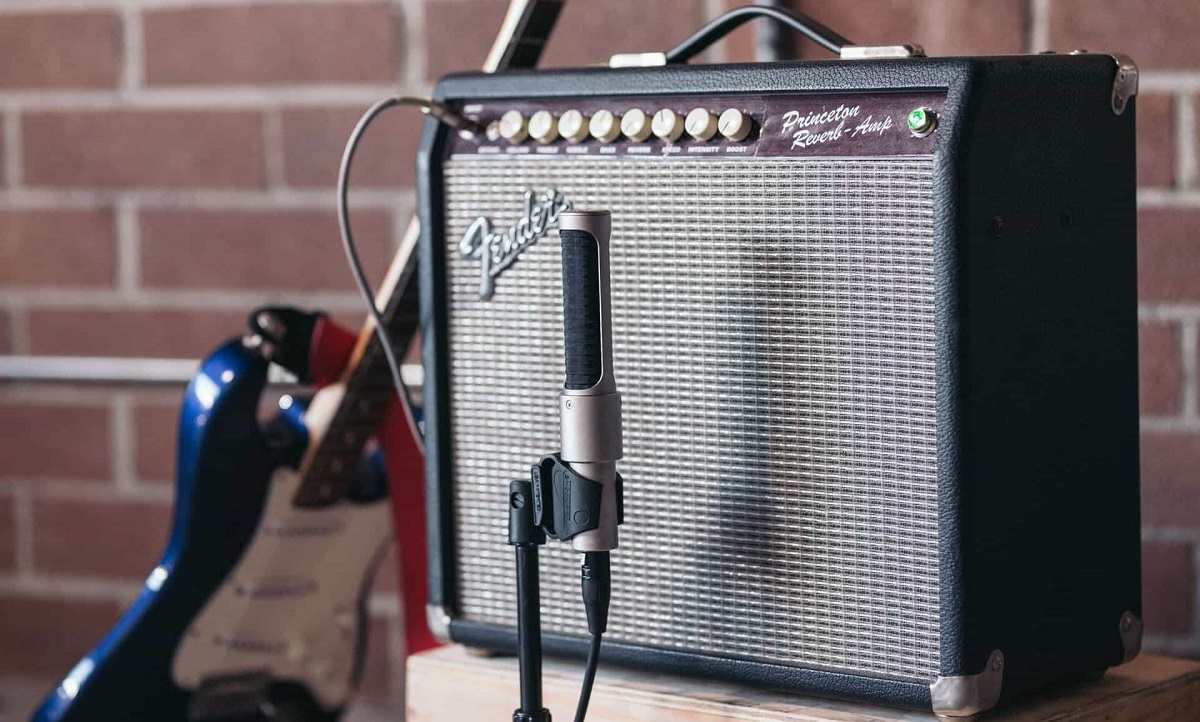
Choosing The Microphone and Placement
The next step in the process is to choose the right microphone to capture the tone you’ve crafted with your guitar and amplifier. When it comes to picking a microphone, there aren’t any strict rules—just different options and the results they give.
You have three main choices for recording great guitar sounds: dynamic, condenser, and ribbon microphones. The best one for you depends on your needs and personal taste.
Of all the microphones used for guitar amps, dynamic instrument microphones are by far the most popular. They offer solid sound quality and a smooth high end, plus they can handle high sound pressure levels, making them suitable for a wide range of musical styles. They’re also generally affordable, so you don’t have to spend a lot to get great results.
If you want a bit more low-end punch, you might consider a large-diaphragm dynamic microphone. Thanks to their bigger housing and diaphragm, these mics tend to have an extended low-frequency response while still delivering the smooth, solid sound you expect from a dynamic mic.
Once you’ve chosen your microphone, the next step is placing it correctly to capture the guitar tone you want. Just like with other instruments, proper mic placement is key to getting the sound you’re after, depending on the song.
If you move the mic closer to the amp’s speaker, you’ll get more bass in your recorded tone. Moving it farther away will reduce the bass. Positioning the mic closer to the edge of the speaker will cut some of the midrange and upper-mid frequencies.
On the other hand, placing the mic toward the center of the speaker will emphasize the midrange frequencies. For the best starting point, aim the microphone directly at the speaker until you figure out the ideal distance and position on the cone.
Electric Guitar EQing
Up until now, we’ve focused on the process of recording the guitar tracks. Whether it’s a solo, backing, or rhythm guitar part, this stage is handled by the recording engineer. Once recording is finished, the mixing engineer takes over. Now, let’s move on to the next step.
EQing the electric guitar is one of the first things you’ll do to prepare your guitar part for a polished mix. Let’s keep it simple and highlight the key points.
The most important task is to remove the frequencies that aren’t needed. Start by cutting everything below 85Hz and above 6kHz. The guitar doesn’t cover the whole frequency spectrum, so you only want to keep the frequencies that make the guitar recognizable.
After cleaning up your guitar signal, use a narrow Q to cut out any frequencies you don’t like, and use a slightly wider Q to boost areas you want to emphasize. Whether you’re EQing a single lead guitar or a stack of distorted guitars, this process can be detailed and take some time to get just right.
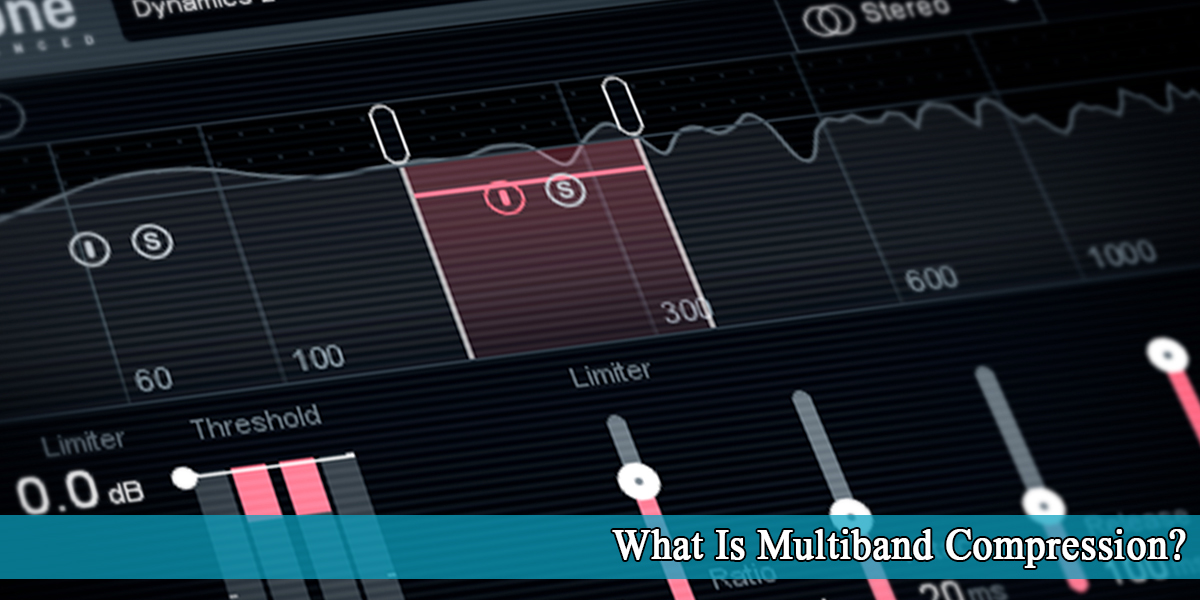
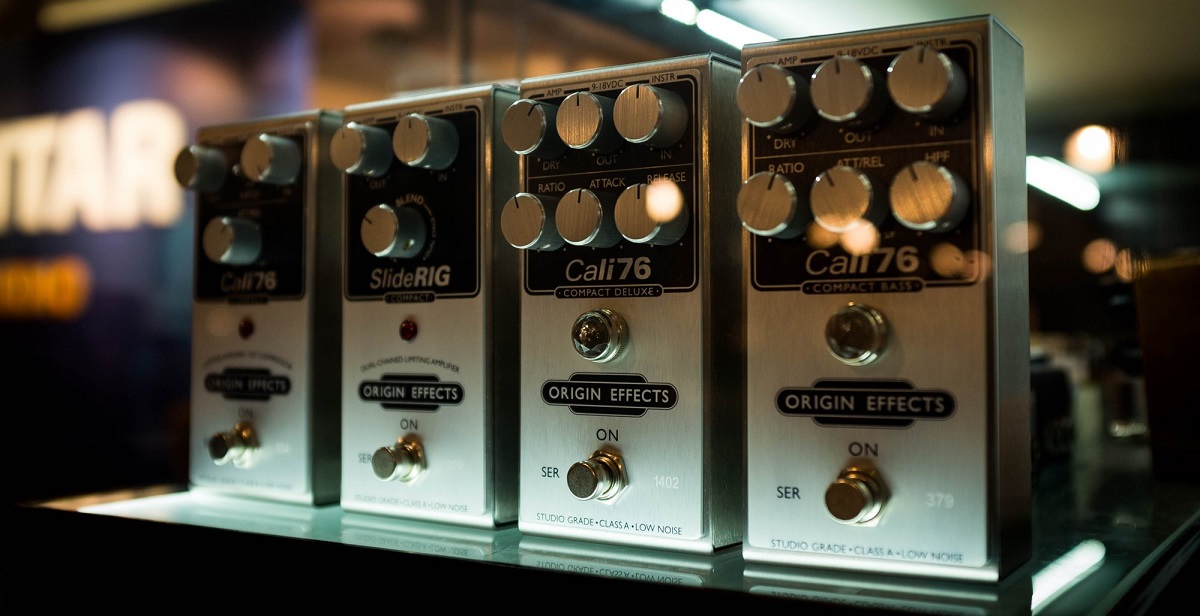
Compressing Electric Guitars
Clean electric guitars often have a lot of high transients, which is why they sometimes need compression. Since a clean guitar sound hasn’t been shaped by overdrive or distortion, it uses its full dynamic range and doesn’t get the natural compression that distortion provides.
The compression settings you choose depend entirely on the sound you want. A good starting point is a fast attack, a slow release, and a 4:1 ratio.
A fast attack helps control transients that might otherwise poke through your mix. For distorted guitars, this is less of an issue because distortion naturally tames some of the transients. If transients aren’t a problem and you want to keep your tone lively, try a slow or medium attack instead.
A slower release gives you more sustain, but if the release is too slow, you might get unwanted pumping effects. For fast guitar parts, a slow release can also be a problem, as the compressor may clamp down on the next notes before it’s finished with the first one.
You can set your release time to match the tempo of your song. To find the quarter note timing, use the formula 60,000 divided by your BPM. Still, it’s a good idea to listen and consider how long it takes for the release to fade out before making a final decision.
Panning the Guitars
Panning is often one of the most overlooked mixing techniques when it comes to guitars, whether in rock music or other genres. One of the key roles of the mix engineer is to properly place instruments within the stereo field, since the way instruments are positioned in the stereo image greatly affects the overall sound of a recording.
A common recommendation is to evenly distribute guitars across the left and right sides when panning them in a mix. For example, you can pan one guitar halfway to the left and another halfway to the right. If you only have one guitar, try panning it to the opposite side of the main lead instrument for better balance.
While these general tips are helpful, your panning decisions should also depend on other factors, such as how many tracks you’ve recorded, the genre of the song, and the effect you want to achieve. If the guitar is playing a supporting rather than a leading role, then an even distribution is usually the best choice.
Adding Other Guitar Effects
Once all the technical aspects are taken care of, it’s time to add guitar effects—beyond those already included in your pedalboard or effects chain. If you recorded your guitars with the effects on, there’s not much else to do here; the effects are already baked in and will be mixed as part of the basic guitar sound.
However, if you recorded your guitars clean, this is your chance to add effects now. Whether you choose delay, reverb, or any other time-based effects, this step is what can make your guitar signal stand out and feel unique. We won’t give you exact settings because you’ll need to experiment and find what works best for your track.
In addition to time-based effects, you can also explore saturation and distortion, as these are classic effects that pair well with guitars. If you’re working in genres that rely on these sounds, you’ll want to use them—either subtly or with more aggressive settings, depending on your style.
The main idea here is to use effects to make your guitar sound original and difficult to replicate—this is where you might discover your signature sound.

Conclusion
Because electric guitars don’t have a truly natural sound, there’s really no such thing as a textbook electric guitar tone. With so many musical styles and tonal possibilities in modern music, the right guitar sound is simply the one that works best for you.
We highly recommend paying close attention to the details when recording, especially during tracking. Taking extra time at this stage is well worth the effort. If you have any other tips to share, please let us know in the comments—we’d be happy to discuss them further!