Mixing with Saturation
Introduction
Do any of these situations sound familiar? Maybe your mixes come out sounding a bit lifeless and thin compared to the polished, professional tracks you hear on the market—even though you feel like you did a great job mixing. Or perhaps your individual sounds just seem dull and harsh, and no matter how much you EQ, you can’t seem to make them fit nicely into the mix.
I used to deal with both of these problems before I discovered the power of saturation in mixing and sound design.
With saturation, you can work wonders using just one plugin. How cool is that? Many engineers say it’s the secret ingredient missing from many mixes. Saturation introduces a bit of imperfection, but ironically, that’s exactly what everyone is after.
In this post, you’ll find a quick guide to saturation, learn how it can improve your mixes, and get some tips on how to use it effectively.
Saturation adds a touch of that analog warmth and musicality that people often talk about. It gently tames peaks and transients while adding character and color—something that’s really hard (if not impossible) to get any other way.
You can use saturation on everything from individual tracks to your mix bus. It’s also great for sound design, like when you’re shaping synth sounds. As with everything in mixing: go easy, because a little saturation goes a long way.
That said, saturation isn’t a magic fix for a bad mix. It won’t make a poorly balanced track sound great. What it will do is enhance a good, well-balanced mix and help you take your sound to the next level.
It’s that subtle extra touch of glue, warmth, punch, fullness, depth, character, and color that your mixes might be missing.
What is the Saturation in Music?
Saturation is at the heart of what makes analog hardware sound so musical and pleasing. Running audio through tape, tubes, transistors, and circuits has always been a crucial ingredient in creating great-sounding mixes.
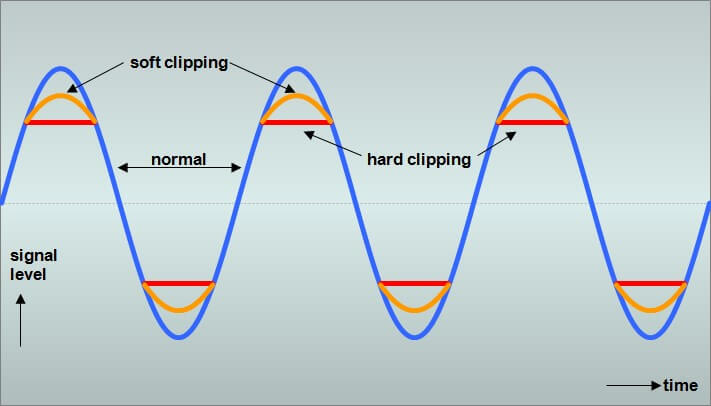
Saturation is a subtle kind of distortion that adds pleasant-sounding harmonics. This effect dates back to the analog era, when audio recordings were processed through various types of hardware.
Mix engineers discovered they could push magnetic tape machines, tube amps, and transistor-based preamps to create a “soft-clipping” effect. This technique gave recordings highly desirable qualities that sounded pleasing to the ear.
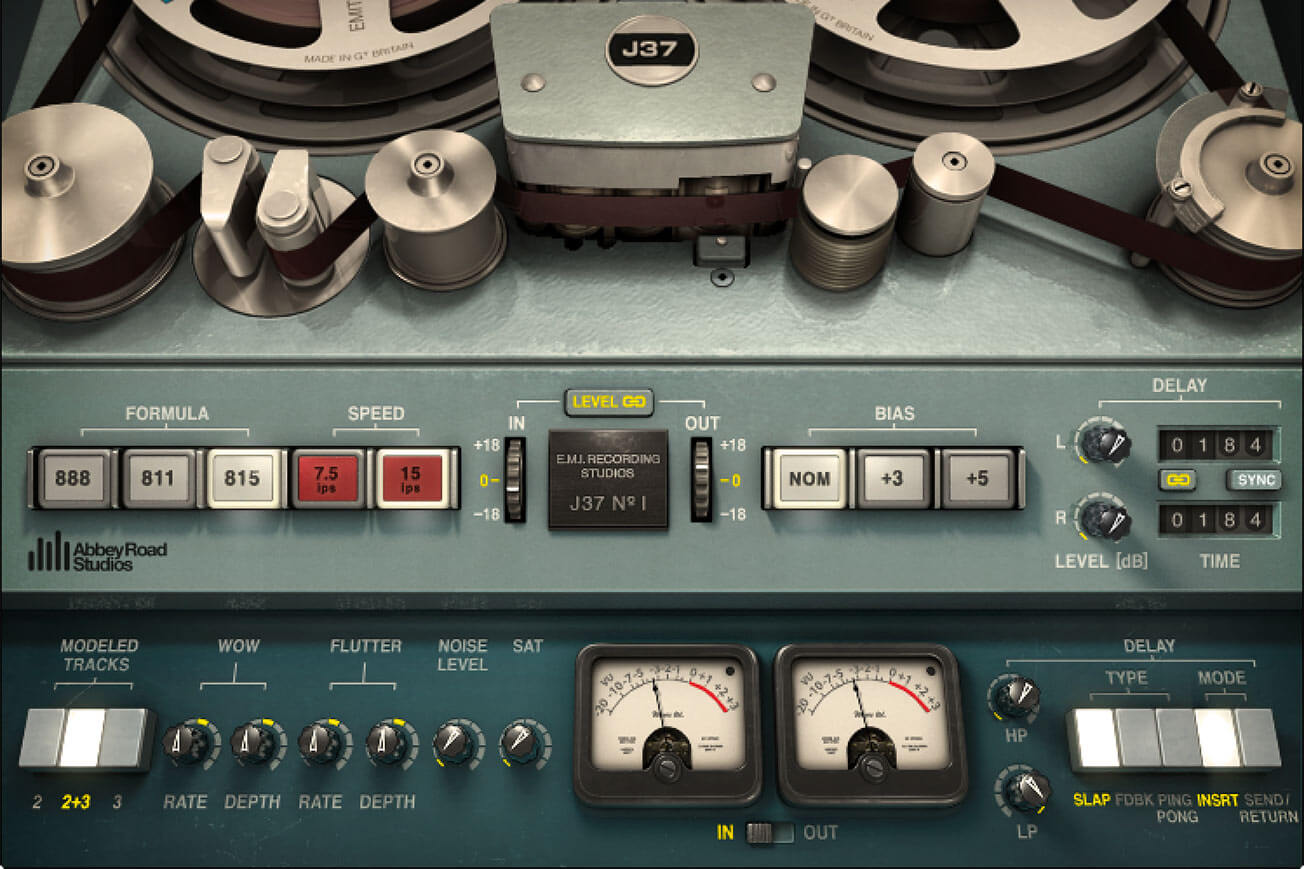
To sum up, the most common types of saturation are tape saturation, tube saturation, and transistor saturation. Using these methods can also slightly increase the perceived loudness of your track.
Even today, artists and engineers use saturation to add presence, character, warmth, edge, cohesion, and much more. Whether used subtly or heavily, saturation remains an essential part of making mixes sound amazing.
In the following article, we’ll share 6 ways to use a process called saturation when mixing.
1. Make Your Basslines Extra Audible
Many synthesized basslines are built from a simple sine wave. While this creates a low end that’s big, full, and round, your bassline might end up lacking higher harmonic content.
Upper harmonics are important because they can be heard on smaller playback devices like cell phones and laptops. Your brain uses these higher harmonics to “fill in” the fundamental bass note, even if it isn’t actually audible on the speakers you’re listening to.
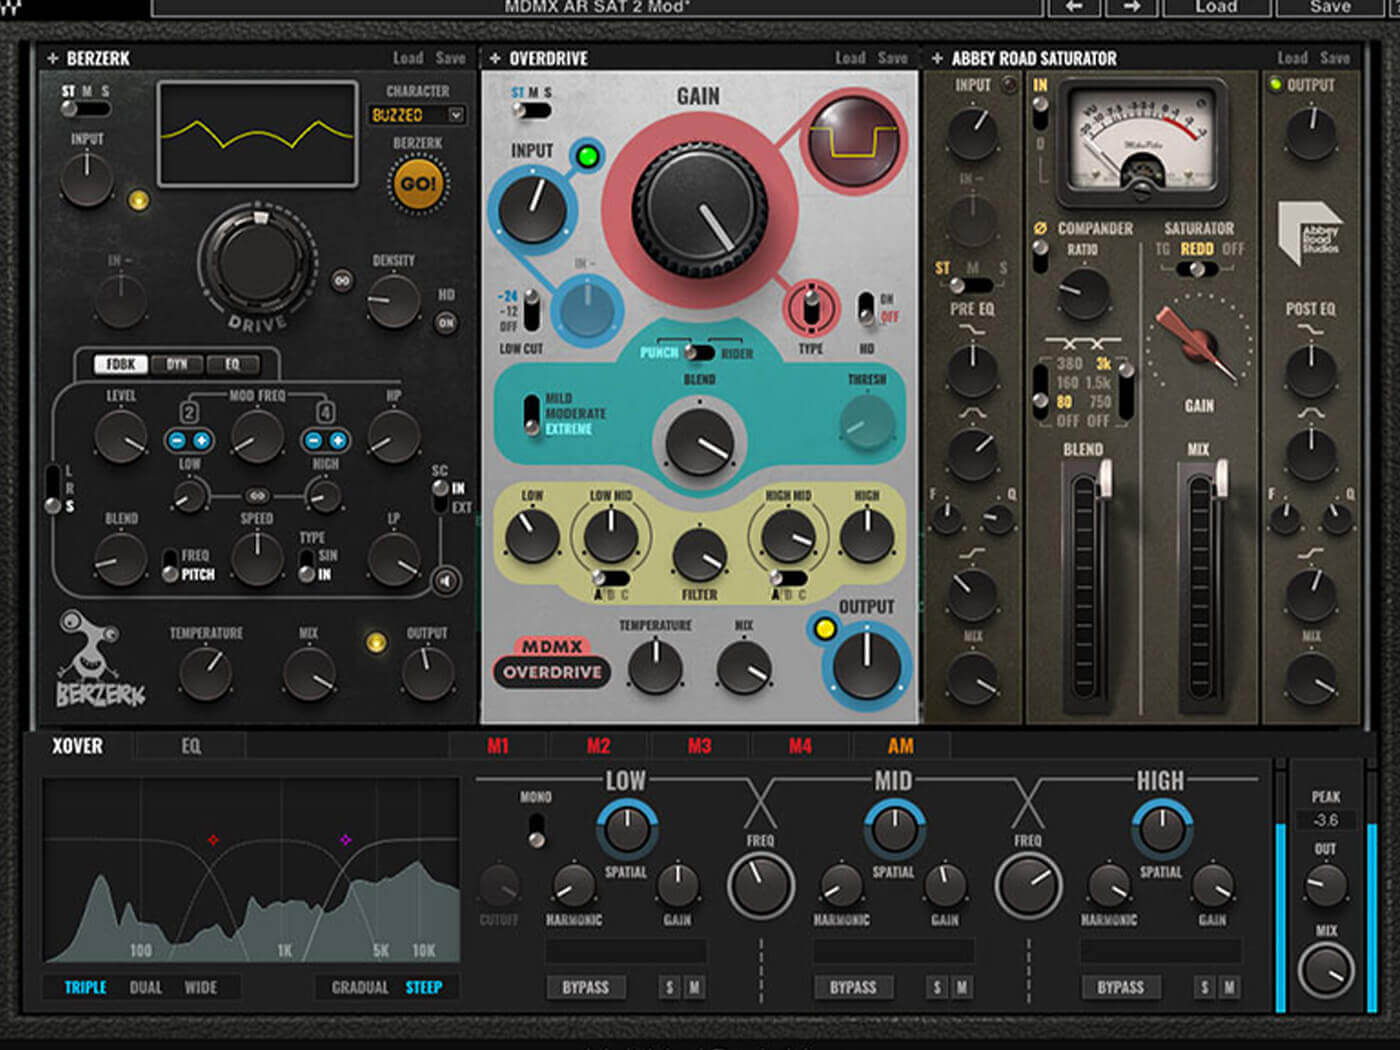
Soundtoys’ Decapitator plugin is my go-to choice for adding higher harmonics to basslines. It gives you five different styles of processing, each with its own unique character.
The iconic “Punish” button lets you completely mangle your basslines—which is a fun bonus feature!
This is easily one of the best saturation plugins available, so don’t hesitate to try it out. It can definitely take your music production to a whole new level.

2. Always be aware of the gain staging
Saturation can be really tricky to get right. One time, I made the mistake of adding way too much tape saturation on the master fader. In one section of the song—where the vocals were the loudest—they ended up way too hot.
I didn’t catch my mistake until the lead singer pointed it out. When we listened back to the new vocal track, it distorted in the exact same spot! Turns out, the high notes in those parts were peaking the tape plug-in on the master fader and causing the vocals to distort.
It was definitely a dumb moment! Thankfully, I figured out what was going on, and ever since then, I’ve become extra cautious with saturation.
In the end, I learned from my mistake, and I’m happy to admit it so you don’t have to make the same one.
The bottom line: know when and how much to use saturation, and always do it carefully. Like anything else, if you overdo it, you’ll probably ruin the signal—and that’s a loss you don’t want.
3. Efficient on vocals as well
You might think that saturation has no place in vocal processing. However, it’s actually essential for making sure vocals shine—especially after being rigorously processed with saturation.
By applying a tape or tube saturation effect to a vocal recording and increasing the drive parameter, you’ll immediately hear the vocals sound “fuller.” There’s also another benefit worth noting.
Harsh sounds in the vocal, like “S” and “C,” can be softened by saturation, making them much more pleasant to the ear.
In our studio, we always try saturation on every vocal recording—there isn’t a single one we skip. Of course, we experiment with different types of saturation to see which one works best.
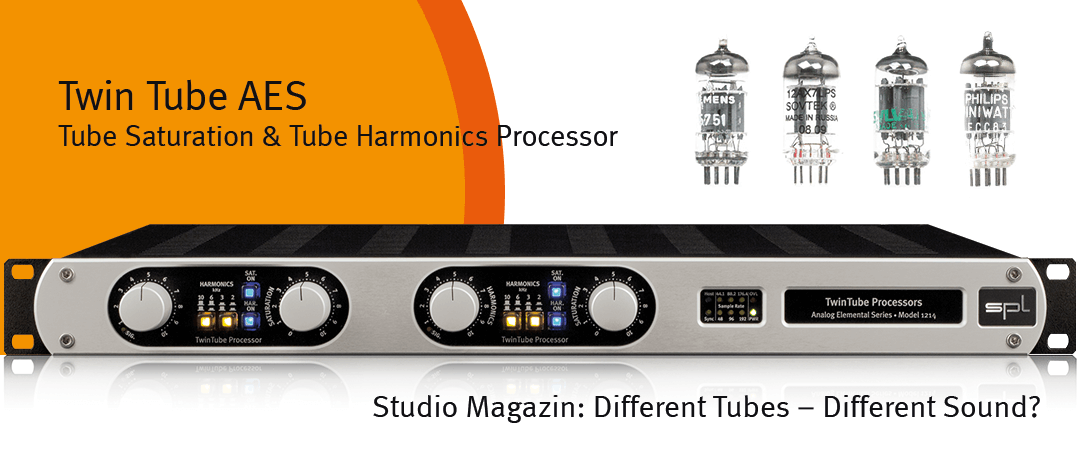
Ultimately, we always end up using the Twin Tube plugin by Plugin Alliance, which emulates the SPL hardware unit. It never fails us, and we swear by it for adding saturation to vocals.
This plugin delivers a sweet tube saturation that rounds out the vocal and seems to balance the frequency response into a smooth, cohesive sound.
4. Always Experiment
It’s easy to get carried away with techniques like saturation, so it’s important not to overdo it in your mix. Try using saturation on both dry elements and on group or bus channels to help create harmonic richness and interlacing.
Experimenting with different types of saturation sources and emulations across a wide range of sounds can also produce more interesting results.
For example, try using tape saturation on drums, tube saturation on vocals, and transformer or transistor saturation on synths. Each brings something unique and exciting to your project.
Once you’ve done this, you can always bring everything together with one main choice of character or tone—like a VCA compressor on the mix bus, or a subtle touch of saturation during the compression stage.
Every decision about where and how you apply saturation in your chain—and on which elements—before finally gluing it all together with summing or mix bus saturation, can help bring more analog character to your project while still working entirely in-the-box.
There are endless ways to create unique, cool, and truly analog-sounding mixes straight from your laptop at home. Saturation is just one of the many tools you can use to help develop your own distinct sound.
5. Heating Up Synth Lines
Another great way to use saturation plug-ins is on synth sequences. Virtual analog devices can help bring sounds a bit closer to the real thing, giving them an extra upfront, edgy quality.
One of our favorite plug-ins for synths is the SPL ‘Twin Tube’ saturation plug-in. The sounds from this plug-in are truly impressive—you might even think you’re listening to hardware. We usually leave the harmonics parameter alone and just dial in a solid amount of saturation.
The result is a fuzzy, loud synth loop with a retro vibe. This is exactly what most synth lovers are after, and it’s often hard to achieve with soft synths alone.
In addition to saturation, some parallel distortion can work wonders here too. Much like tape saturation, you can use overdrive distortion on an FX channel to add even more grit to your synths. This process adds extra harmonics to the signal, making it sound fuller and richer.
6. Tame Top-End Harshness
Saturators can help you tame harshness in the top end and are especially useful when dealing with overly bright cymbals, vocals, or guitars.
Harshness usually shows up in the 6,000-8,000 Hz frequency range. You can target this area with a multiband saturator, or use a broadband tape saturator like Waves’ Kramer Tape to warm up your input signal and smooth out the harshness.
It’s often easier to fix harshness with a saturator than with a multiband compressor or dynamic EQ. Saturators add a bit of distortion, which can mask those piercing frequencies—offering a different solution than simply turning them down.
Sometimes, using a bit of saturation is better than reaching for an EQ to solve the same problem. A touch of tape or transistor saturation can soften the top end, making harsh frequencies sound smoother to the listener.
This approach not only solves harshness, but also adds a little extra character to your track. While hardware saturation units can give you more authentic results, today’s plugins do a very similar job and are much more affordable.
Conclusion
Saturation is a fantastic effect that brings to mind the character of early recordings and vintage recording technology. What was once a source of frustration for early engineers—who struggled to capture the cleanest signal possible—has now become a highly sought-after sound in the digital recording era.
Back then, using saturation often annoyed engineers, but today, it’s a sound many producers and mixers crave.
You can achieve saturation either digitally, using analog emulation plugins, or in an analog setup by pushing certain hardware components.
No matter how you choose to add saturation to your signal, understanding what’s happening during the process—and knowing the best situations to use it—will help you use it more effectively.
We’ve mentioned several great saturation plugins you can try on your tracks, and we encourage you to experiment with all of them if you can. Each one offers something unique and can be used in many different scenarios.
That’s it for using saturation in your mix—now go try out what you’ve learned here! Thanks for reading our article!