Do Acoustic Panels Work?
Soundproofing is standard in many industrial and residential buildings. Whether you’re in a restaurant, a school, or an open-plan office, modern buildings are often designed to control acoustics right from the start.
If not, they usually have soundproofing panels installed to help reduce background noise. Noise reduction is essential when you’re working in an area with a lot of outside sounds. It’s also helpful to have some soundproofing or sound isolation on the inside, especially if there’s a lot going on indoors.
But do acoustic panels actually work? This is a question that often leads to a lot of confusion and misinformation. That’s why we’ve broken down everything you need to know about acoustic panel sound absorption and how it works, in a way that’s easy to understand. We’ll explain why wall panels are effective and how you can set them up for the best results in your studio. Keep in mind, these panels are different from those designed to block noise, so we’ll focus on absorption panels here.
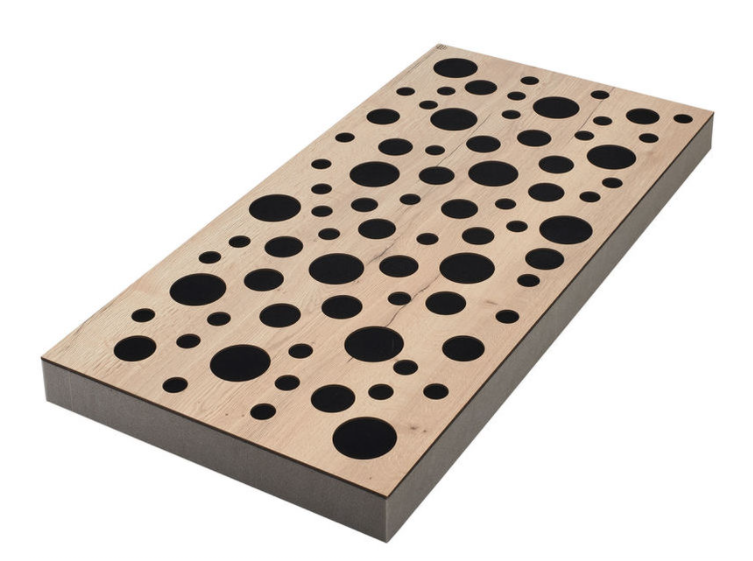
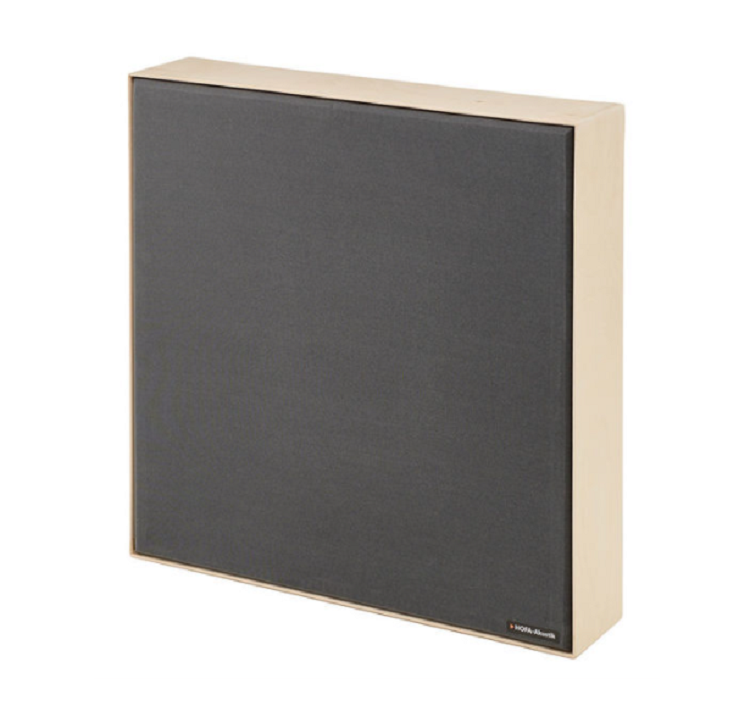
If you’re not interested in a DIY project and just want to buy acoustic panels, we’ve listed three great options for you below!
| For EU Customers | |||
|---|---|---|---|
|
|||
t.akustik HMF-D 120A Halifax oak |
|
||
Hofa Absorber Anthrazit |
|
Do Acoustic Panels Work?
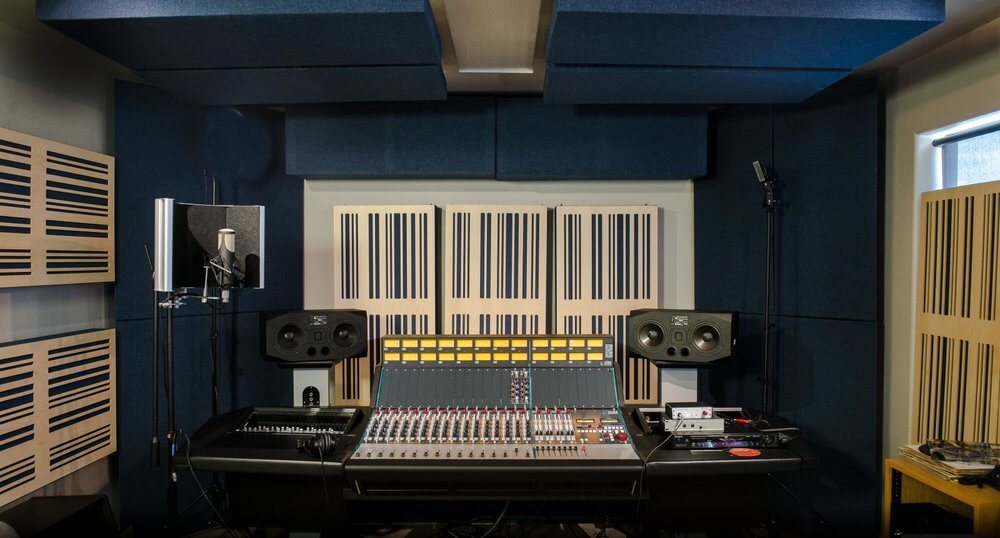
Acoustic panels really do work—there’s no question about it. If they didn’t, you wouldn’t see them in every recording, mixing, or mastering studio. That’s why you should think about adding some acoustic panels to your own studio. They’re made to catch sound waves and help control echoes in enclosed spaces.
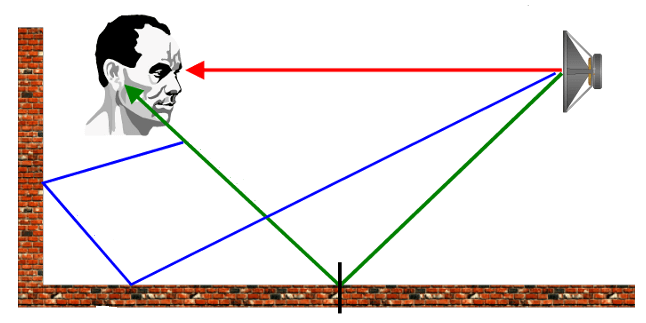
In most large indoor areas, sound waves bounce off hard surfaces like walls, ceilings, and floors. Acoustic panels are placed around the room to absorb these reflections, which helps improve the acoustics and keeps your mixing sweet spot free from unwanted echoes.
When sound waves hit specially designed acoustic panels, the outer layer absorbs the sound and lets it pass into the core materials. These core materials take in the noise by turning the sound waves into vibrations, which produce a tiny amount of heat.
This heat quickly disperses, breaking up the sound waves so they don’t bounce back into the room. As a result, background noise is reduced. That’s one of the main reasons why wall panels are so effective in any studio or room.
Do Acoustic Panels Reduce Noise?
There are many factors that go into reducing noise in your studio. Most of the time, noise comes from outside and interferes with the sound inside your studio. The acoustic panels we’re discussing are meant to improve acoustics, but they don’t truly reduce noise. While they might help a little, their effect is minimal compared to real noise isolation treatments designed for studios or similar rooms.
Many newcomers confuse soundproofing with sound absorption, but these are actually two very different things. Soundproofing is all about noise isolation—minimizing the amount of sound that enters or leaves a room. Sound absorption, on the other hand, is about improving acoustics by reducing sound reflections inside a room for better sound quality.
So, when we talk about an acoustic panel, we mean a panel designed for sound absorption to enhance a room’s acoustics. Does this mean that good sound-absorbing materials are also great for soundproofing? Not necessarily. These panels are specifically made to absorb sound and improve room acoustics, not to block noise from coming in or going out.
Advanced Acoustic Options
In some cases, you’ll need both soundproofing and acoustic panels for sound absorption. For example, if you’re setting up a music practice space, you probably have two main goals:
- Keep the noise inside the room so you don’t disturb family members, neighbors, or anyone else nearby.
- Improve the sound quality in your practice area by reducing echoes, reverb, and unwanted noise with acoustic panels.
You’ll find similar needs in commercial theaters, dance studios, apartments, and other similar spaces. Since soundproofing and sound absorption can sometimes work against each other, these projects require careful planning and customization.
Strong bass sounds can make the acoustic environment even more challenging. In these cases, you may need a special type of acoustic wall panel called a bass trap. These are much thicker than standard wall or ceiling panels and work best when placed near the floor and in the corners of the room.
Guide Where To Place The Acoustic Panels
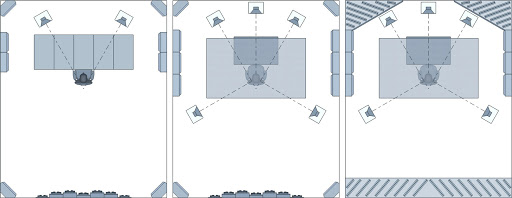
- Start by treating the first reflection spots along the horizontal axis. If you’re unsure where these are, sit in your listening position and imagine where sound from your audio system hits the sidewalls and bounces back toward you. It’s really important to place an acoustic panel here, as it can improve your stereo width and clarify your imaging.
- You should also consider adding acoustic treatment between the speakers and the wall behind them. Treating this area helps reduce reflections coming from the back of your speakers. This spot can be tricky, as boundary interactions may cause a noticeable dip in your low-mid frequencies. However, for most home studios, it’s usually best to place your speakers close to the wall, as recommended by the manufacturers. If there’s any space left between the wall and your speakers, fill it with acoustic foam.
- If possible, mount some of your acoustic panels in the corners of your room. You can add these between two horizontal walls or between the ceiling and a side wall. This will naturally create a large air gap behind the panel, which helps absorb low-frequency resonances. As your studio evolves, you’ll want to add larger and thicker absorbers in the corners to further address bass resonances.
- Here’s another suggestion: create an acoustic “cloud” that hangs a few inches below your ceiling, above your listening position or musical instruments. This is also a primary reflection point that should be treated, so don’t overlook this area. A well-placed panel above your head will help eliminate unwanted reflections. Trust us, it works!
What are Standing Waves?
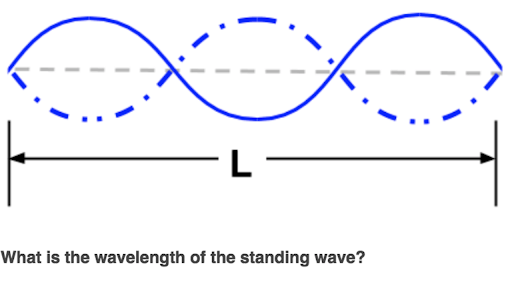
A standing wave happens when a sound wave bounces between two or more surfaces and highlights a particular frequency that you can hear because the waves strengthen each other.
When the wave bounces off the floor, it changes phase. For waves that form a standing wave, the reflected wave is a mirror image of the original. These waves then combine. If the amplitudes of the two waves have the same sign (both positive or both negative), they add together to create a wave with a larger amplitude. This process is called constructive interference. The combined wave doesn’t seem to move, which is why it’s called a standing wave.
What Causes Standing Waves?
Standing waves are formed when the distance between walls matches a multiple of a sound’s wavelength.
For example, if the walls are 20 feet apart and the wavelength is 19 feet, standing waves won’t form because the conditions for wave reinforcement aren’t met. But if the walls are 20 feet apart and the wavelength is 10 or 20 feet, a standing wave can form due to this reinforcement.
Standing waves can be created when sound waves bounce between:
- Opposite walls
- All four sides of the room
- All six surfaces of the room (since most rooms have four walls, a floor, and a ceiling)
How to minimize standing waves?
The key to stopping a standing wave is to cut out the problematic frequency from the specific instrument that’s causing it. If you’re using a digital mixing board with precise controls, you can minimize a very narrow band of the offending frequency.
Another, often simpler, solution is to use proper acoustic isolation and install panels or diffusers to break up the waves. It can be frustrating to hear a certain frequency more than you should. In music production, mixing can help you solve these issues and make better final decisions on your project.
Reverb Time in a Room
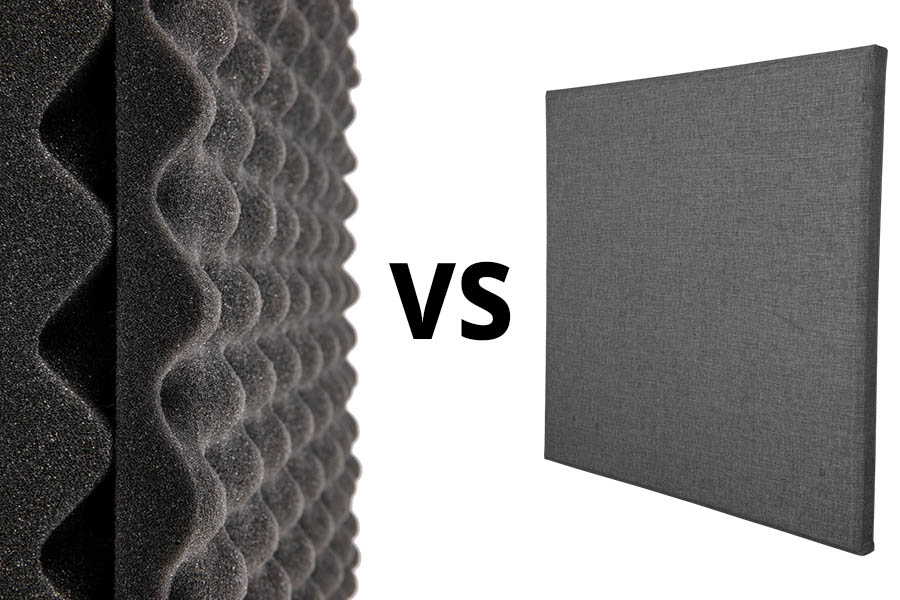
One of the main reasons for using foam or any sound-absorbing materials (like baffles, banners, or cloth-wrapped wall panels) is to reduce the overall reverberation time in a room. A great example of a space that can benefit from adding acoustic absorption is a large gymnasium.
If you’re working on treating a studio or just a living room, here are a few suggestions on how to deal with excessive reverb in your space:
Cover the Flooring
Carpets and rugs do more than just provide soft padding underfoot. They also help reduce sound in a room by absorbing echoes and muffling noise. In rooms with hardwood, tile, or other hard-surface flooring, add area rugs that also match your décor.
You can also install wall-to-wall carpeting. While it’s more “permanent” and expensive than rugs, it will greatly reduce echo and make the whole room more comfortable.
Cover the Walls and Windows
Wall and window coverings help cut down on the amount of sound that bounces off window glass and hard wall surfaces. Heavy, lined curtains and draperies that reach the floor can muffle sound, reducing echo and blocking noise from both inside and outside the home.
Canvas art, tapestries, and decorative wall hangings can also absorb sound and reduce echo. Keep in mind that framed photos and paintings behind glass will reflect sound just like a windowpane.
Fill Rooms with Furnishings
Rooms filled with soft furnishings and accessories help reduce echo. Couches and plush recliners, for example, absorb sound reflections. Fabric upholstery usually absorbs sound better than vinyl or leather.
Even items like bookshelves full of books and decorative objects can help minimize echo. Basically, the more things there are in a room, the less sound will bounce around.
DIY Acoustic Panels
Honestly, the way we built one of these isn’t much different from what you’ll find on YouTube. In my opinion, it’s pretty straightforward and shouldn’t be a time-consuming task. For a double acoustic panel, it took us about 2 to 3 hours and cost around $20.
Here’s what you’ll need for a single acoustic panel:
- Wood boards – enough to build a frame around the Rockwool
- Fabric – to cover the Rockwool and protect your eyes and lungs
- Two Rockwool panels, each about 1000mm/39 inches to 620mm/24 inches (you can find affordable alternatives online)
- Wood glue
- Around 30 wood screws
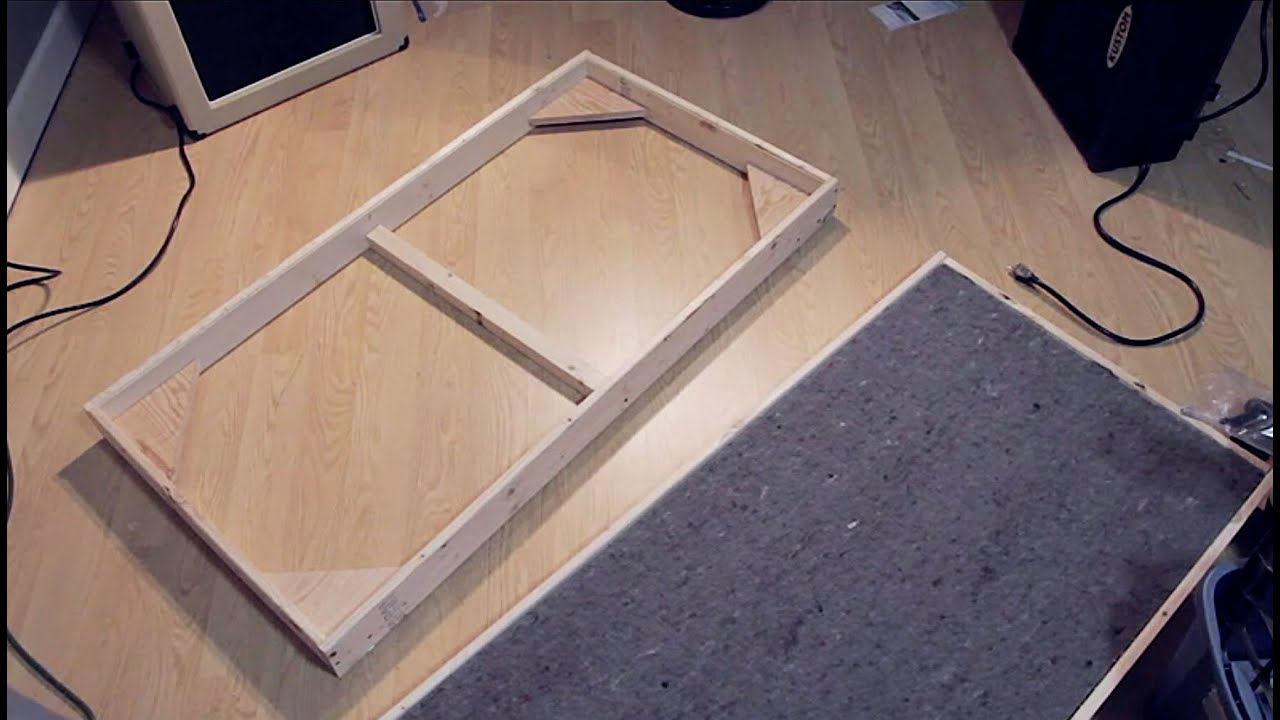
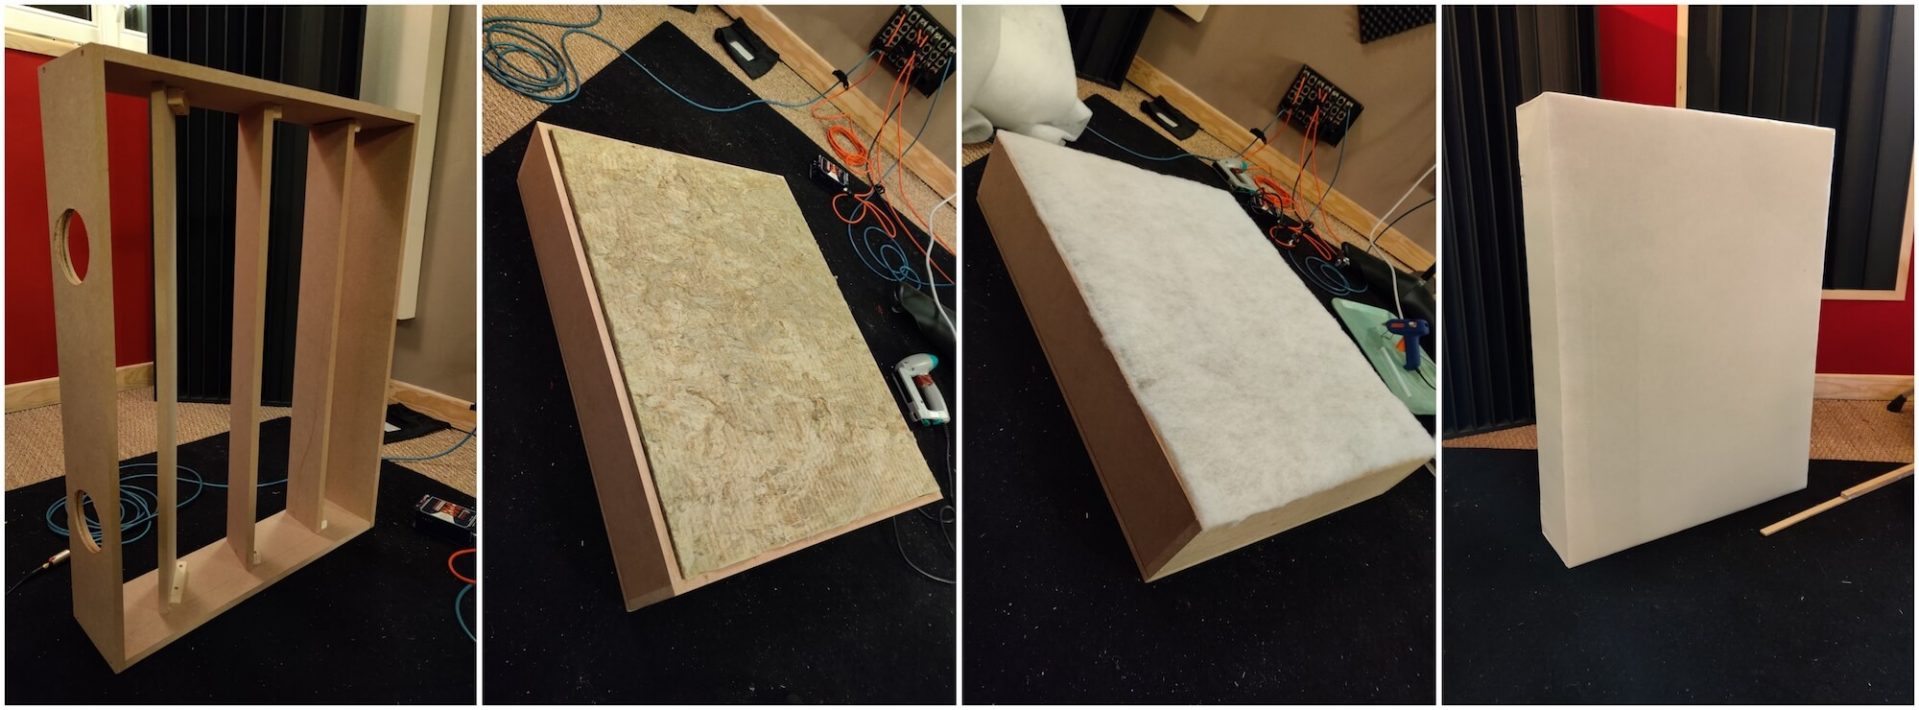
Place the wood next to the inner layer of wool so that each panel fully covers the already cut Rockwool. This makes it easier to trim the mineral Rockwool to size. Make the correct cuts and trim the frame to fit around the wool.
Apply wood glue to the joints, then screw them together. Don’t forget to reinforce the frames by adding one or two extra wooden pieces between the longer sides. Add corner pieces so the insulation fits snugly in the corners, giving the panel extra strength without adding much weight.
Insert the Rockwool into your frame and make sure it fits properly. Now, use fabric to wrap the acoustic panel. At this stage, you can use wood glue to secure the fabric to the wood and the wool. Try to keep the folds neat, and use extra wood screws to tighten everything, making sure it’s securely set.
To hang these panels, you can use Z-clips or other mounting options like hook and eyes. Usually, mounting them slightly off the wall helps with bass trapping, so consider using Z-clips, which give you about an inch of space and a secure mount.
Conclusion
We hope we’ve answered some of your questions about acoustic panels. So, do acoustic panels work? Absolutely, yes! So, set aside a little extra cash, pick up the materials, grab some beers on the way, and dive into some woodworking and acoustic treatment. It’ll be well worth your time!
Here is a video of making an acoustic panel.

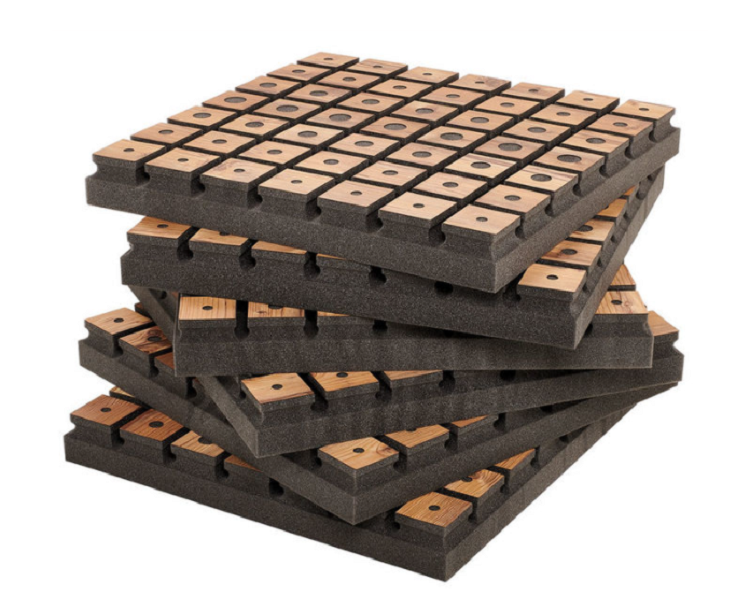



[…] see acoustic panels everywhere in studios. It’s because they do a lot of things. Primarily, they are used to […]