EQing Drum Overheads
Introduction
It’s common for drum overhead tracks to be recorded in a way that lacks excitement, energy, and brightness—qualities that help drive your mix forward. However, EQing drum overheads isn’t something you can approach with a simple step-by-step formula; every mix is unique. When it comes to EQing overheads, there are several important factors to consider, and that’s exactly what this article will discuss.
If you’re after a clean, close sound, most people focus on the cymbals in the overheads. If you want a more natural, full kit sound, you’ll want to use the overheads to capture everything. If all you need from your overheads is the cymbals, you can use a high-pass filter to remove the kick and body. For this process, we usually recommend using a linear phase EQ.
In the following sections, we’ll explore key points to keep in mind when EQing and adjusting overheads to fit your track. We’ll also share some practical tips and tricks to help you get the best possible results.

Phase Aligning the Stereo Pair Mics
We’re going to skip the techniques for recording overheads for now and focus mainly on the signals you already have. We think that topic deserves its own dedicated article, which we’ll cover later.
So, let’s say you’ve already recorded your mics and are ready to start processing them. The first thing you should consider is phase alignment. If your tracks are out of phase, the signals can cancel each other out, causing you to lose important parts of the frequency spectrum.
While phase cancellation most commonly affects the low end, higher frequencies aren’t immune to this issue either. Make sure your tracks are properly aligned before you move on to EQing or any further processing.
Cleaning Out The Signal
Even though the signals are recorded using two separate microphones at the same time, our approach here is to process them individually first. That means first cleaning up the left microphone, then the right one (in terms of frequency).
You never know what one mic might pick up that the other does not. So, don’t overlook this step. It takes very little time, but you might find something to clean up that wouldn’t be obvious when listening to the signals together in stereo.
Once you’re done with this process, move on to trimming out the areas you don’t need. Our suggestion at this point is to cut out the kick drum and keep the snare drum in the signal, since the kick might introduce sound cancellation later when you play the whole drum kit together.
A simple high-pass filter should do the trick to achieve a clean overhead sound and make the overheads sound natural. To avoid a lifeless mix, carve out the cymbals before removing any harsh tones.
Only apply attenuation if there’s an irritating resonance in the context of the full recording. If your cymbals are a bit too prominent, you can use a de-esser sparingly to tame the top end.
If certain hits are causing your microphone to sizzle too much, you can roll off a bit of the top end. Once you’ve finished cleaning, move on to other processing steps, and then return for any creative EQ adjustments.
Creative EQing
At this stage, we believe you’ve applied the right amount of compression to the overhead mics, allowing them to cut through the mix and blend well with the rest of the drums. This gives you a more cohesive and transparent drum sound overall.
Now, things get interesting. This is the perfect time to try out any tips or tricks you have for making the overhead tracks sound great. There are usually two ways to approach this:
- First, you can EQ each track separately—boosting frequencies on the left microphone first, then on the right. Or,
- You can group the overhead tracks together and use EQ on both at the same time, making adjustments that affect both tracks equally.
We suggest reaching for an analog EQ or an analog EQ plugin emulation to add a touch of “goodness” to the signal. Even if the improvement is subtle, remember that a 1% improvement is still an improvement!
If you’re working on vintage or old-school music, the classic Pultec EQ is a great choice. For a more modern, popular sound, try SSL EQs. If you’re mixing pop-rock or live bands, API EQs are usually our go-to. This approach has always worked for us—maybe it’ll work for you, too.
When choosing which frequencies to boost, we recommend a simple technique: use the EQ as a volume balancer. Boost the core frequencies of the elements you want to stand out in the overhead mics compared to the other elements.

For example, if your cymbals are dominant and the hi-hat sounds a bit lower in the mix, try finding the frequencies where the hi-hat sits and boost them slightly. We’ve found that using a dynamic EQ works best in this situation, as it will only boost the hi-hat frequencies when the hats are actually playing, making them just a bit louder. Sometimes, even a 1dB boost is enough to make a difference.
The same idea applies to the toms. Toms are usually easier to mix because they occupy their own frequency range, which doesn’t overlap much with cymbals or hi-hats. Here’s a quick tip we like to use:
- 1st approach – EQing channels separately: Hard-pan the left microphone to the left and the right microphone to the right. Then, boost the right tom on the left track and the left tom on the right track. This technique increases the stereo width and adds an interesting character to the overheads. Be sure to boost different frequencies for each tom to create an even more pronounced effect.
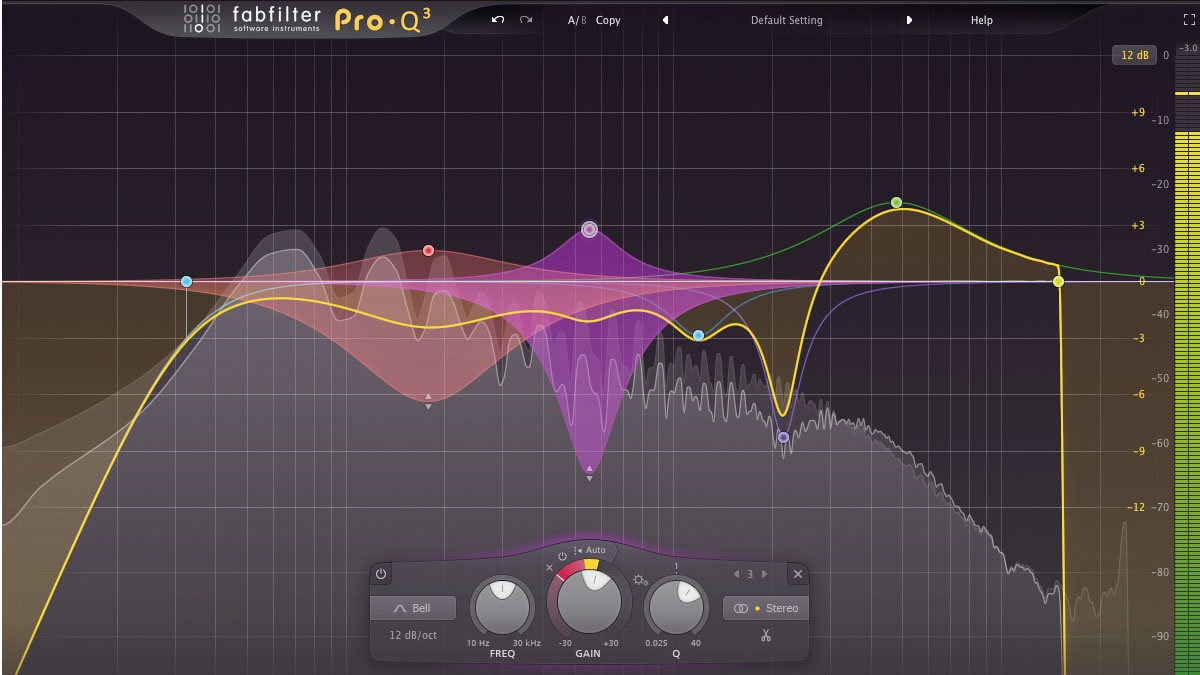
- 2nd approach – EQing the overheads as a group: Use an EQ that lets you select the side of the stereo field for each band. Pro-Q3 by FabFilter, for example, has this feature. From here, use the same mindset as above, but from one interface. Boost the left tom and set the EQ band to affect the right side, and boost the right tom while setting the EQ band to affect the left side.
Why do we set the EQ sides opposite to the toms’ positions? By doing this, you’re mixing the drums from the audience’s perspective. This approach has always worked well for us, and we personally prefer it.
There’s nothing wrong with mixing from the drummer’s perspective—it’s just a matter of personal preference. When it comes to this decision, it’s entirely up to you or the band you’re working with.
If you’re working on your own music, choose whichever approach feels most comfortable. But if you’re mixing for a band, we recommend asking them about their preference and getting their input on how they’d like the drums to be EQ’d.
EQing in Context
As a final step, you can apply the same overall EQ to all of the drums as you did to the overheads. Make sure all of the drum tracks are routed into one stereo group, then apply an EQ to that group. This will allow you to create the perfect master EQ for your drums using the information from your earlier adjustments.
The goal here is to double-check each element and make sure the drums are EQ’d properly as a single, cohesive instrument. This is your chance to make final tweaks to the frequency spectrum and finish processing your overheads and drum tracks.
Conclusion
With the information you’ve learned in this article, you should be able to EQ your overheads and get them sounding great. Remember, everyone’s original drum tracks will be a little different, so your EQ settings might not match someone else’s exactly.
Take the time to experiment with these techniques until you achieve the overhead sound you want. While your ears are your main guide, don’t forget to use a spectrum analyzer to see which frequencies you’re affecting. Still, always trust your ears for the final decision.
If you have any questions, feel free to leave them in the comments section below. We’re happy to clarify anything or discuss the topic further with you.