Tips for Louder Mixes
Introduction
Have you ever asked yourself, “My song is so good, but why can’t I get it louder?!” Trust us, this is a really common question: How do I make my track louder? You might think it’s a mastering problem, but actually, it’s a mixing issue.
Before mastering can polish and enhance your track, you need a mix that works well when it’s mastered. If you think about it, all tracks are brought to the same volume during mastering—even yours. Most songs hit a limiter set to a ceiling of 0. This means other songs just sound “perceptually louder.”
This idea of perceptual loudness is often summed up by the phrase “maximum volume, minimum voltage.” In other words, you want the elements of your track to sound as loud as possible while using the least amount of actual volume.
7 Methods To Louder Mixes
1. Audio Slotting
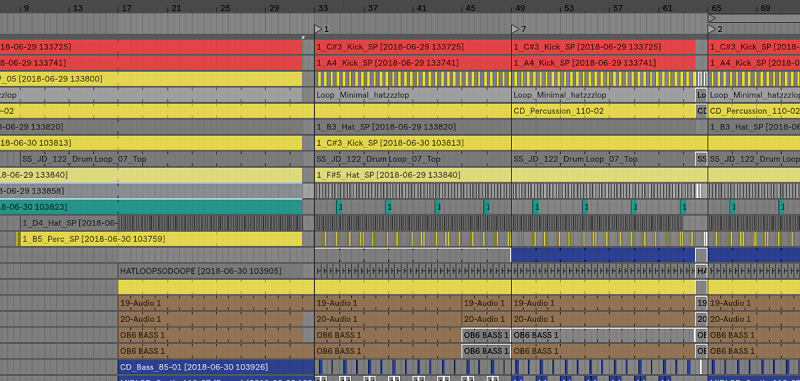
When learning how to mix, one of the first skills you need to master is “slotting.” Slotting means placing each part of your track into its own unique space within the dimensions of “height,” “depth,” and “width.”
Imagine your song existing in a huge 3D space. Each element can sit somewhere in that space, with your main elements close to the front and center, and your less important elements placed elsewhere.
2. Arrangement
When writing a song, it’s important to organize your sounds so that each one occupies a different frequency range—or, more simply, to keep track of the octave ranges. If you make sure each sound you layer has its own unique octave range, you’ll achieve the best results.
From there, you can continue by assigning the next octave to the root of your snare, the following octave to your lead, and the next octave after that to your arpeggiators.
3. Compression
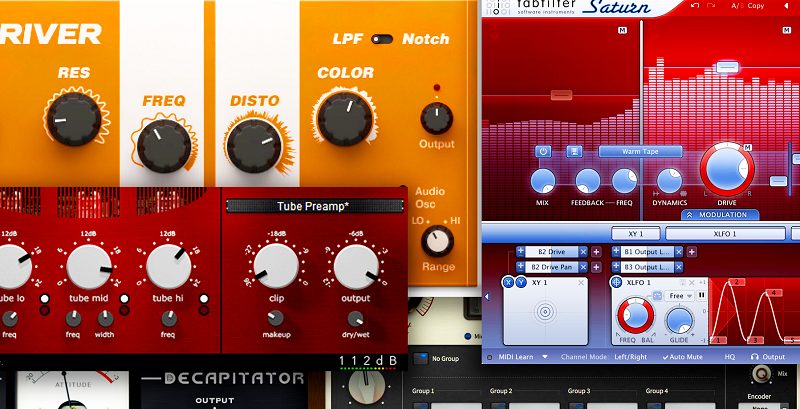
When it comes to maximizing volume, one of the first things that comes to mind is compression. When used correctly, compression is a fantastic way to make something sound louder to the listener.
By reducing the loudest peaks and then raising the overall level of the sound, you can make it seem louder because the dynamic range is smaller. However, a big problem is that producers often compress sounds incorrectly, over-compress sounds, or use compression on too many elements in the mix.
4. Less Is More
This idea is pretty simple: less really is more. We used to think that packing our songs full of sounds would make them feel huge, but in reality, it made them sound weak during mastering compared to some of the most minimal tracks out there.
That’s because every element takes up valuable headroom. When we were new producers, we crammed our songs with big drums and layer after layer of synths and bass. But usually, the best approach is to use fewer elements in your song—this actually makes it sound bigger and more powerful.
5. Distortion
The final and ultimate way to maximize the headroom in your song is by using “distortion.” When you hear the word distortion, you might think of an overly crunchy sound, like a distorted guitar tone.
But that’s just one kind of distortion, and it’s not necessarily what we’re aiming for—at least not in such an obvious way. You don’t even need a lot of distortion; just slightly distorting all your sounds can give them a little extra bite. This helps them stand out and really maximizes their volume, all while using much less energy.
6. Psychoacoustic EQ
Our ears don’t hear all sounds the same way. They’re much more sensitive to midrange tones and don’t pick up very low or very high frequency sounds as well. You’ll notice this boost in the midrange more easily, and your brain will interpret it as sounding louder.
7. Add a Limiter
By adding a limiter as the last plugin on your master output channel, you can potentially increase your sound output by another 2 to 4 dB, without worrying about clipping, distortion, or other unwanted artifacts. This allows you to push your limiter as far as you need, gaining as much volume as you want.
How do you make a mix sound loud without ruining it?
Human Factor
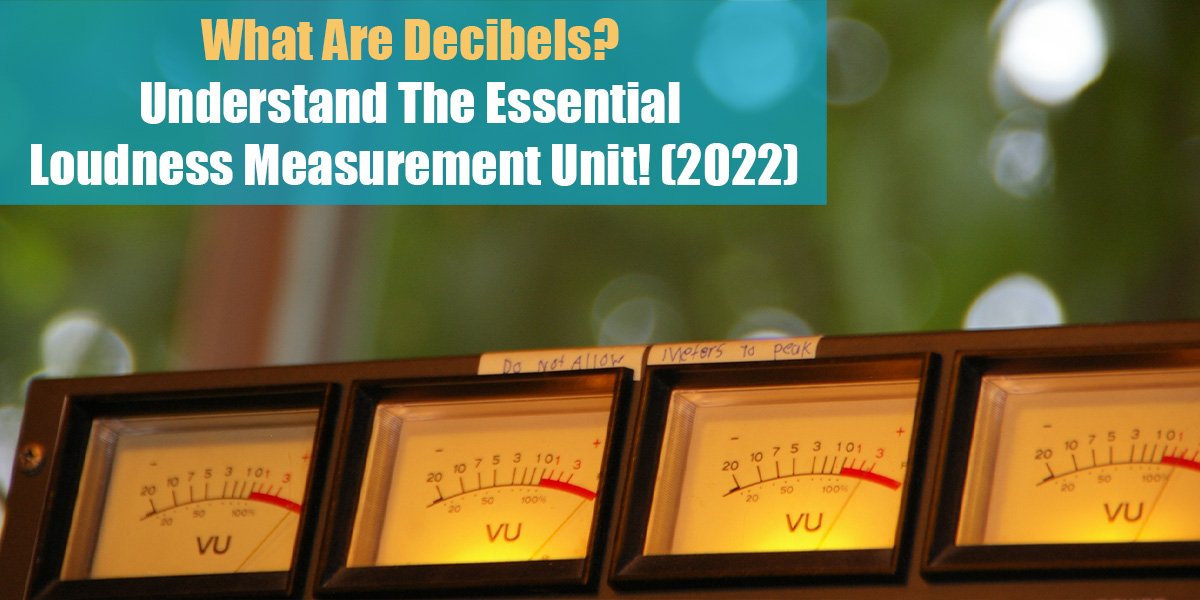
The human hearing system is far from being ruler-flat. Our ears’ sensitivity to different frequencies changes dramatically depending on the loudness of the sound. The biggest differences are in how we perceive low frequencies, and our ears respond most evenly to sounds around 80-90dB SPL. (If you want to know more about decibels, check out this article here.)
Pure or acoustic low-frequency sounds usually contain more energy than higher-frequency ones. The human hearing system also responds to the dynamic range of sounds—that is, the contrast between the loud and quiet parts.
Where To Start?
We’ve already mentioned it, but it’s worth saying again: making a mix sound loud isn’t just about loudness-enhancement plug-ins or mastering. In a digital recording system, there’s a hard limit: once you hit it, you can’t push the waveform any higher. Any loudness-enhancing tricks need to be done at or below this level; if you try to go above it, the waveform will be clipped and unpleasant aliasing distortions will result.
Shaping The Spectrum
There are several tools and techniques for shaping the sound spectrum, from picking an initial sound with the right harmonic balance to using EQ and distortion to adjust the harmonics. Low-frequency sounds can cause problems, as you might end up with very large signals at extremely low frequencies that are almost inaudible. This wastes headroom and makes it harder to get your track sounding loud. Bass sounds that are almost pure sine waves also tend to sound much quieter.

EQ Boosts & Cuts
EQ boosts can help emphasize the most audible parts of a sound, but it’s easy to make something sound harsh or unpleasant by overdoing it. A safer way to add loudness and brightness is to use a high shelving filter set between 8 and 10 kHz, then gently boost this range to “open up” the high end. This approach adds detail and clarity without unnecessarily boosting the 4 kHz area.
Dynamic Range Processing
While analog compression can sound very pleasing, it’s sometimes difficult to control and may introduce unwanted distortion. That’s why we often turn to dedicated dynamic processors like compressors and limiters to manage dynamic range. Limiters, in particular, are often better suited for musical applications, offering gentle gain reduction. Many compressors also allow you to switch between compression and limiting modes.
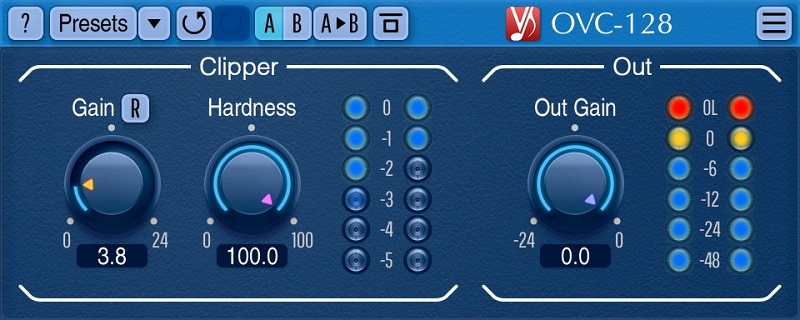
Intentional Clipping
Deliberate clipping can also increase loudness by raising the average signal level and adding some distortion, but it should be used carefully, as it can ruin an otherwise great recording.
Additionally, distortion artifacts from analog harmonic distortion are musically related to the fundamental frequencies, while those from digital anharmonic distortion are tied to the sampling frequency and not to the musical source.
Parallel Compression
Parallel compression is often set to a relatively high ratio, with the threshold low enough that you might see as much as 20–30 dB of gain reduction, depending on the source. Use a fast attack and set the release so that any noticeable gain pumping actually reinforces the rhythm of the song. When you mix this compressed signal back in with the dry signal, it makes the sound feel bigger, louder, fatter, and more punchy.
DIY Mastering
The main advantage of hiring a mastering engineer is their combination of experience and finely tuned ears. While you’re unlikely to match the quality of a skilled, sympathetic professional mastering job, you can still get reasonably good results on your own if you know what you’re doing. The processing chain often includes EQ, which might come before or after a compressor—or both.
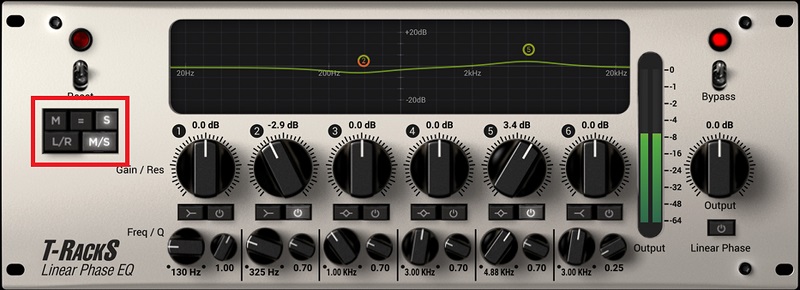
M/S Balancing
For a mix to sound loud, it needs to sound ‘big’, and this is as much about making the best use of the stereo field as it is about levels. During mastering, it’s very helpful to think about the stereo mix in terms of Mid/Side (M/S) signals instead of just Left/Right. For example, a track might be tightly focused in the center, while the sides have a much wider dynamic range.
Conclusion
Finding your own combination of plug-ins and processors to achieve the best sense of loudness—without causing problems—can be very rewarding. Take the time to get to know your tools well and experiment with different combinations on a variety of material. You might end up with some excellent results.
However, anyone can simply throw these processors onto a mix and lower the threshold, and it’s easy to get bad results if you don’t understand what the tools are actually doing. The key to mixing loudly is the same as mixing well: you need to understand, place, control, and balance the individual sounds that make up your mix.
Get the right balance of frequencies, create stereo interest, and control dynamics. By working with the psychoacoustic aspects of human hearing, you’ll be able to push your maximizing processors even further—when you really need to!