How To Mix a Two Track Beat and Vocals
Introduction
Mixing vocals over a 2-track instrumental is more limited than working with full stems of a song. Even today, when everything is digital and we should have all the stems backed up, sometimes a beat gets lost in our files and we have to record over the exported track.
At first, this might seem like a problem, but if that’s your only option, you’ll have to make it work and get the best sound possible. While it might sound like a rare situation, it actually happens pretty often—especially for hip-hop producers.
People who make beats, or those who need to add new vocal features or create remixes, will often find themselves mixing vocals over a finished track. Even if you don’t expect to do this, it’s a useful skill to have.
1. Adjust the Levels of the Beat
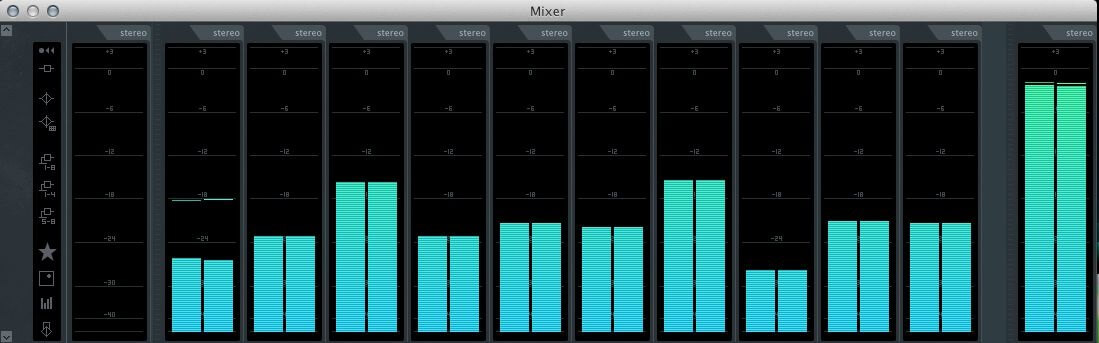
Before we start mixing the vocals and the track, it’s important to set your levels so you have enough room to work. To help the vocals and instrumental blend together better, we’ll be remastering the track at the end. For now, just lower the level of your mastered beat.
Usually, we bring the master level down so that it peaks around -10 dB to -6 dB. This gives us enough headroom for the vocals to sit on top and also makes things easier when it’s time to master the final mix. This should be your first step before moving forward. Once you’ve done this, recording and mixing the vocals with the beat will be much smoother.
This might not be the mixing process you’re used to, but for this situation, it’s important to start here. The beat is already mixed, which has its pros and cons. If it’s mixed well, you can skip a step, but if it isn’t, you’ll have to make some adjustments later on—but we’ll get to that when the time comes.
2. Prepare the Beat
Now that we’ve created some volume reserve, we’re ready to start mixing. However, it’s still too early to work on the vocals—they won’t sit well in the track yet. Maximizing the instrumental has taken away the natural transients by minimizing them with a limiter. That’s why it’s important to “brighten up” the beat a bit at this stage.
You have two options:
- Use a transient shaper (or an expander)
- Layer in samples of the kick and snare/clap (depending on what’s used in the original track) with the instrumental
The second option does blur the line between mixing and production, but sometimes it’s the only solution. If the instrumental is so flattened that there are no transients left to work with, you’ll need to regenerate them. Use this approach if the beat is heavily compressed and there are no natural transients remaining.
If the beat was only mixed (not mastered) and the transients are still intact, you might not need to do any of this. It’s up to you to analyze the track and decide which production steps are necessary to make the beat more flexible for mixing.
3. “Mix” the Beat
Even though the beat is already mixed, you still have room to make changes to better suit the final mix. Having a pre-mixed beat doesn’t limit you—instead, it gives you more freedom to customize the sound and make it unique to your taste. There are several ways you can approach this, so let’s look at a few options.
The instrumental might sound very bright and lively or, on the other hand, quite dark. You’ll probably need to adjust your vocal EQ to match the vibe of the beat. For example, a bright, lively vocal on a dark instrumental can feel disconnected. This idea applies to the rest of the frequency range and the overall tonal character, like distortion.
If the track has a distorted or saturated feel, it’s often helpful to add some intentional distortion to the vocals as well. Of course, don’t overdo it if it starts to hurt the sound, but it’s definitely something to consider.
Lastly, try to match the space of the track. If you have a mid-side processor, solo the side signal or turn the center signal way down. This will reveal the quality of the reverb used in the instrumental.
Finding a similar reverb or delay, and EQing your vocal reverb to match the tone and ambiance of the instrumental, will help blend your vocals and the beat together in the most natural way. This takes practice and a good ear, but it’s a very effective technique.
4. Vocals
Now that the basic beat is ready, it’s time to focus on the vocals. For this step, let’s assume the vocals are already recorded and just need to be mixed in.
4.1 Compressing and EQing
The next step is to set your vocal level based on the beat. We recommend placing the vocal just a bit lower than where you’d want it for your final mix. That way, after compression, EQ, and other processing, it should reach the ideal dB level.
If your vocal ever starts sounding too loud, just turn it down slightly. This is a basic stage before adding effects, so don’t worry too much about getting it perfect.
Just make sure your vocal is low enough so it doesn’t overload your compressor plugin. Before fitting the vocal to the instrumental, we need to get a basic vocal mix done. This gives us a better sense of how the vocal sits in the overall mix.
To make your vocal stand out, you need to even out the vocal levels. Depending on the vocalist’s position or the song’s dynamics, the vocal’s loudness can vary a lot. Some plugins can automate this process, but you can also do it manually with gain automation.
Once your vocal’s loudness is fairly consistent, it’s time to add compression. When mixing a vocal with a mastered instrumental, we usually compress the vocal a bit more than usual. Set the threshold to get around 5dB to 7dB of gain reduction.
Set your ratio fairly high—between 4:1 and 8:1—for more aggressive compression. Use a medium attack and a quick release to give the vocal extra edge. Compression and leveling help keep your vocal steady throughout the song.
For EQ, start with a high pass filter to remove unwanted low frequencies. Next, reduce around 200-700Hz by a few dB, since these frequencies can mask the upper, clearer tones. Then, boost 2-5kHz to add clarity to the vocal, while dipping a few sibilant frequencies.
4.2 Sidechain Compression
If you’re having trouble making the vocals fit into an already mastered instrumental, subtle sidechaining is the technique to use. This method is much better than simply cutting down the frequencies of the beat where the vocals sit, because it only affects the sound when needed.
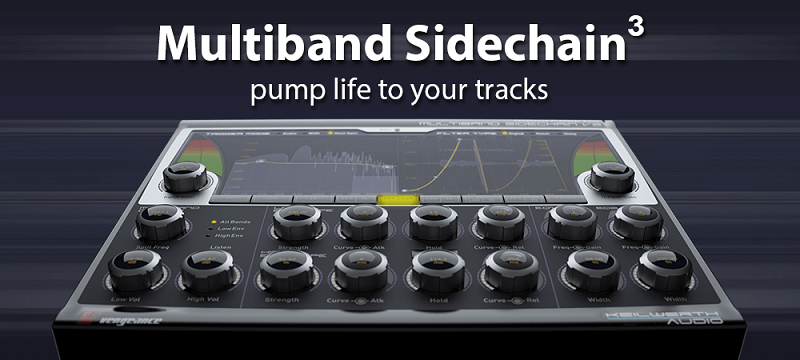
An even more advanced option is multiband sidechain compression. With this approach, you can target a specific frequency range—mainly where the core frequencies of the vocals are—and apply sidechain compression just to that band.
This can truly make or break your mix, so proceed with caution. If done incorrectly, you might introduce an unwanted pumping effect and ruin the cohesion of the entire song. However, if done properly, it will bring everything together, and the vocals will sound perfectly balanced with the instrumental.
4.3 Additional Vocal Effects
At this stage, your goal is to match any timed effects in the beat with your dry vocals. Start by analyzing the beat to identify what kinds of timed effects—like reverb or delay—are present. Once you know what’s there, try to recreate the same type of reverb on your vocals so everything blends together smoothly.
We’re not recommending specific reverb or delay plugins, since the choice will depend on what you need to recreate.
After you’ve matched the effects, work on matching the tonality of the beat and vocals. As we mentioned earlier in the “Mixing the beat” stage, the same approach applies here: if the beat is hard, make the vocals harder; if the beat is bright, make the vocals brighter. It’s pretty straightforward!
5. Finalizing and Mastering
Once you’re satisfied with how your vocals blend with the instrumental, you might need to master the track. This is where the headroom we left earlier comes in handy. Mastering is a complex topic, so we won’t dive into all the details here. However, if you’re interested, we have some articles about mastering hip-hop songs that you can check out.
Keep in mind that mastering at this stage can lower the quality of your instrumental a bit, mainly because of the extra compression and quantization distortion. Unfortunately, this is unavoidable when you’re mastering a track that’s already been mastered.
That being said, keep your mastering subtle, and avoid adding too much compression or saturation. Otherwise, you’ll start to notice digital compression artifacts creeping in.
Conclusion
Ideally, working with a two-track beat and vocals might make things faster, but it can be a tiring process since it’s not something we’re used to. Also, trying to fit everything together to create one cohesive song is a delicate task that requires our careful attention.
Simply follow all the steps we mentioned above, then give it a rest. After some time, open the project again and try to listen with a “listener’s ear.” If everything sounds good, bounce the project—if not, make adjustments and bounce again. Hopefully, our suggestions have been helpful, and you’ll be able to create the song you’re aiming for!
If you have any questions about this topic, feel free to let us know. We’ll be more than happy to help!