Mixing in the Box
Introduction
As technology evolves, so do our creative abilities. Recording equipment and methods have advanced rapidly since their humble beginnings in the early 20th century. Just like other forms of art and entertainment—such as movies, video games, and literature—music production has gained a lot from the digital age.
While some engineers swear by their hardware (classic or modern), the truth is that recording and mixing great-sounding songs no longer requires all the physical equipment that was once essential. The term “mixing in the box” refers to handling the mixing process entirely within a computer, without using any external hardware.
Choosing whether to mix in the box, use hardware, or combine both mostly comes down to two things: preference and cost. People who learned to mix a certain way tend to stick with what they know. So, many who started before the digital age still prefer their reliable mixing consoles.
The next generation of producers and musicians will likely stick with mixing in the box because today’s digital audio workstations (DAWs) are so well-designed, efficient, and user-friendly. Financially, it’s also much cheaper and saves a lot of space. While buying the right software and the best plugins can cost hundreds of dollars, everything you need will be at your fingertips and can be updated for little or no extra cost.
If you decide to mix in the box, there are a few things you should know before you start. Let’s look at four tips for creating great-sounding mixes when mixing in the box.
1. Templates
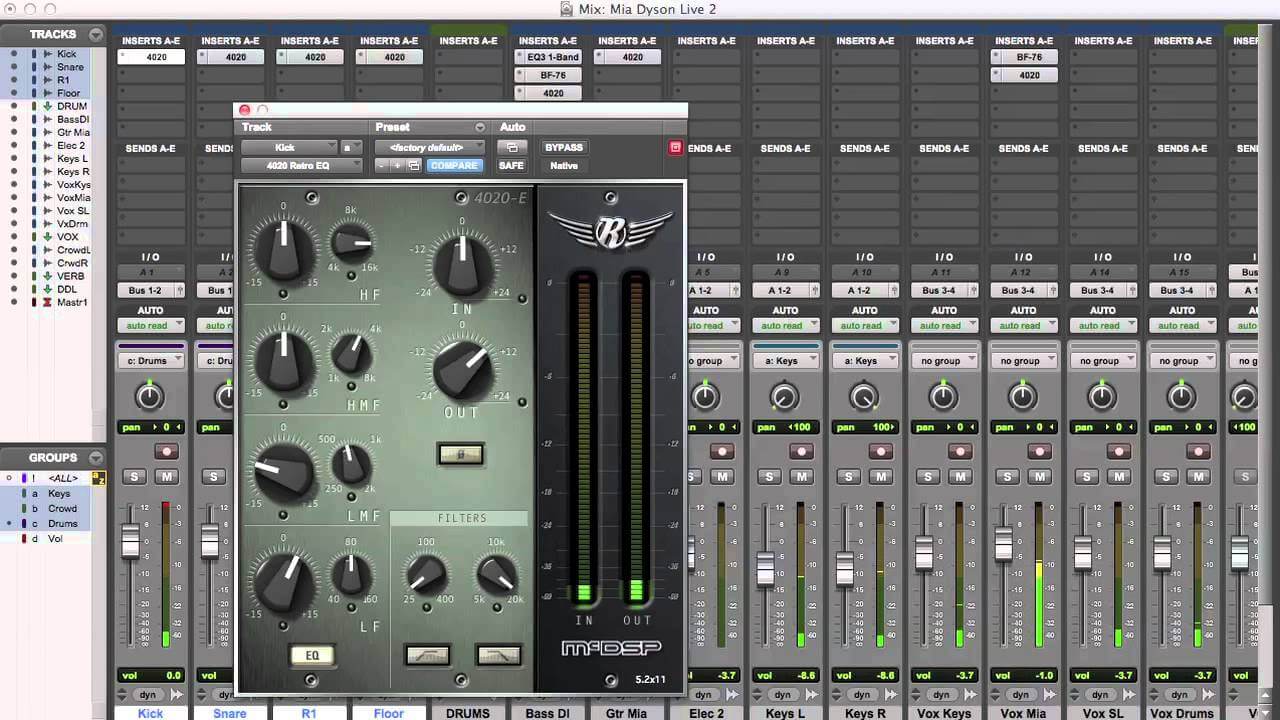
One of the most powerful features of mixing in-the-box is having a customized template. Creating a template can help speed up your workflow and solidify your sound. It can include all your favorite effect sends, mix bus settings, instrument groups, VCA faders, parallel processors, and more. It took me a long time to finally set up a mixing template, but once I did, I couldn’t imagine mixing without one.
To create a template, start by making a new session. Within this new session, create the tracks you typically use in each mix. If you’re already doing a lot of mixes professionally, you’ll notice patterns in the effects, mix bus settings, and parallel processors you use most often. If you regularly work on a similar style of music, you’ll also have a good sense of which instrument groups you usually mix.
Once your template is complete, simply “save the session as template.” This allows you to open this setup whenever you need it. You can also use “Import Session Data” from this template to quickly bring these tracks into any mix you’re working on.
2. Discover your favorite effects, plugins, and settings
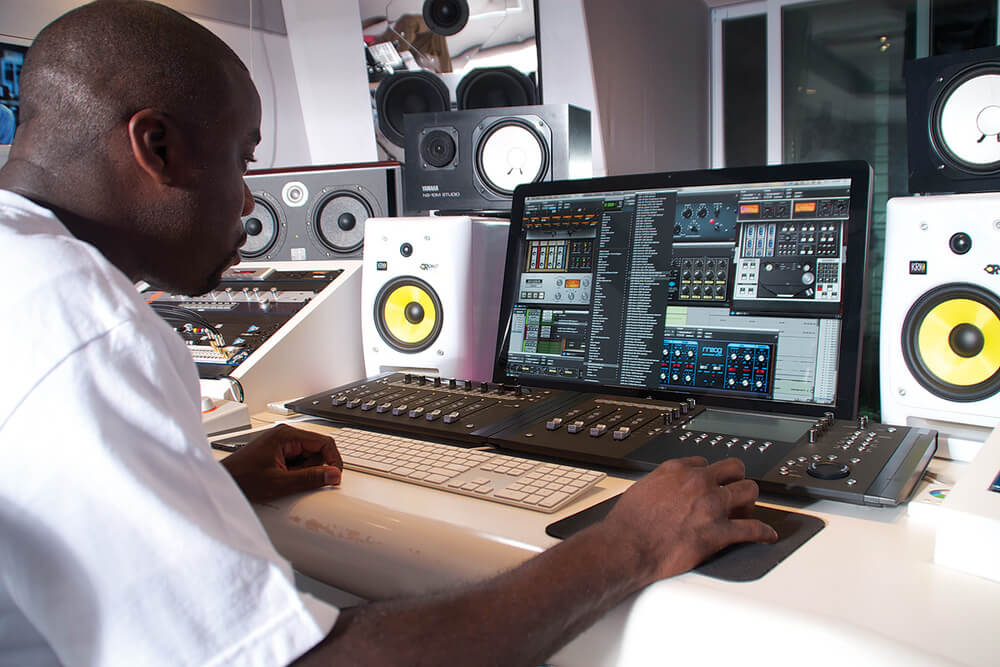
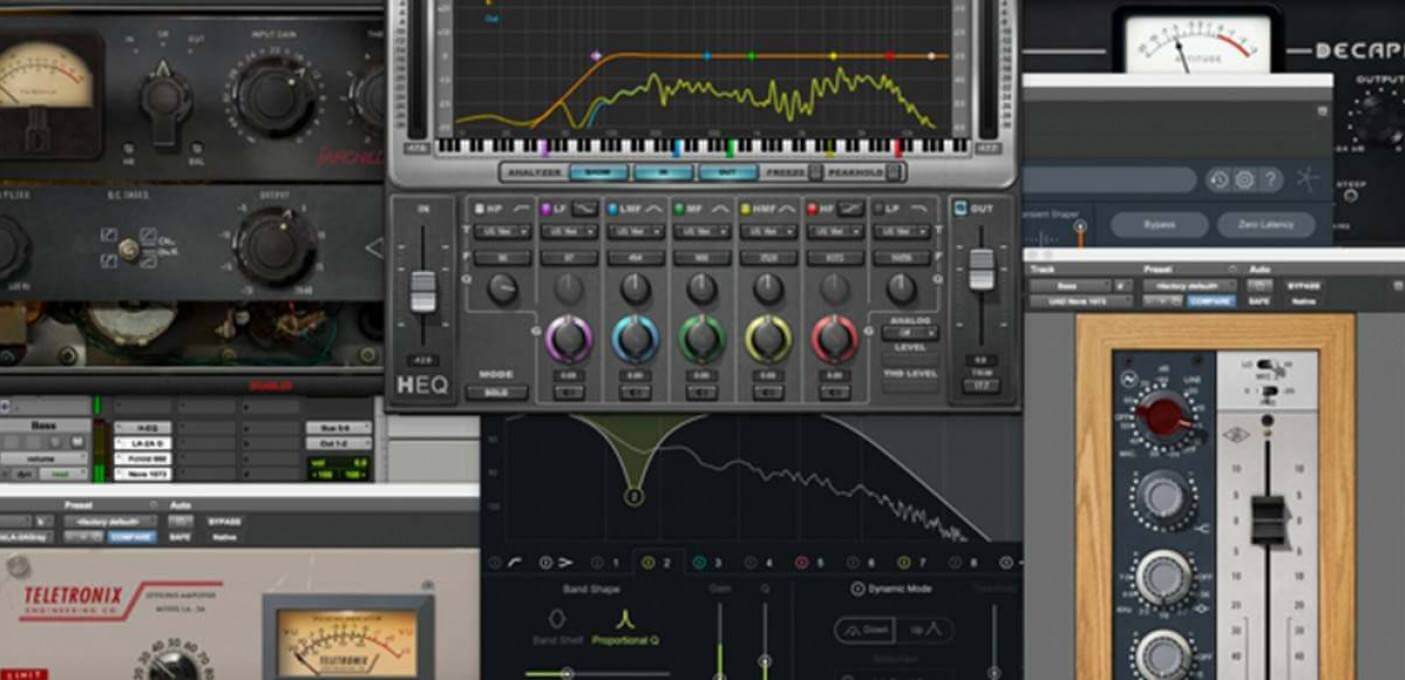
One of the biggest advantages of mixing in the box is the incredible flexibility and wide range of choices available to you. With hardware, you’re limited by the physical unit itself. Software, on the other hand, offers much more variety—even allowing you to emulate classic hardware. As long as you have enough RAM and CPU power, the possibilities are endless.
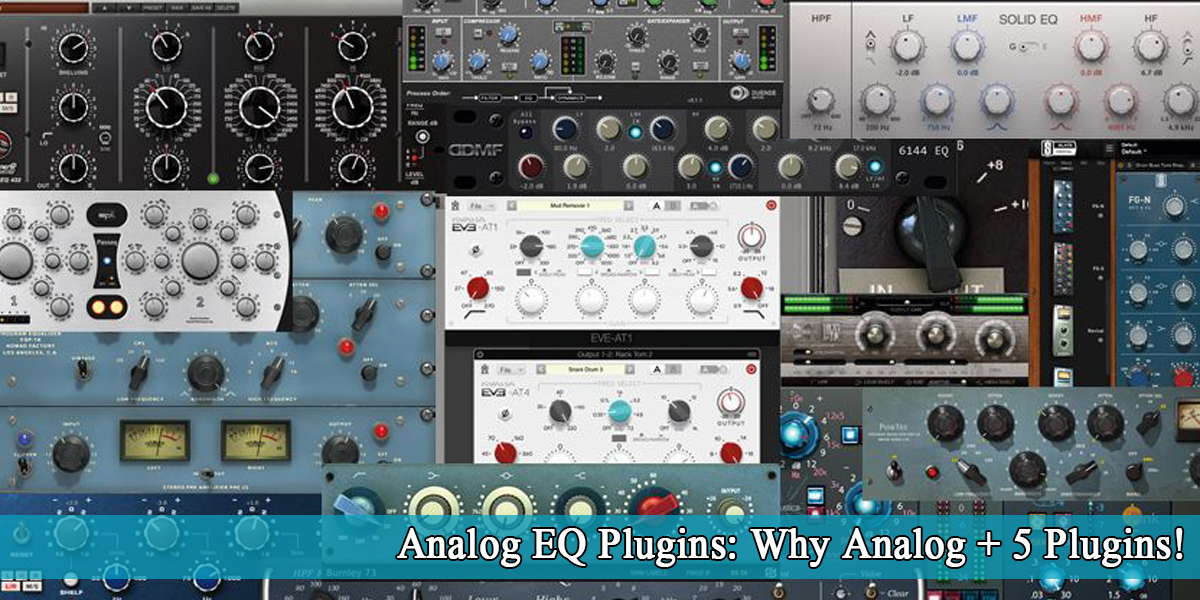
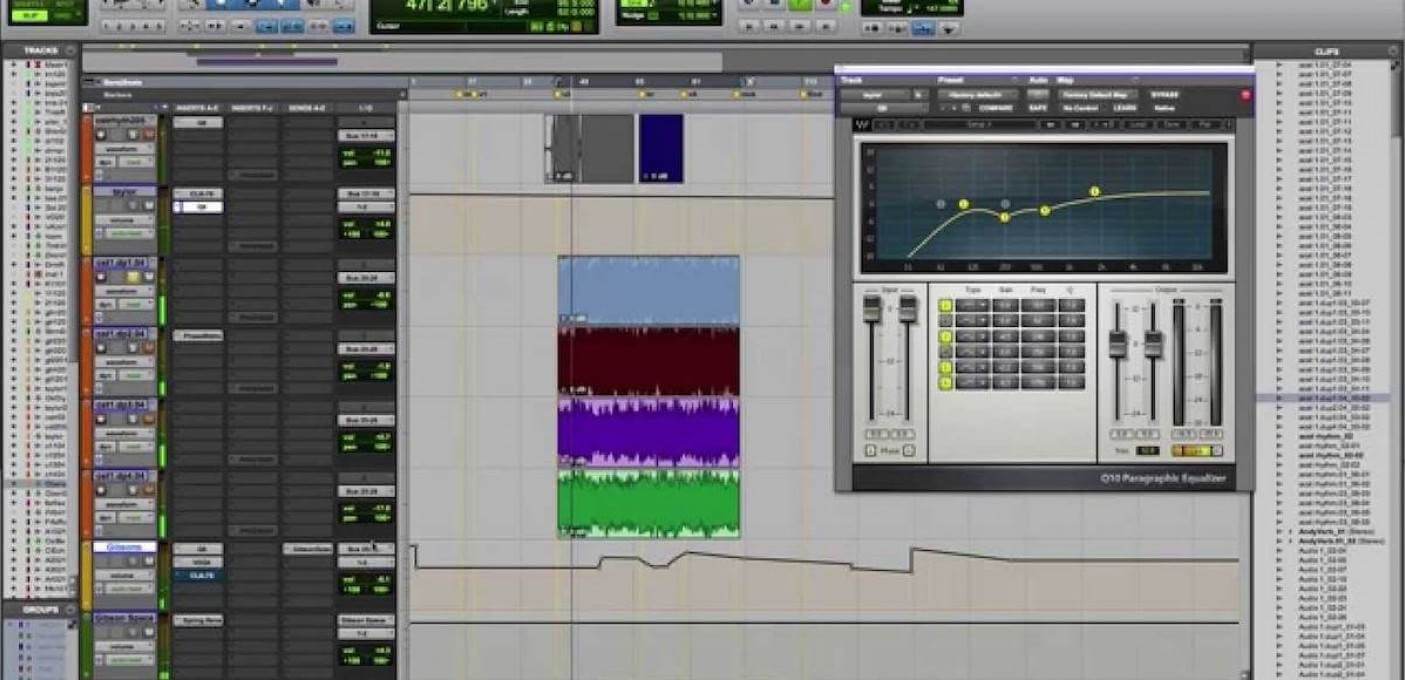
Take advantage of this flexibility by exploring the vast array of plugins and effects within your DAW and online. From compressor plugins to graphic equalizers, tape delay emulations, and so much more, the sheer number of amazing tools out there can be overwhelming—in the best way possible.
3. Do not always go to zero
This applies to both recording and mixing. Digital meters don’t always show the true peak of your signal, because they only measure the actual sample values. Interpolation between samples can result in higher levels than what the meters display, which leads to something called inter-sample distortion.
To avoid this, leave a few dB of headroom for a cleaner sound. This issue is less pronounced at higher sample rates, so you might want to “spend” the extra bandwidth to record at 96kHz. You may also notice better sound quality from plugins, especially distortion-heavy ones like amp simulators, when using higher sample rates.
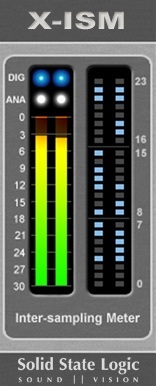
Solid State Logic offers a free meter plugin that can detect inter-sample distortion, and PreSonus Studio One Pro 2 DAW includes meters that can be switched to show inter-sample distortion as well.
4. Compensate for latency
Mixing in the box offers plenty of advantages, but that doesn’t mean it’s without its flaws. Latency is the biggest challenge when mixing without hardware, though it tends to affect the recording process more than mixing itself. Fortunately, latency is much less of a hassle these days. Almost every DAW now automatically compensates for latency, so you have fewer headaches to deal with.
Still, latency can crop up from time to time. This usually happens for a variety of reasons, but most often it’s caused by an overload of CPU-hungry plugins. In addition to automatic latency compensation, upgrading your computer’s processing speed will help reduce latency problems. It also helps to use more efficient, less demanding plugins whenever possible.
Benefits of mixing in the box
Mixing in the box is affordable because you only need to buy a DAW software program, which you can use for both recording and mixing. That’s why almost every budget home recording studio—about 99%—chooses this approach.
All your settings are saved digitally for future use. When you finish a mixing session, you just save your project and all the plugin settings are stored automatically.
You also benefit from zero digital noise, unlike analog setups where every piece of outboard gear can add to the overall noise floor.
Effect plug-ins are typically inexpensive, often available as open-source or much cheaper than hardware effects. For example, a bundle of Waves plugins with essentials like EQs and compressors might cost around $600. That same budget would only get you a single decent piece of analog hardware.
Maintenance costs are low—if your DAW or a plugin gets corrupted, you just reinstall it. There’s no need to hire a tech for repairs.
Conclusion
We hope this article helps you develop your skills and creativity while mixing in the box. Creating a customized template can greatly improve both your productivity and creativity, but it can take some time to fine-tune it so that it works for everything that comes your way. Remember to experiment with different bus compressors, EQs, stereo wideners, limiters, effects, and more to find the best options for your mixing style and workflow.
The last thing you want is for your template to make all your mixes sound like they’re coming off an assembly line. I usually update parts of my mix template every month or so to keep things fresh for each new project. I always keep a copy of previous mix templates, just in case the changes aren’t quite working out or I need to mix a song that’s similar to an older project where the template was perfect.
No matter whether you use Cubase, Pro Tools, Ableton, or any other DAW, the mixing process will become easier, and you’ll end up with great-sounding mixes.
Remember to always try out new plug-ins as they’re released to stay up to date. Almost every manufacturer offers 14-day demo periods for their products. If you find something that really fits your mixing style, add it to your template and try it out on your next few projects.

