How To Record Guitar Guide
Introduction
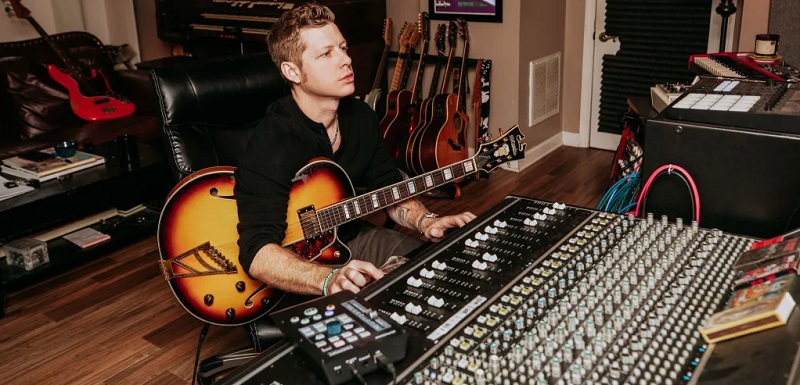
Today’s recording equipment makes it possible for anyone to create studio-quality recordings at home without spending a fortune. Recording guitar well is one of the most important parts of music production.
It’s essential to think about how you want your guitar to sound and how you want it to groove with the rest of your music. Recording your music is easier than ever before, but that doesn’t mean it’s without its challenges.
Thanks to the internet, there are now more gear options than ever—many of them affordable. Still, achieving a convincing sound takes time and effort. In this guide, we’ve answered some of the most frequently asked questions to help you get started.
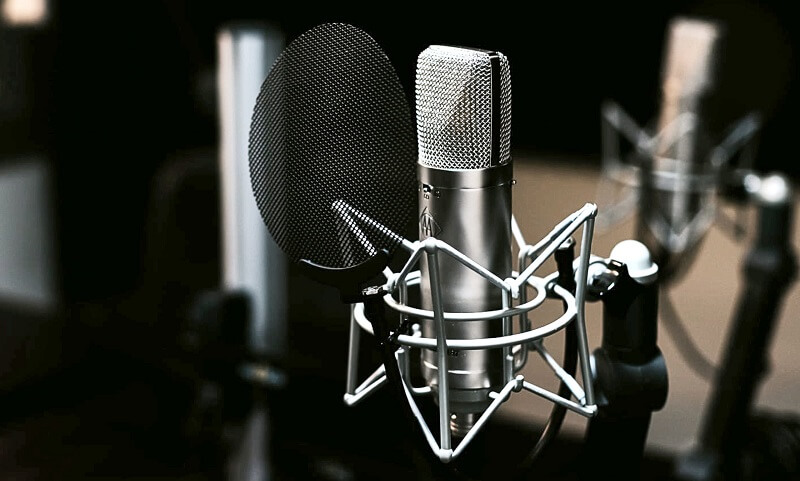
Tip#1 – Cardioid Microphone
Recording your guitar amp is often a better choice than using amp simulation for several reasons. Let’s start there. If you decide to take this route, we highly recommend using a cardioid dynamic microphone.
Cardioid microphones reject sound from the rear, making them perfect if your room has poor acoustics. Dynamic microphones are also less sensitive to high frequencies, which isn’t a problem when recording electric guitars.
Electric guitars have very limited high-frequency content. In fact, when mixing electric guitars, we often use a low-pass filter to cut everything above 10kHz. Because of this, using a condenser microphone in a home studio is usually unnecessary. For this job, a Shure SM57 is an ideal choice.
Tip#2 – Changing Gear in Time
Artists often change their rigs throughout their careers, so it’s important to consider the specific time period when researching an artist’s setup. Remember, pedals, amplifiers, and effects aren’t the only things that matter—researching the recording chain is just as important.
For example, SSL consoles were used to record some of The Police’s most popular hits. This creates a very unique sound that you can’t achieve with a vintage REDD preamp. Similarly, different compressors have their own distinct character. Mixing guitars with a Herchild compressor gives you an authentic ’60s sound, which is very different from the flavor you’d get using a DBX 160. Using period-correct equipment is essential if you want to capture the right tone.
Tip#3 – Find the Right Tone on the Amp
Recording is an exciting phase for many people, and it’s easy to rush through it. Please try not to make this mistake. Take your time to carefully adjust the EQ on your guitar amp, as well as the tone controls on your guitar.
Your goal should be to record a guitar tone that won’t need any equalization during the mixing process. You’re well on your way to achieving this, and that’s the most important thing. As a general rule, turn the bass knob down a few notches. You don’t need a lot of low-end on the guitar.
Tip#4 – Listen Closely
Start by getting your amp to sound the way you want in the room. Take some time to decide what kind of sound you’re aiming for, and listen carefully to what you hear. Now is the perfect time to experiment—getting the sound right at this stage will make micing much easier later on.
Try your amplifier in different spots around the room at the volume you plan to record. As you play, adjust the tone controls on your amp, sweeping through their range and stopping when it sounds best to you. Once you’ve set your sound, you’re ready to position the microphone.
Tip#5 – Find the Tone in the Context of the Mix
Have the guitarist play along with the track while you move the microphone around to find the best position. Make sure the gain on your interface is set correctly. Once the guitar sits well in the mix, use the channel fader to adjust the volume in your headphones.
With the microphone set, walk around and listen to how the guitar blends with the rest of the mix. This approach is much more effective. Remember, no one will hear the guitar on its own—so it doesn’t matter if it sounds odd in solo. A tone that seems too bright or twangy alone might sound just right in the full mix.
Tip#6 – Use a Reference Track
You can use a reference track to help you find the right guitar tone. Choose a song with a guitar sound you like, and have it ready to play through your speakers or headphones after you import it into your DAW.
Listen closely to the guitar tone. Does it sound bright or warm? Is it distorted or clean? Compare your guitar’s tone to the reference track. If your guitar sounds dull, try boosting the high frequencies or moving your microphone closer to the center of the speaker cone. If it sounds too harsh, do the opposite. The idea is simple.
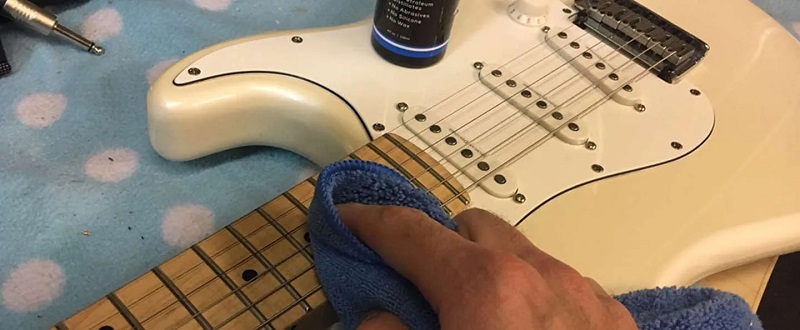
Tip#7 – Prepare Your Guitar
Before you start thinking about amplification, tone shaping, microphones, and everything else, make sure your guitar is in perfect working order. Begin by cleaning the strings or replacing them with new ones if they’re worn out.
Check that the instrument doesn’t produce any buzzes or unwanted noises, and use only high-quality cables for all your connections. Also, make sure that you or your guitarist know the part you’re going to play inside and out before you begin the recording process.
Tip#8 – Use Less Distortion
Distorted guitars often sound more intense on recordings than they do when played live. While it’s exciting to perform with a loud, heavily distorted guitar, using too much distortion on a recording can quickly clutter the mix and cause various problems.
Since guitars usually sound more distorted when recorded, you don’t need as much distortion as you might expect. If you decide during mixing that you want more distortion, you can always add it later with an amp simulator. The real issue happens when you record with too much distortion right from the start.
Tip#9 – Double Tracking
Double-tracking rhythm parts is a popular technique. It means recording the same part twice, then panning one take hard left and the other hard right. This gives your sound a sense of depth and width that a single recording can’t achieve.
To get the full effect, be sure to record two separate takes. If you just duplicate one track and pan it, you’ll only make that part louder. The real magic comes from the small differences between two performances, making the sound feel bigger and more expansive.
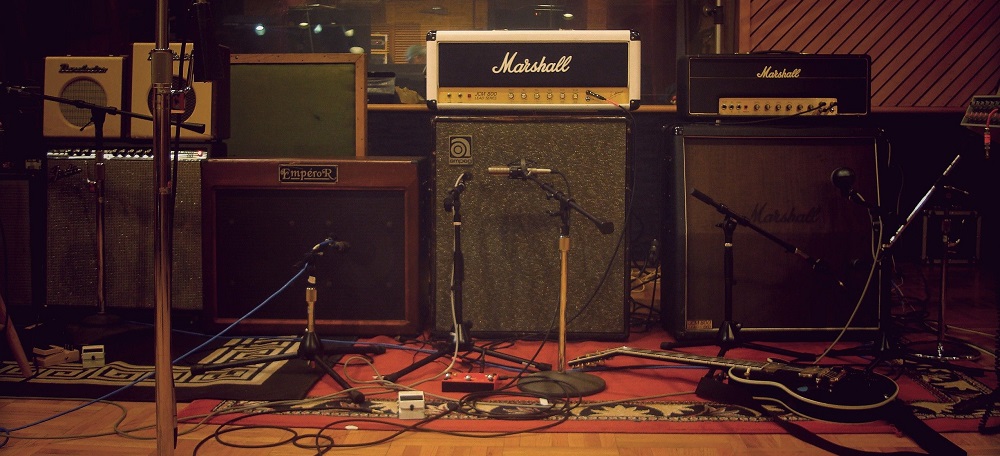
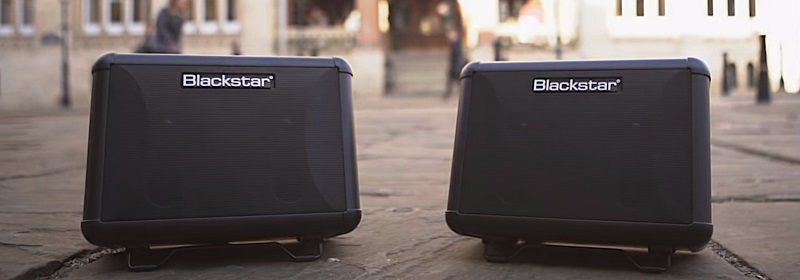
Tip#10 – Amp Size Doesn’t Matter
Does size matter, or doesn’t it? When it comes to live performances, bigger is usually better. In a recording studio, however, size doesn’t matter much. Most of the time, you’ll place the microphone right up against a single speaker, so it makes little difference whether the cabinet has one speaker or ten.
That said, the size of the speaker does affect its tone. But this doesn’t mean a smaller speaker is less effective. In fact, guitarists often choose small amplifiers in the studio because of the unique sound they produce.
Tip#11 – Adjust Volume Levels
If your input signal isn’t clear, try recording it again to get a cleaner result. In general, you should avoid letting the input intensity on your interface get too high. It’s better to keep the level lower than to push it too hard, since overloading the A/D converter often causes distortion. For guitars, it’s recommended to record at an overall volume around -18dB. While peaks can go up to -15dB, always be careful to avoid clipping.
Because guitar DI signals are very dynamic, make sure your recording input level is set so that even the loudest parts don’t cause clipping. From tracking to mixing, keep your peak levels well below the clipping point to prevent distortion.
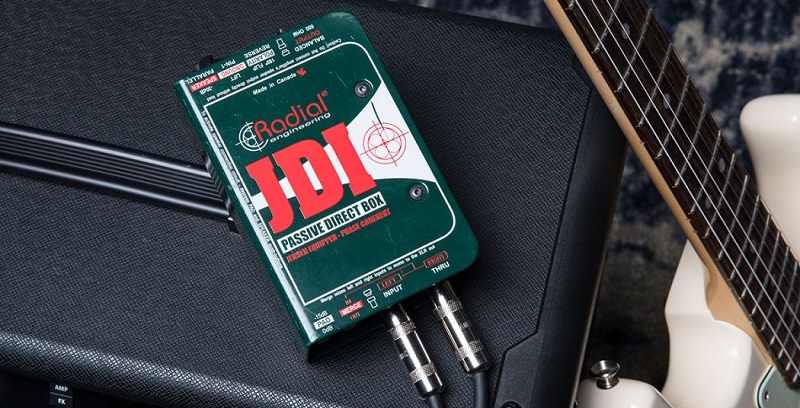
Tip#12 – Re-Amp if You Need It
No matter how you originally recorded your guitar, it’s never too late to run your track through an amplifier. You can connect your dry-recorded guitar track to an amp using a re-amping box. This lets you spend as much time as you want adjusting the amplifier’s tone before you record it.
Re-amping has many benefits, but you’re unlikely to use it in a typical home recording studio. There are several re-amping boxes available on the market, so it’s a good idea to choose one early on and stick with it.
Tip#13 – Miking The Amp
To properly mic a guitar or bass cabinet, you need to consider two main things: the type of microphone you use and where you place it. A common piece of advice for beginners is to “throw a ’57 (Shure SM57 dynamic mic) a couple of inches in front of the center of the cabinet, and you’re ready to go” when recording electric guitars.
This is solid advice—it’s a good mic choice and a decent starting position that should give you an acceptable guitar sound. However, there are many ways to adjust this basic method, since it might not capture the exact sound you want or the sound the artist is looking for.
Conclusion
The guitarist may be asked to play a few chord flourishes, such as “add” and “sus” chord shapes, especially if their acoustic guitar part uses many open chords. Recording a double-tracked version of that same guitar part creates an even more intricate sound. The subtle differences between two similar guitar parts playing simple chord flourishes help produce an open and spacious feel.
During the recording process, engineers need to take several factors into account. Along with offering a technical perspective on the instrument, they also have a thorough understanding of the overall music production process. While many genres feature the guitar prominently, with tracks that rely heavily on it, this isn’t always the case.
Therefore, whether you are a guitarist or an engineer, it’s best to see the guitar as just one element of the overall production, rather than the only focus, whenever you record it.