How to Mix a Kick
Introduction
The kick drum is a crucial element to understand when mixing a track. It usually acts as the heartbeat that keeps all the other components together and forms the foundation of the production.
Unfortunately, there are a lot of misconceptions about how to properly mix the kick drum, and it often doesn’t get the attention it deserves during the mixing stage. That’s why we’ve dedicated this entire post to helping up-and-coming engineers master professional techniques for getting the kick to sit perfectly in a mix.
Mixing the kick is an art, and it deserves your full attention! Below, we’ve listed a series of steps you can follow to improve your kick mixing—so let’s dive in!
Compressing Kick
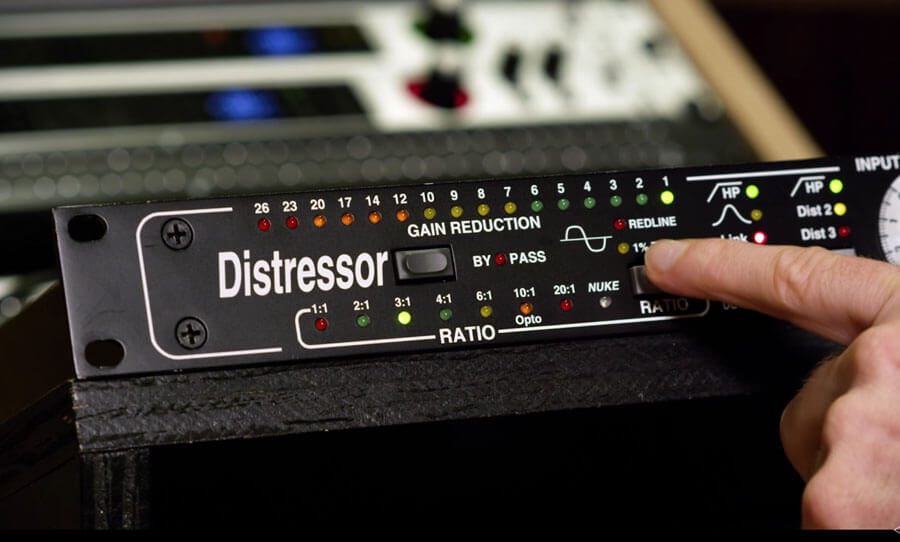
By using compression, you can add more transients and punch to your kick hits. For this, compressors like the SSL Compressor and the Distressor work really well. If you want a Distressor plugin, just head over to this web page and download it for free (shoutout to the Antress Team for the great work).
To create punch, set your ratio between 4:1 and 8:1, with a slow attack and a quick release. This combination helps bring out the punch in your kick. You can also use a limiter to catch any sudden peaks, but make sure to use it very gently—too much limiting will kill your punch since limiters have super fast attacks and ratios higher than 10:1.
Many people think a louder kick is always better, but that’s not true. Pay attention to what the compressor is actually doing to your kick, rather than just turning up the volume. If the kick is meant to be a focal point (like it is in most electronic music), aim for it to sit around -3 dB to -5 dB.
Remember, every kick and every mix is unique. There are no magical rules for compression—you just need to tweak your settings until you find what sounds best for your project.
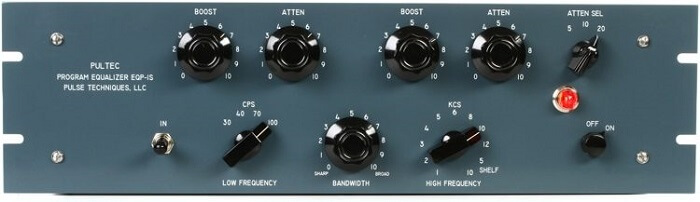
EQ Kick
It’s important to emphasize the low end of the kick drum with EQ. If you feel there isn’t enough bass in your kick, try boosting the low shelf around 80–100 Hz. This usually adds the depth you need.
A boomy kick drum can muddy up your sound, so it’s often a good idea to cut around 200–250 Hz if you notice too much muddiness in your kick.
A boxy kick drum is another common issue. You can fix this by cutting the boxy frequencies, which are usually found in the 300–600 Hz range.
If your kick drum has plenty of thump but lacks snap, you’ll want to bring out the sound of the beater. You can find this in the 2–4 kHz area. Depending on your music style and the type of beater, boosting different spots in this range will give you different results.
Boosting around 2.5 kHz gives your kick a more typical rock sound, while a tighter boost at about 4 kHz creates that snappy, Hardcore Metal vibe.
When EQing your kick drum, pay special attention to these frequency areas to help your kick stand out. But remember, EQ isn’t everything—other processing steps are just as important. Using a high-pass filter can be helpful, so don’t be afraid to use it.
If your kick drum isn’t the main focus in the low end, you might want to use a high-pass filter to cut some of the lows, leaving more room for the sub-bass.
This approach helps your kick and bass work together smoothly. Since these two elements form the foundation of your low end, getting this balance right is crucial. If not, you’ll end up with big problems in that area of your mix.
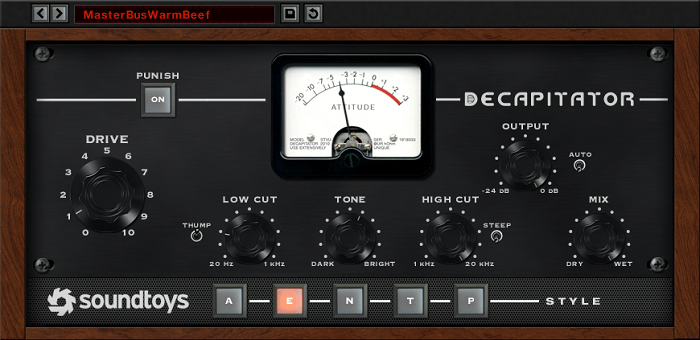
Saturation on Kick
Saturation is a great way to add harmonics to a kick drum. By applying a bit of saturation, you can make a sampled kick sound stronger and more powerful. Saturation—or even distortion in some cases—can also give your kick extra grit and character, making it stand out in a busy mix.
You might consider running a parallel channel with a saturated version of your kick drum, then blend it with the original sound. This way, you add punch and loudness without destroying the original kick.
Saturation is a process you always want to get right because it gives your kick roundness and balance across the frequency spectrum. With proper saturation, your kick will sound complete and gain “weight,” as the body of the sound is shaped the right way.
If you want a more aggressive sound, you can try some soft distortion or soft/hard clipping. However, we suggest using these effects carefully—if overdone, you could ruin your kick.
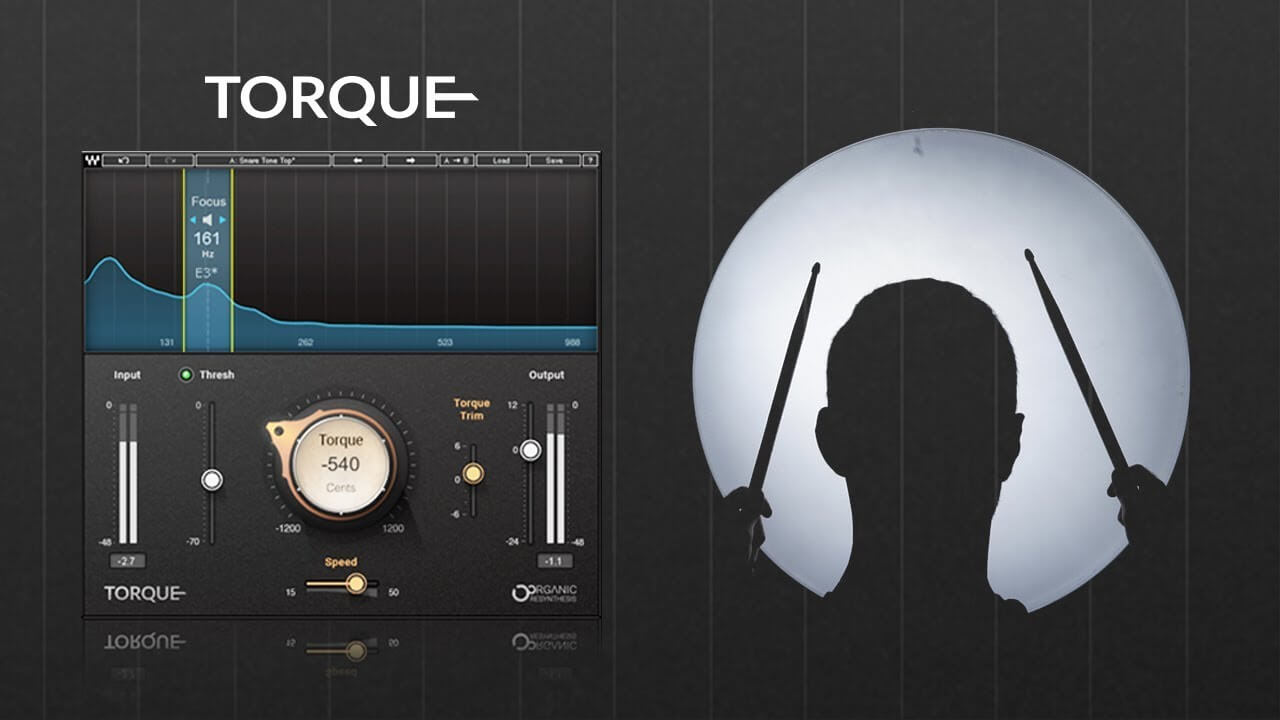
Tuning the Kick
When choosing a kick drum, it’s important to consider how it relates to the key of your track. Tuning the kick to match your song’s key helps it blend better into the mix.
A tuned kick drum usually sounds more harmonically pleasing and tends to groove better with the bass. That’s always the goal—mixing your kick so it doesn’t clash with other low-frequency elements.
To do this, first find the root note of your track and then match your kick’s key to that note. There are several ways to identify the root note of a kick.
EQs with a frequency analyzer work well, as do tuning tools like Ableton Live’s Tuner. Analyzers will show the main resonant frequency, which indicates the kick’s fundamental note. Once you know your kick’s root note, transpose its pitch to fit your song’s key.
The advantages of tuning your kick are clear. When you tune it to your song’s key, the kick sounds “in tune” with the rest of your track. But remember, this is a step you should take with every drum element during mixing.
Mixing drums is a detailed process where you need to pay attention to each element individually, while also mixing them together as one cohesive unit.
So, tuning each drum element is a step you don’t want to skip if you want a unified drum sound. Of course, you can skip it, but your drums might sound out of place in the mix, as if you completely forgot about the drum mixing process.
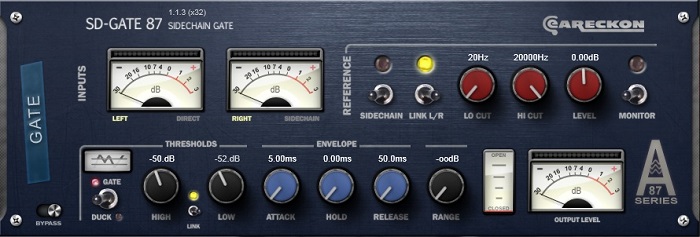
Gate Your Kick
You’ve recorded a kick drum, and now it’s time for some processing. You might notice that your kick track has some bleed from the rest of the drum kit. If that’s the case, use a gate to clean up any unwanted noise.
Place the gate on your kick drum track. Set the threshold so it’s only triggered by the kick. Use a fast attack time and a medium release time. Adjust the release while listening, as this will vary depending on the tempo and style of the music.
For a natural sound, try to keep the gain reduction around 9dB to 12dB. This will allow some of the rest of the drum kit to come through in a subtle, natural way.
The key with gating is not to overdo it, as it can make your kick sound lifeless. Listen to the track several times to make sure you’re not cutting off anything in an unnatural way and make adjustments as needed.
If you’re having second thoughts about how your gate sounds on your kick, it’s better to leave it out and find another way to clean up your kick drum sound.
Consider looking for a gate with adjustable attack and release parameters so you can fine-tune it, or simply use manual editing by cutting and fading in and out.
These two methods might require more manual work for your kick drum, but they’re definitely effective and will let you trim any unwanted sounds without much trouble.
Compared to using a gating plugin, this approach will take more time since you’ll need to double-check every kick and adjust as needed. If you’re short on time, we recommend sticking with the gate plugin. But if you’re not in a rush, brew some fresh coffee and get your DAW scissors ready to make those edits!
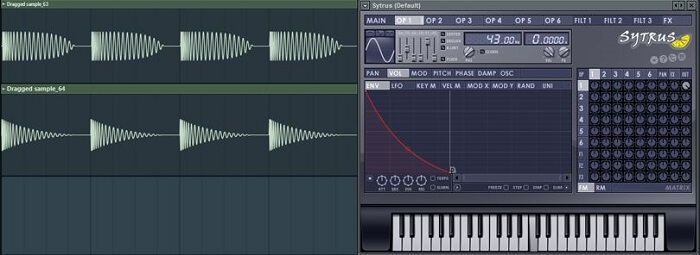
Layering
Next time you’re working with a digital kick drum, try sending it to two or three different busses. Then, split each bus into high, mid, and low bands using linear-phase filtering. This approach lets you add individual effects to each frequency band, creating a more unique and powerful kick. It’s the same technique often used for processing synth basses, and it’s one of the secrets to mixing a great kick—so pay attention to it!
By now, you should see just how much goes into properly mixing kick drums. Start by using EQ to remove problem frequencies, then enhance what’s left. Compression can be a great tool when used right, but be careful with reverb.
Finally, remember that other elements in your mix—like the bass guitar, overhead EQ, and higher-frequency content—can all affect how your kick drum sits in the mix.
Layering is another useful technique. You can add kick samples that have the characteristics your original choice is missing. That’s why it’s important to select a great kick sample from the start, so your kick stands out right away.
But if you’ve already chosen a kick you like and it’s still lacking something, layering is a good option to fill in the gaps. It’s similar to using EQ, but gives you complete control over each frequency band.
So keep this in mind when you’re working on your kick, because it’s something that’s commonly done.
Few Tips on Mixing the Kick Drum
Triggers
There’s a lot of stigma around using triggers on a drum set. However, when done correctly, triggers can make your kick drum sound incredibly clear and help it sit perfectly in a mix. Steven Slate’s Trigger is an excellent tool for mixing kick drums.
Using software like Steven Slate’s Trigger is a common technique in modern music production, and there’s no reason to feel embarrassed about it. Try to think of triggered samples as an enhancement to your original kick, not a complete replacement.
Don’t rely on just one triggered sound. Blend several different samples together, each on its own fader, so you can mix between them. This way, each sample adds a unique character, almost like an EQ, bringing out different flavors in your kick drum when mixing.
Trigger 2 by Steven Slate

Select the proper sample
Start by choosing your kick drum wisely. Why pick a weak kick drum sample and waste hours trying to make it sound good? You might succeed, or you might not—but usually, it just kills your motivation before you get anywhere.
Instead, look for quality kick samples on well-known sample sites, or use a good kick drum synthesizer and make your tweaks from there!
Once you’ve picked your kick, set the volume with a few dB of headroom to start. If you’re happy with your kick drum and are moving on to the bass line and other low-end elements, make sure nothing overpowers the kick in terms of volume.

Mono your kick drums
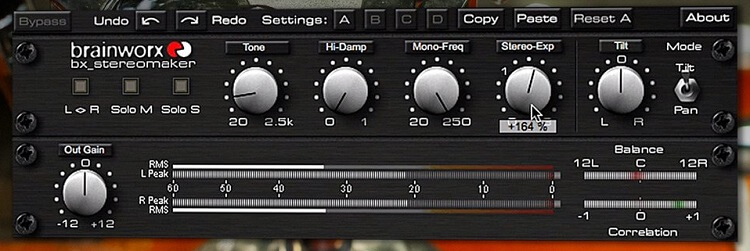
To avoid phase issues in your mix, always make sure your kick drum is in mono. There are plenty of mono maker plugins available that let you switch your kick to mono with just a single knob. If you want to check whether your kick is in mono or stereo, you can use one of the many free vectorscope plugins out there.
In a vectorscope, a straight line shows that your signal is in mono—so keep an eye out for that! The same rule applies to your sub-bass. We always make sure our sub-bass is set to mono, or at least everything below 120Hz is in mono.
bx_stereomaker by Brainworx
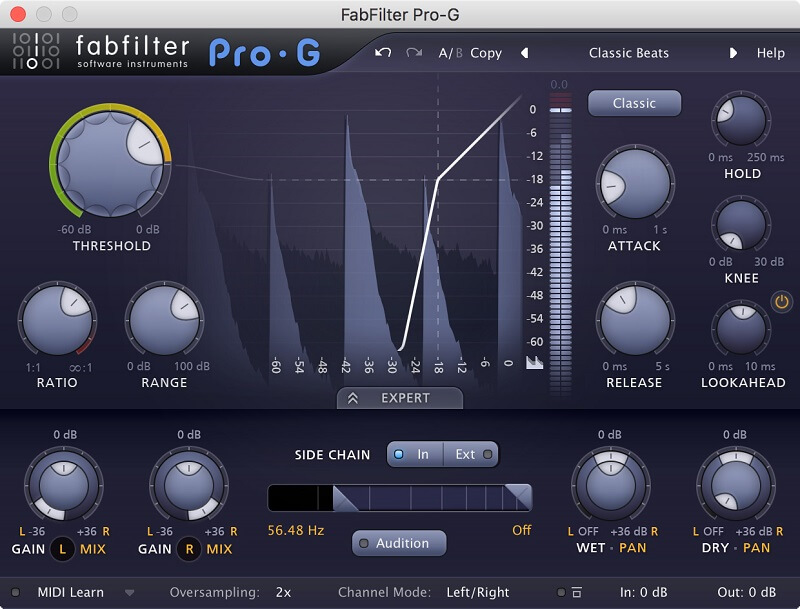
Sidechaining
This technique is well-known for giving your kick drum the space it needs in the frequency spectrum. By simply adding sidechain compression to both the kick and the element that clashes with it, you’ll carve out a spot for the kick to stand out in the mix.
To do this, add a compressor to the element that competes with the kick and activate its sidechain option. Then, route the sidechain input to the kick drum. This way, every time the kick hits, the competing element or group of elements will duck out of the way. Use a fast attack and set the release so the kick’s body comes through clearly, and you’ll be all set.
There’s absolutely nothing wrong with using this process, so don’t worry if your approach is a bit different. Many producers use sidechain compression to make space for their main elements—like the kick in this case!
Conclusion
That wraps up our guide on how to mix your kick drum, and we hope we’ve given you some helpful tips to enhance your sound. The kick is a subtle yet crucial element that takes time and patience to master, so don’t rush the process.
Experiment and practice often with different kick samples. Even if you aren’t working on a specific project, try loading various kicks into a fresh session and test out different processing techniques and effect chains.
If you’re serious about mixing, this is an essential step to help you improve. Mixing skills can fade if you don’t use them regularly, so make it a habit to keep practicing.
Everything else will come naturally, and you’ll notice your progress when you compare your mixes to commercial tracks. That’s another important step—so keep going and don’t get discouraged!