How To Compress Bass Guitars
Introduction
The bass guitar is a crucial instrument and forms the backbone of any song, so mixing it properly is very important.
When mixing a bass guitar track, one of the most important steps is to compress it after EQing. You can do this by using a good compressor plugin.
Mixing a bass guitar track involves proper recording, EQing, and compressing. In this article, you will learn how to compress a bass guitar.
1. Record And EQ Bass
Recording and EQing bass guitar is a crucial part of the production process. Capturing the full range of the instrument—from the deepest lows to the brightest highs—is essential for a great mix.
The first and most important step is getting a good recording. If the bass doesn’t sound good from the start, no amount of mixing will fix it.
There are several ways to record bass guitar. You can use real amps, amp simulators, or a DI box. The method you choose is up to you, as long as you do it properly.
The key is to dial in a solid bass tone and always record a DI track along with any amp sound. The DI track gives you more control over the low end and flexibility in mixing.
Once your recording is done, it’s time to EQ the bass. Don’t start with compression—always EQ first.
When EQing, use a low-cut and high-cut filter to remove unwanted frequencies. This will help clean up the signal and make it easier to work with.
Next, focus on the mid-range frequencies. Adjust them so the bass can be heard clearly in the mix. Depending on the tone, you may need to cut or boost the mids.
The goal of EQing bass is to achieve a controlled, powerful low end while preserving the attack and character of the instrument.

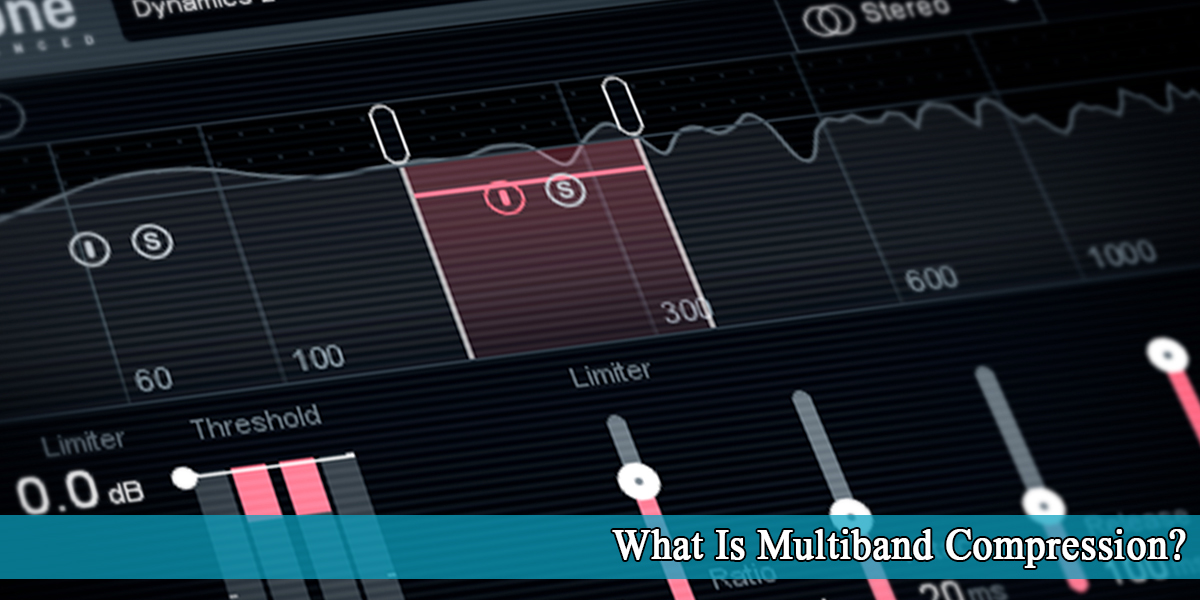
2. Apply Compressor Plugin
Now that recording and EQing are finished, it’s time to start compressing the bass guitar track. But don’t rush—first, you need to choose the right plugin.
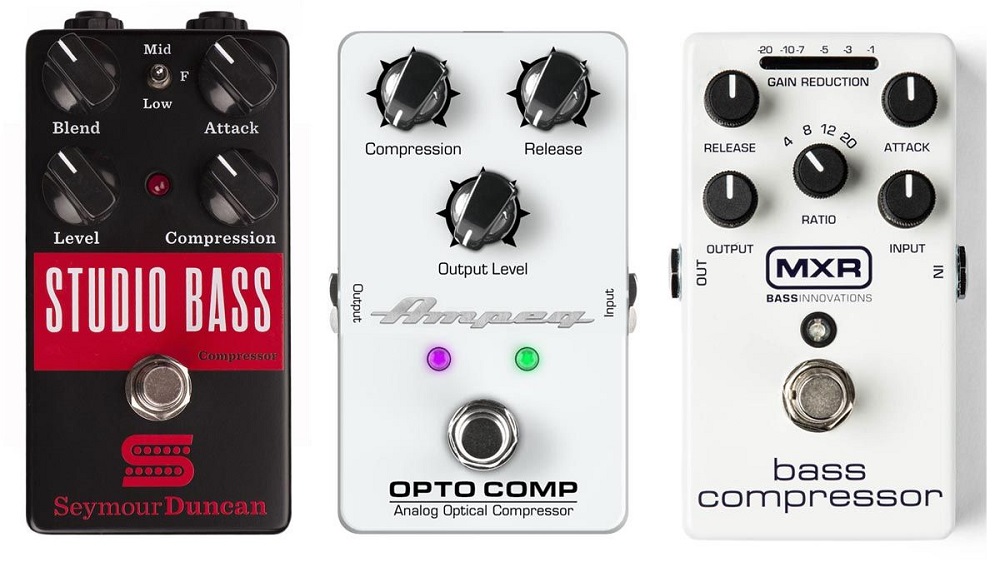
There are many great compressors out there, both analog and digital, free and paid. The most important thing is to use the one you’re most comfortable with.
When you understand how a compressor works and sounds, it becomes much easier to compress the bass—or any track, for that matter.
You can use a plugin or an outboard compressor; it doesn’t really matter. The key is to choose the right tool for the job and make sure the results sound great.
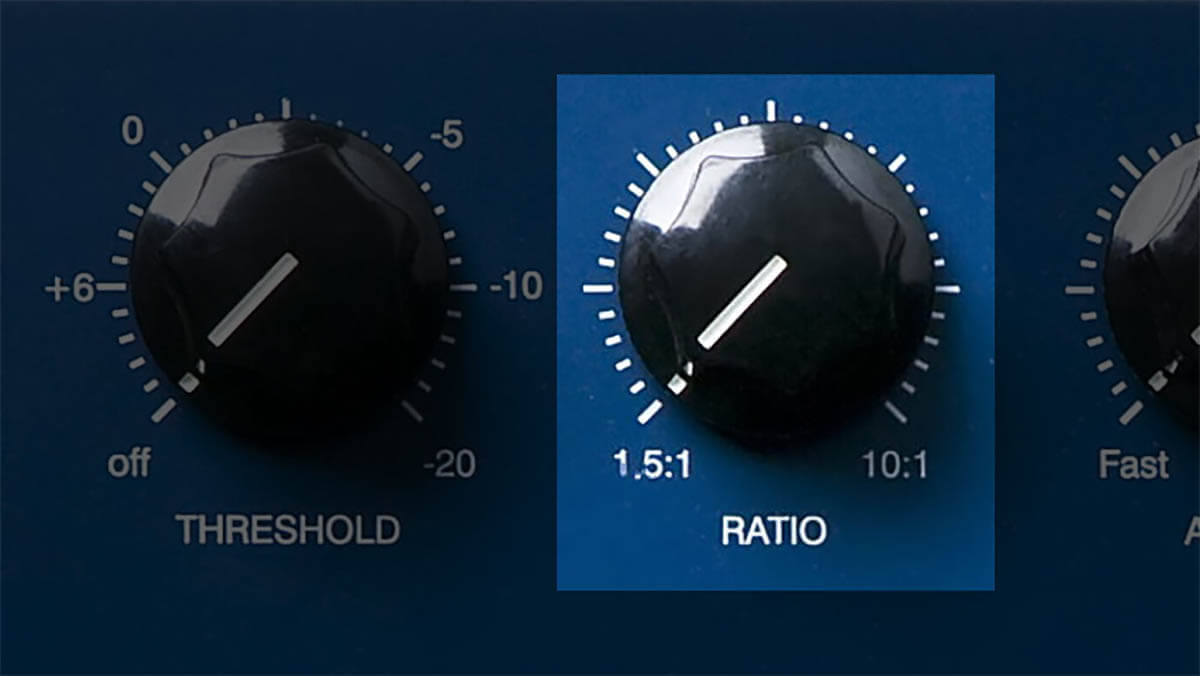
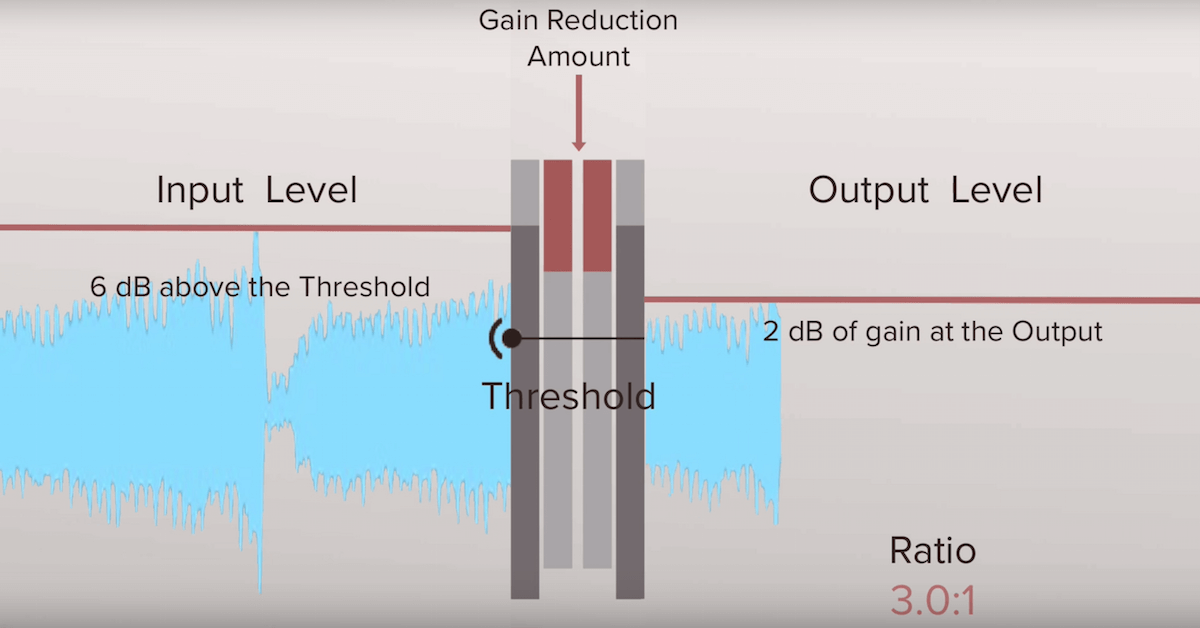
3. Set Threshold And Ratio
Setting the compressor threshold and ratio is an important part of mixing bass, or any other track. The threshold controls when the compressor starts working, while the ratio determines how much compression is applied once the signal goes over that threshold.
The compressor ratio is usually shown as a relationship between input and output levels, like 2:1 or 4:1. When setting the compressor’s threshold and ratio, it’s important to think about the sound you’re working with.
There are no strict rules for setting the threshold or ratio for bass, since every situation is different. If you want to use aggressive compression on the bass, you’ll need to turn up both the threshold and the ratio.
As a starting point, set the threshold so the compressor just starts to work, and adjust from there.
For the ratio, a good place to start is 4:1. This is strong enough to control the sound but not too aggressive. From there, adjust the settings depending on how the bass sounds and your personal preference.
In general, for bass tracks, I like to use a ratio between 3:1 and 5:1. I don’t want too much compression on the bass—my goal is to make it sound even and consistent, and that range works well.
If you want really heavy compression, use a higher threshold and a ratio above 5:1.
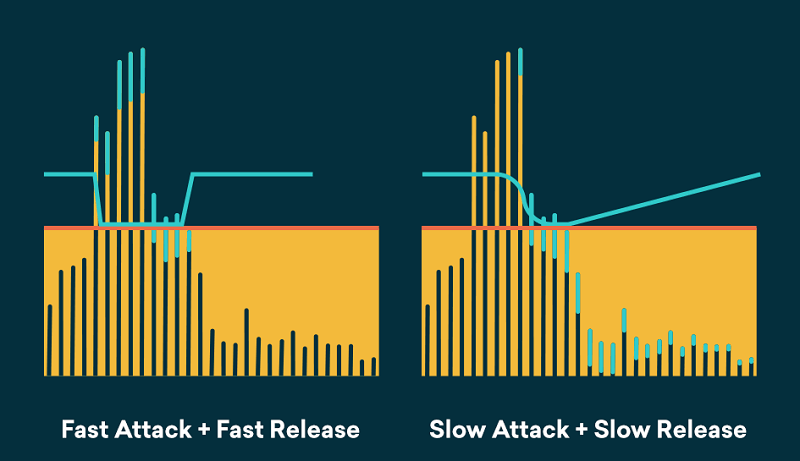
4. Adjust Attack And Release
Adjusting the compressor’s attack and release times can greatly improve the sound of your bass recordings. Along with threshold and ratio, attack and release are two key compressor settings that shape your tone.
The attack time is how long it takes for the compressor to start working after the signal level goes above the threshold.
The release time is how long it takes for the compressor to stop working after the signal level drops below the threshold.
There are no strict rules for setting attack and release—everything depends on the sound you want to achieve.
A longer attack time will make the initial hit of the note stand out, while a very fast attack time will tame those sharp transients.
A shorter release time will shorten the sustain, while a longer release time will give the note more sustain.
So, depending on your personal preferences, you should adjust the attack and release to taste. As a starting point, try setting the attack to around 100ms and the release to about 200ms, then adjust from there.
Personally, I like to hear the transients in the bass, so I avoid very fast attack times. I also want to keep the sustain and consistency, so I use a slower release.
Just keep tweaking the settings, listen closely to the sound, and make your decisions based on what you hear.
5. Match Input and Output Levels
The final and very important step is making sure your bass track’s input and output levels match. When you adjust compressor settings, you might make the signal louder or quieter, which isn’t what you want.
The input signal level and the output signal, which gets affected by the compressor, should be at the same level. This rule doesn’t just apply to compressors—it goes for EQs and other plugins as well.
Volume levels are crucial in mixing. Setting these levels is the first thing you do when you start mixing, a process called gain staging.
As you add different plugins to your signal chain, the volume can fluctuate, so you’ll need to manually match the input and output signals.
There are plugins that can help with level matching, but I prefer to do it manually. Almost all modern plugins give you control over the output signal, so you can easily match it to the input level.
For example, if your bass track’s input level before the compressor is -5dB and the output level after the compressor is -6dB, you should adjust it to match the input level.
The plugin will have a control for this, often called makeup gain, output, or something similar.
Some modern compressor plugins can automatically detect and adjust levels using algorithms, but I like to handle it myself.
No matter what method or tool you use, matching input and output levels is a critical step in the mixing process.
Conclusion
Compressing the bass guitar is a crucial step in mixing. It helps make the bass sound more consistent and even, allowing it to sit well in the mix.
Using a good compressor is important, but first, you need a solid recording of your bass with both DI and amp tracks to achieve great results.