How To Build A DIY Vocal Booth
Introduction
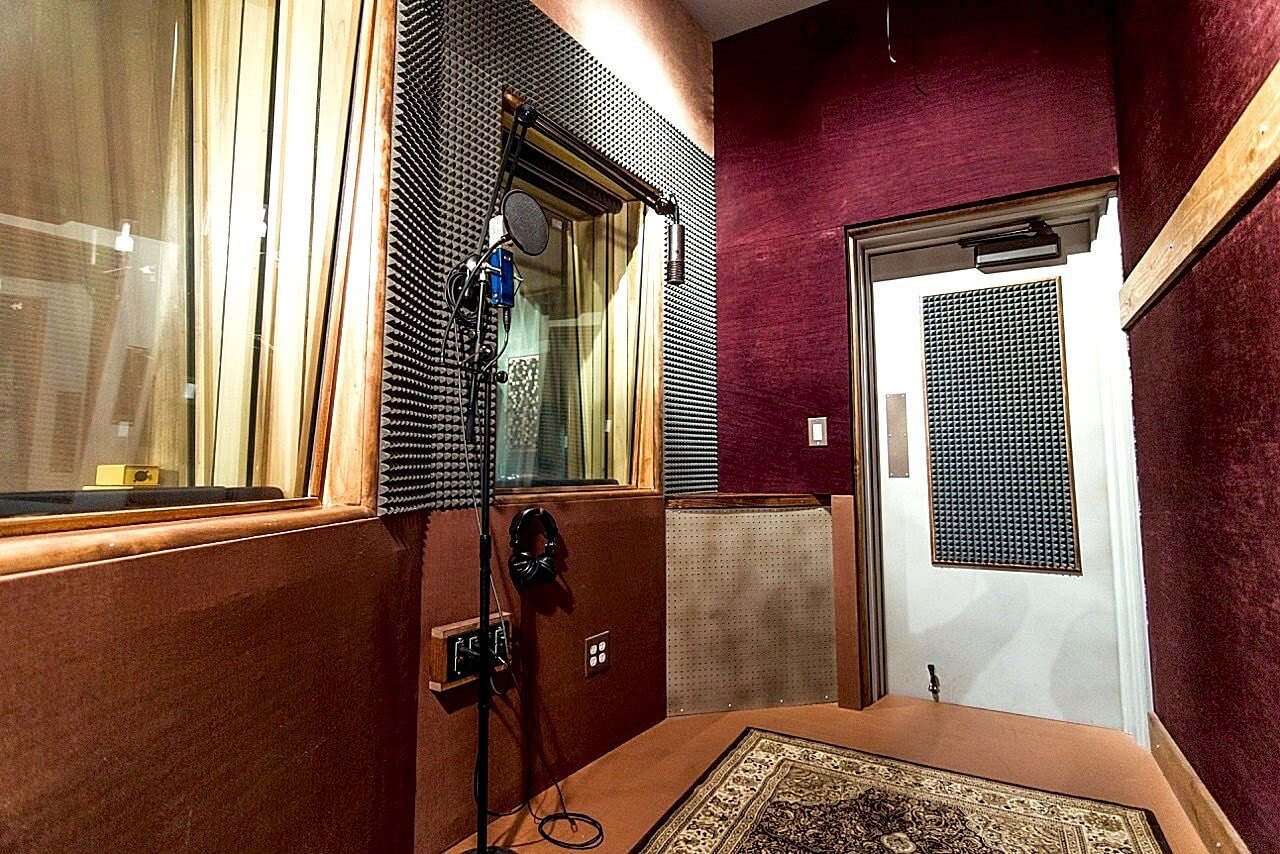
A DIY vocal booth is a great solution for recording clean, professional-sounding vocals at home. Having a booth in your home studio will help eliminate unwanted room sound and make recording vocals much easier.
Vocals are one of the most important elements in music, but getting them right in a home studio can be challenging. If your room has flat, bare walls with no acoustic treatment, even basic acoustic foam will make a big difference compared to recording against a bare wall.
No amount of fancy mixing techniques can fix poorly recorded vocals at the source.
A vocal booth also helps block out external noises. This is especially important when recording at home, where you might have to deal with background sounds like traffic or family members.
If you’re dealing with a lot of outside noise, a vocal isolation booth is definitely a must-have. It will improve your vocal recordings and help reduce unwanted sounds.
While a DIY booth may not be completely soundproof, it will absorb a significant amount of noise—both from outside and from your own voice.
If you don’t have the time or skills to build your own vocal booth, here’s another option for you:
| For EU Customers | |||
|---|---|---|---|
 |
|
If you don’t have a vocal booth but want to build one, there are definitely plenty of ways to do it.
Even if you have a gorgeous voice, your neighbors probably don’t want to hear 200 takes of the same song. A vocal booth gives you some extra protection from letting your music escape.
It’s not just about finding a small, quiet space to record in. Not every tiny room will actually help your sound. You’ll need to add some materials and features to make it work for you.
A closet or cabinet might work for spoken word recordings, but sung vocals need a different kind of environment to sound their best.
But don’t worry—it’s definitely possible. With some basic knowledge and a few common materials, you can create a surprisingly effective vocal recording space at home.
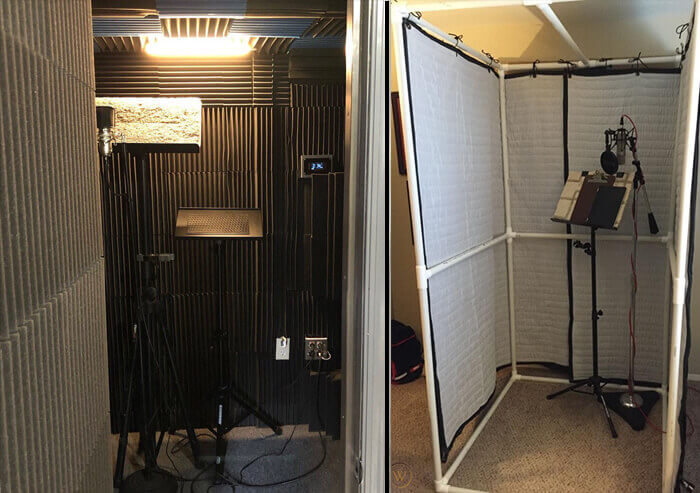
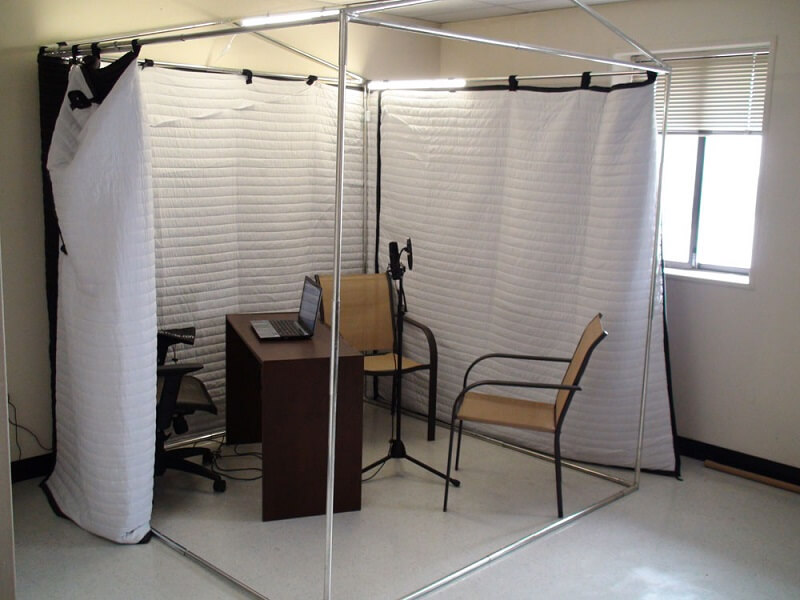
Here’s everything you need to build a DIY vocal booth for studio-quality vocals. If you need a portable vocal booth, you can make one from a PVC pipe frame and drape some heavy fabric over and around it.
That setup will work as an isolation booth and quickly improve the sound of your room. In fact, the sound of your room should be your top priority when designing your vocal booth.
Make careful measurements for your vocal booth—check them three times to be sure you’ve got it right.
Why build a DIY Vocal Booth?
You can’t just record your vocals in any room if you want them to sound polished and professional.
Any experienced audio engineer will tell you that the space where you record is just as important as your gear—if not more!
Because vocals are often the loudest and most prominent element in a track, any problems with how your room sounds will be obvious in your mix.
Engineers aim to record vocals as dry and direct as possible to make them sound big and powerful in a mix.
That means reducing the influence of the room on the recording as much as possible. A vocal booth helps block out unwanted background noise, and building one will make a noticeable difference.
If your room has too many uncontrolled sound reflections, they can clash with the dry vocal signal and make your vocals sound less punchy and further away in the mix.
That’s not the only problem. Bad reflections can also cause an issue called comb filtering, which is almost impossible to fix after recording.
Vocal tracks with heavy comb filtering can make mixing a real headache. That’s where a vocal booth comes in handy.
Whether you use moving blankets, hang curtains, or build a frame out of PVC pipes and fabric, anything you do to cut down on these reflections is better than doing nothing.
Professional studios spend thousands building vocal booths with high-end acoustic treatment, but you can get many of the same benefits with simple DIY solutions.
No matter what style of music you make, if your songs include vocals, a homemade vocal booth can make them sound much better.
If you’re on a tight budget, there are plenty of ways to build a booth for cheap. All you need are some acoustic foam or panels—but you can even make a DIY recording booth at home for almost nothing.
Figuring out the dimensions of the room
Vocal booths are usually small rooms designed to fit one or two people, while isolation rooms need to be large enough to hold drums, guitar amps, and other equipment.
Most vocal booths typically range in size from 3′ x 4′ to 4′ x 6′ (92 cm x 122 cm to 122 cm x 155.5 cm).
Different Points to Think About
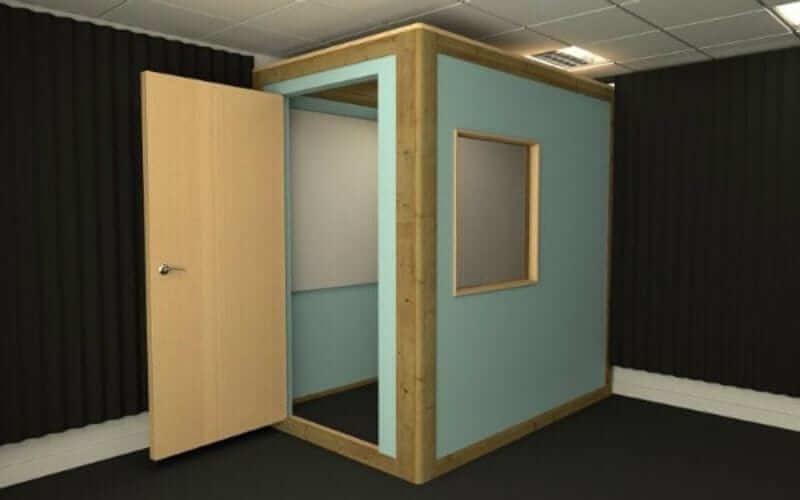
Once you’ve decided on the room size and wall construction, it’s important to consider a few key factors as you develop your design.
- Door placement: Smaller rooms are best accessed with a door that swings outward. This might seem obvious, but many vocal booths have inward-swinging doors, making it difficult to get in and out—especially when people, mic stands, and music stands are in the way. Sliding glass doors can work, but they need more space and introduce a larger reflective surface. Whatever door you choose, make sure it has a heavy-duty seal to keep air from leaking in or out.
- Window placement: The window’s main purpose is to allow the person inside to see the producer. Position it so that everyone in the isolation room can easily see others, making it easy to catch visual cues.
- Lighting: Small rooms can heat up quickly, so use low-energy lighting. Avoid using dimmers, as they often create electromagnetic fields that can cause hum or buzz in your vocal recordings.
- Electrical: Make sure there are easily accessible outlets positioned high enough to make plugging in amps and effects convenient. Wall-mounted power bars are a great solution. You don’t want to have to open the door just to bring in a power cord! Also, make sure all outlets are well-sealed to prevent air leaks.
- Airflow: One of the biggest challenges in building an isolation room is airflow. Small rooms heat up fast, so keeping fresh air circulating will keep performers comfortable and alert. The best solution is to build air intake and outflow mazes. Bring in fresh air at floor level and exhaust it near the ceiling, using natural convection to help move air. Two or three low-speed fans with a large outflow vent usually work better than one powerful, high-speed fan.
4 Fast & Easy Strategies
First up…
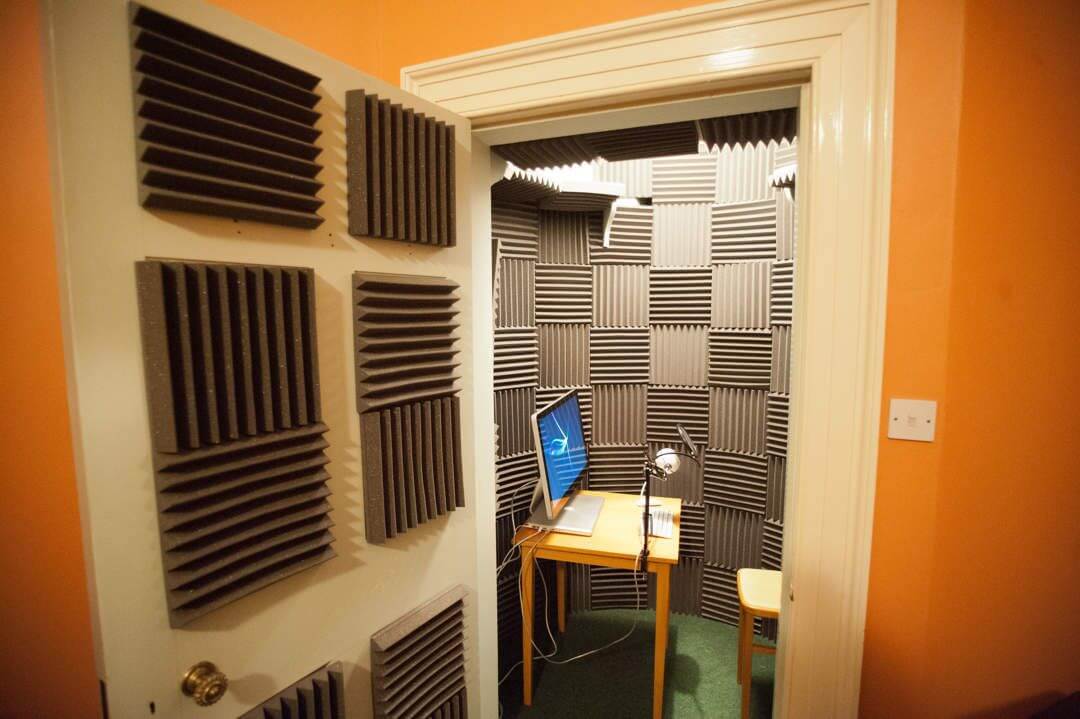
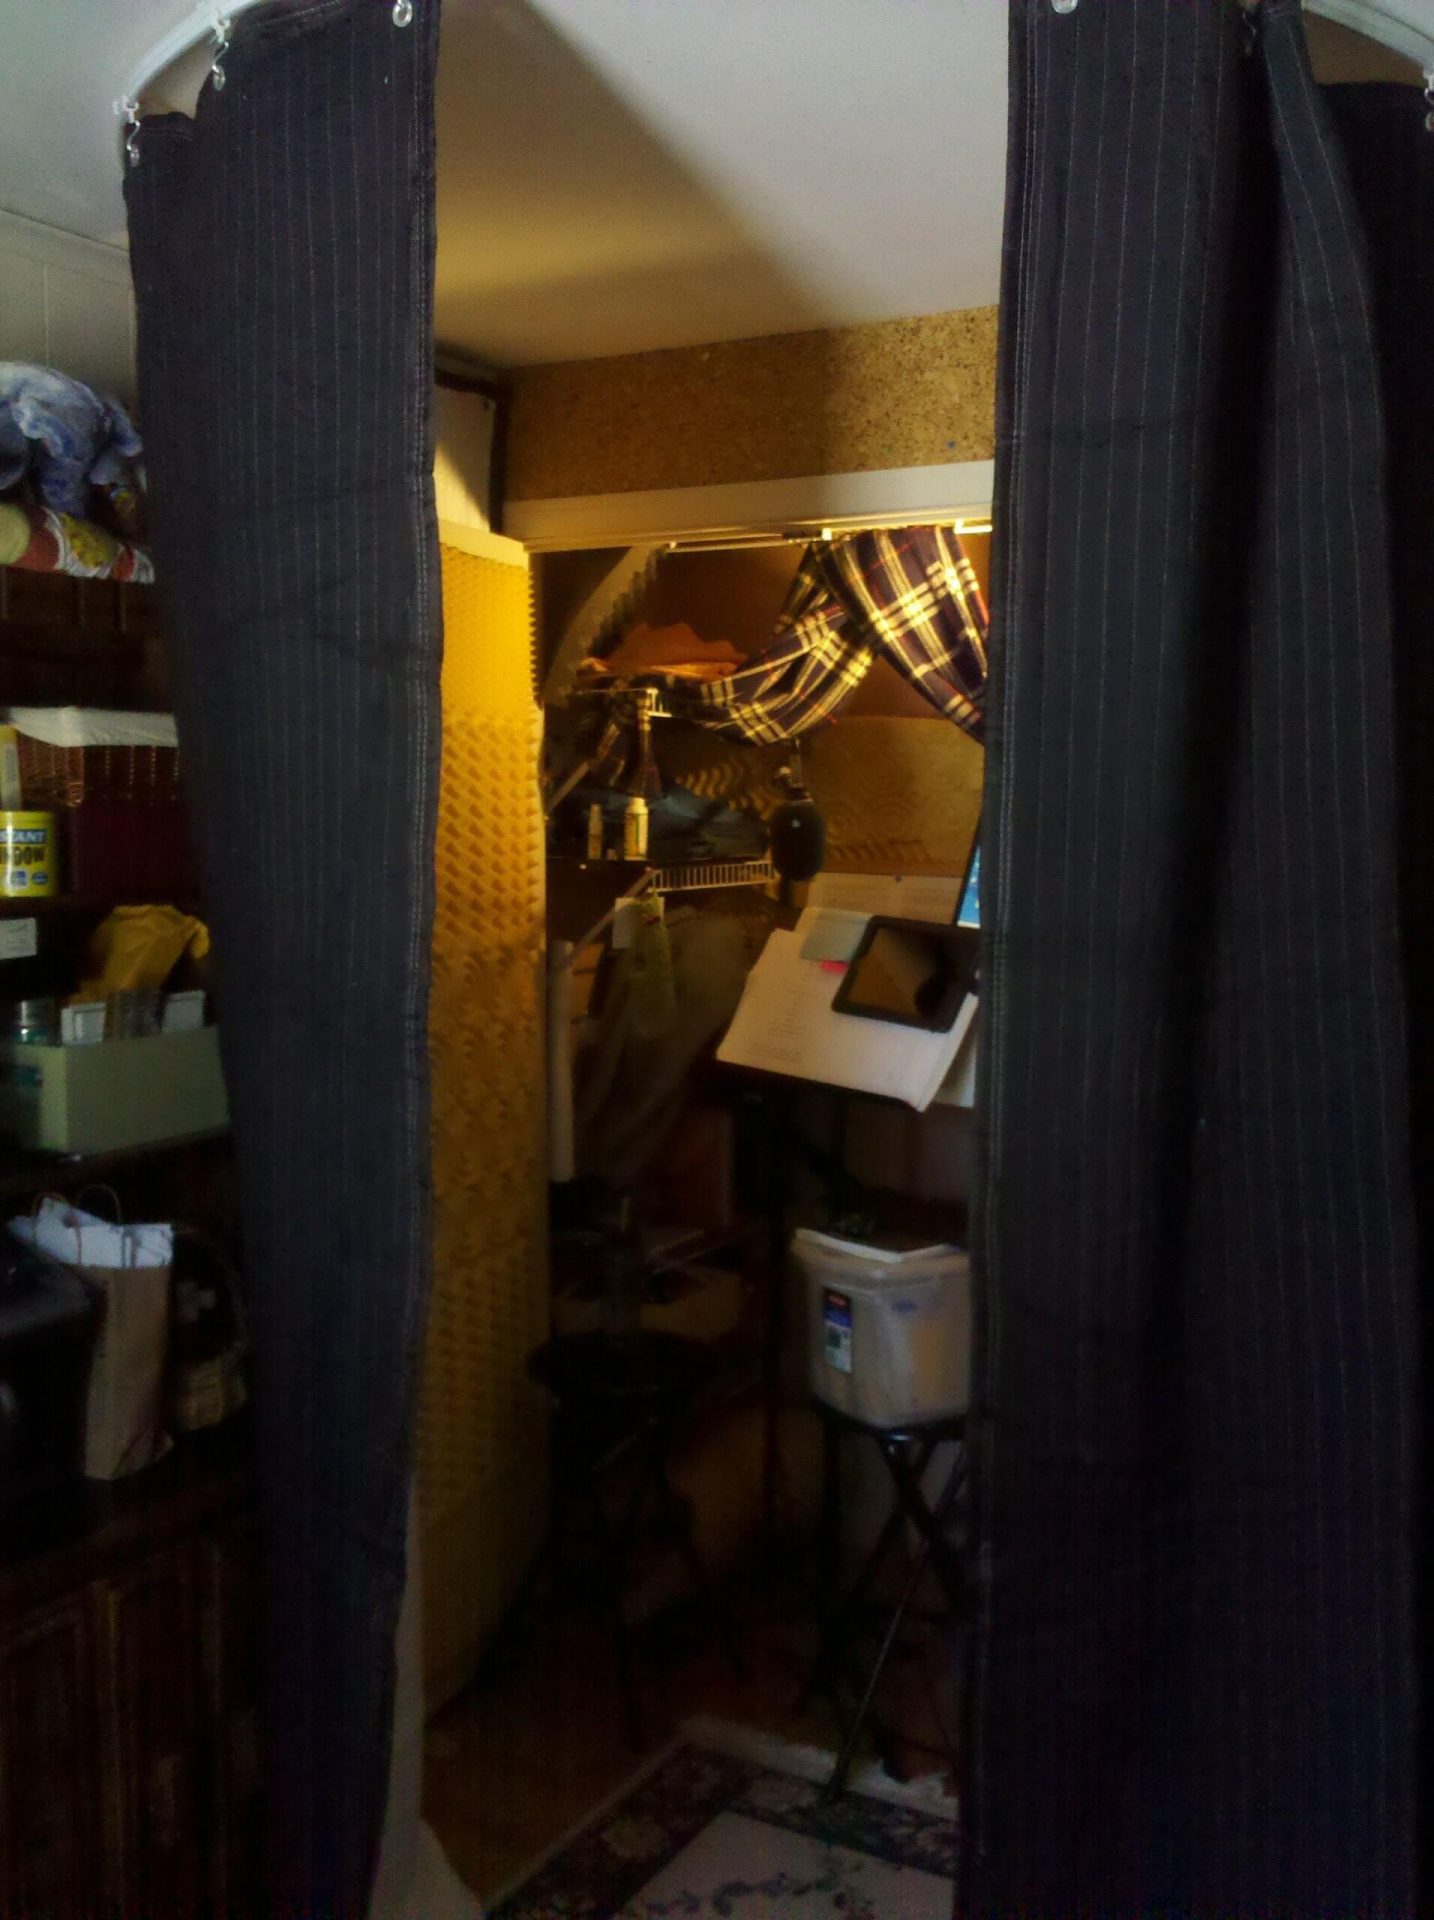
Technique #1: The “Closet” Vocal Booth
The great news is that a closet offers plenty of possibilities for creating a soundproof booth. Since closets are usually small, any changes you need to make won’t cost much or take a lot of time.
Because it’s such a tiny space, you can achieve a solid booth design with minimal acoustic treatment.
Closets are already fairly isolated and are often tucked away in quiet areas of a home. Most people can handle this project themselves with a bit of research and patience.
The first step is to figure out what kind of closet will work best. Most homes have at least a couple of closets, which are usually needed for storage. The best approach is to find one that’s small enough and not being used.
A lot of people prefer either a closet under the stairs or one on the top floor. Each setup has its advantages. Stair closets are usually very small and tucked away inside the house.
This means there are minimal outside sounds, but the downside is that footsteps on the stairs can be noisy if someone is going up or down.
A closet upstairs generally won’t have as much noise as one downstairs. Think about living in a condo or shared space—it’s easy to hear people moving around above you, but harder to hear what’s happening below.
The same idea applies here: if you build your booth on the top floor, you might not need to invest as much in soundproofing materials.
Start by gathering any extra pillows, acoustic blankets, and clothes from around your home to use as free acoustic treatment. Ideally, choose a closet with plenty of shelves for stacking these items—but if it doesn’t have any, you can easily build some.
As a general rule, thicker absorption works better. Avoid using carpet, because it only absorbs higher frequencies. To find the best sound, simply experiment with adding more or less absorption until you’re happy with what you hear.
Up next
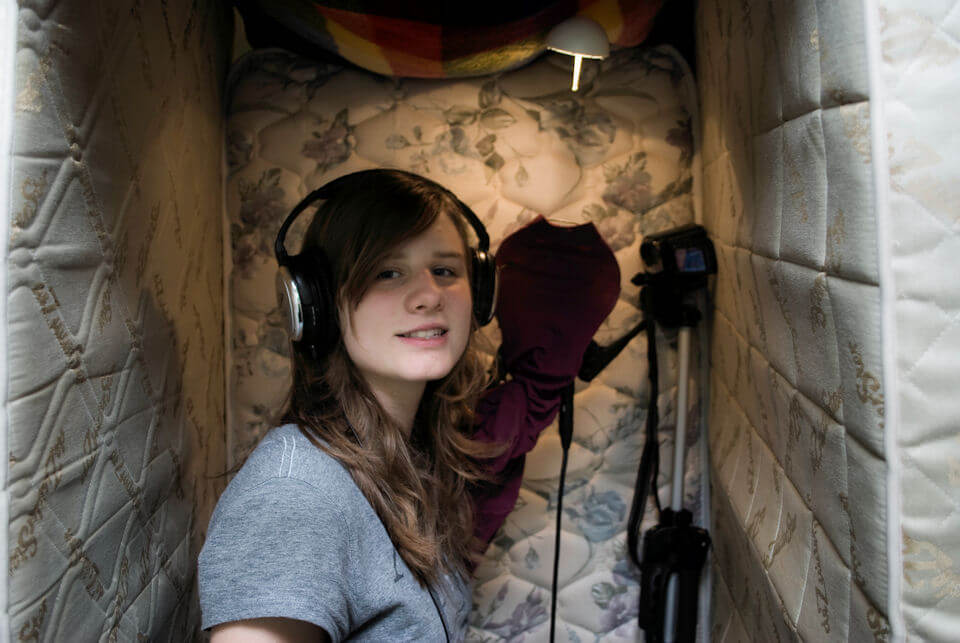
Technique #2: The “Mattress” Vocal Booth
Honestly, you can get away with using just one mattress. The idea is that your voice bounces off the wall behind the mic, then reflects again behind the singer, hits another wall, and finally bounces back into the sensitive side of the mic.
So, if you put the mattress behind the singer, it will catch the reflection from the front wall and prevent it from bouncing off the back wall and reaching the mic. That might work. But if you put the mattress in front of the singer, behind the mic, your voice won’t reach the front wall in the first place, so there’s nothing left to bounce back into the mic from the back wall.
The truth is, it depends on your singer, your room, and what type of mattress you’re using. So if you’re trying the mattress method, make sure to test both ways. If you have a few mattresses, you could even build your own mattress vocal booth.
The mattress fort is the ultimate DIY vocal recording booth. Just surround yourself with mattresses to soak up sound reflections and room noise. The downside? Mattresses can be a hassle to stack and store.
Still, this cheap sound booth alternative gives you better isolation and absorption than the closet method. The thick material in a mattress will absorb more frequencies, especially in the mids and low-mids, making your vocal recordings sound more balanced.
However, how well a mattress booth works really depends on the design and the mattresses you use. For example, thick memory foam mattresses are much better than spring mattresses.
Here’s what you’ll need:
- One to four mattresses—memory foam works way better than mattresses with springs.
- Dense materials to absorb and dampen sound waves, like acoustic blankets, rugs, carpets, and so on.
Sooner or later, everyone tries building a mattress vocal booth. Most don’t look amazing, but they don’t have to! It really just depends on how many mattresses you have.
Any of these simple setups can work:
If you have one mattress—place it behind the singer’s head.
If you have two—arrange them in a “V” shape behind the singer.
If you have three—make a “C” shape behind the singer.
If you need more mattresses, check your local thrift store. If you’re buying, remember that some mattresses work much better than others.
The WORST kind to use are hollow “innerspring” mattresses—they barely absorb any sound.
The BEST kind are dense “memory foam” mattresses—they absorb a ton.
As a general rule: the heavier, the better.
Technique #3: The “Curtain” DIY Vocal Booth
Chances are, you’ve probably never heard of the curtain vocal booth before. That’s because it works on an acoustic treatment principle that most studios rarely explore.
Usually, when it comes to absorption, people tend to say:
Thicker is better than thinner.
More mass is better than less mass.
But there’s a third factor that makes a huge difference: flexibility. According to Auralex University’s Acoustics 101 Guide:
“Limp mass is most often better than rigid mass.”
This actually makes sense when you think about it. Just like a soccer net absorbs the energy of the ball, the curtain absorbs the sound waves from the singer’s voice.
To build one, you only need these two items:
- A round curtain rod – which mounts to the ceiling and should be sturdy enough to support a lot of weight.
- A large blanket – which hangs in place of a shower curtain, and should be as heavy as the rod can handle.
One great thing about this design is that when you’re not using it, you can simply retract the curtain and it takes up almost no space in the room. Later, we’ll discuss some more advanced ways to use a curtain for creating a sound booth or acoustically treating a space.
The material for your acoustic curtain needs to be thick and very porous. The thicker the absorbing material, the more effective it will be at handling longer wavelengths (lower frequencies) of sound.
To be effective against bass frequencies, sound-absorbing panels usually need to be at least one to two inches thick.
Since it’s not always practical to use a 2-inch-thick fabric, choose the thickest, heaviest material your budget allows. We recommend a cloth weight of 32 oz. or higher.
The fabric should also be highly porous. These pores act as hundreds of tiny sound traps, capturing energy and turning it into heat.
Non-porous materials like vinyl, leather, or acrylic-faced fabrics will reflect most of the sound energy, reducing the effectiveness of your acoustic treatment. Choose a fabric that can absorb water or has a plush, velour surface.
The material will also become more effective at absorbing lower sound frequencies if it is spaced a few inches from the wall or window behind it.
Generally, the deeper the spacing, the more improvement you’ll see in low-frequency absorption. Consider spacing the curtain 6 to 12 inches from the surface behind it.
To further improve low and mid-frequency sound absorption, the fabric should be pleated. This means the material is “gathered,” so it loops in and out rather than laying flat.
The pleating should be as deep as possible to expose more sound-absorbing surface area, which increases the effective thickness and enhances low-frequency sound reduction.
Technique #4: The “Mini” Vocal Booth
Here’s a final solution that requires ZERO effort on your part: the reflection filter. This handy device is basically a “mini sound booth” that attaches to your mic stand and wraps around your microphone.
Not only does it look cool, it’s surprisingly affordable. And it’s small enough to take with you on the road.
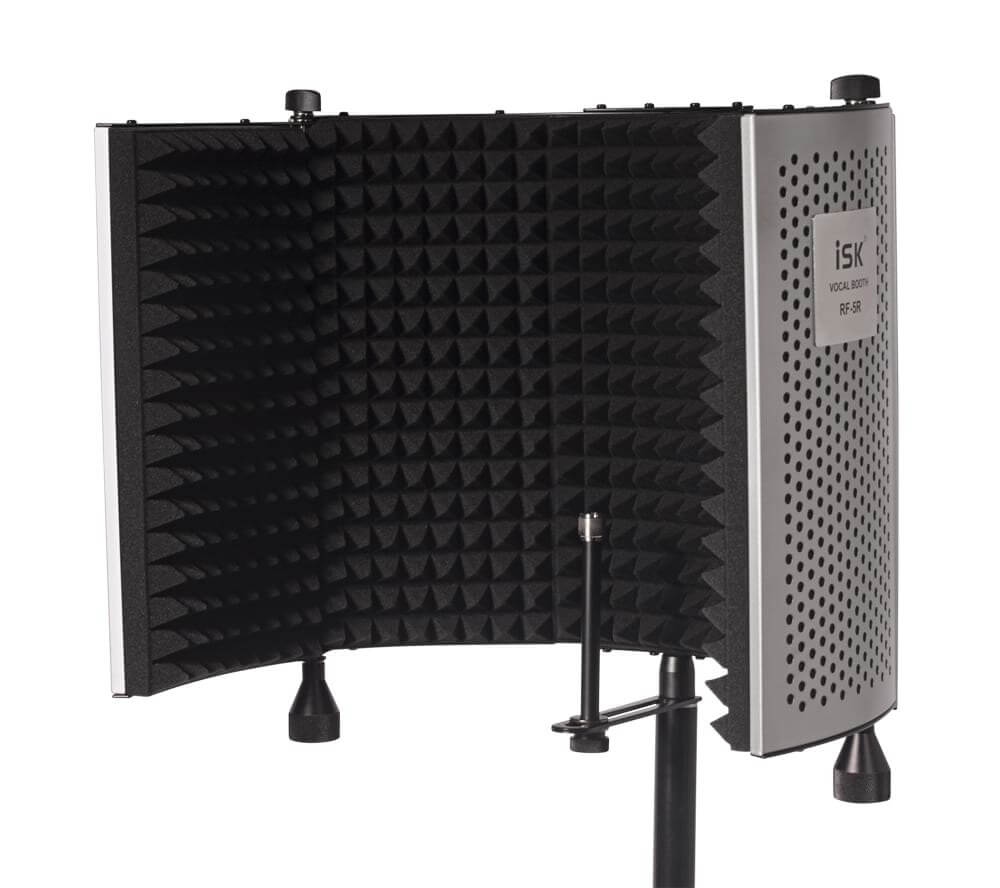
After crunching all the numbers, you might find it easier to just buy a pre-made, professional microphone isolation box. We did some research and read a ton of reviews, and the one we found that would be perfect for someone on a budget is the “Portable Microphone Studio Voice Booth Isolation Box” available on Amazon.
You can usually pick up a mini microphone sound booth like this for around fifty bucks. These boxes are great for podcasting and YouTube voice-over recordings.
If you end up building one of these microphone vocal booths yourself, let us know! Tell us if you did anything differently or if you found better deals on the materials.
Frequently Asked Questions
How can I record my voice at home without a mic?
Your phone, tablet, or laptop likely has a built-in microphone. While it may not be the best quality, it’s usually good enough for basic recording. However, if you plan to release your recording for download or as a demo, it’s a good idea to invest in a microphone—even if it’s a budget or second-hand one.
How do you record clear vocals?
Utilizing a good vocal booth will reduce out undesirable noises. However, an awesome mic will even help you out right here. Moreover, get your voice itself sounding clear by chopping out dairy products and ingesting loads of water. The editing and mastering process may also clear up your voice.
What if there are not any usable closets to work with?
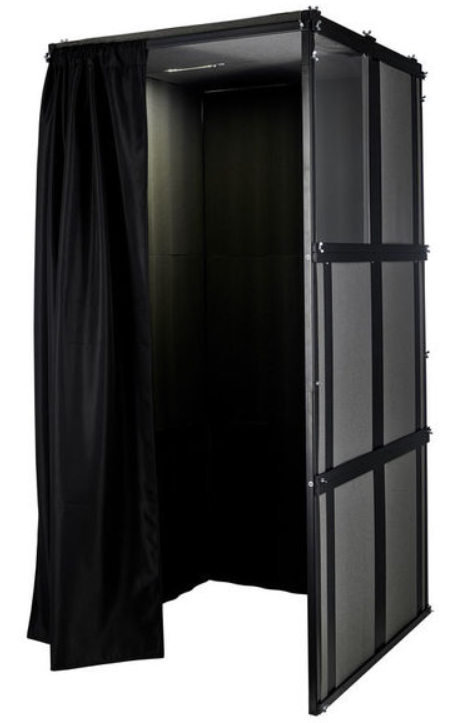
For those who don’t have any closet space but do have areas where some voice recording is possible, there are pre-built sound booths you can try out. They don’t take up much space and can go anywhere in your home.
The good news is, these booths aren’t as expensive as they used to be, since more companies are offering them as options. While some models can still cost thousands of dollars, there are more affordable choices that most people will find suitable. Even if you spend a decent amount, the investment pays for itself quickly.
What’s a vocal booth to go?
A portable vocal booth simply refers to a vocal booth that you can take with you. A “vocal booth to go” is useful if you want to record in different locations, as well as at home. You can buy a ready-made portable vocal booth, or you can make your own using acoustic blankets and PVC pipes. This type of booth can be collapsed and set up again in another place.
Conclusion
If you’re not planning to rent time at a professional recording studio, you should use one of the strategies we described above to build or buy a vocal booth. Whether you choose acoustic blankets, mattresses, or a closet, having a DIY recording booth will fit perfectly in your home studio.
The most important thing is to have good sound absorption and prevent sound waves from hitting the microphone directly. This will improve your vocal recordings and put you one step closer to getting great results.
Once you’ve found a good spot to record your vocals, you’ll also need some voice-over gear to make your recordings.
Next, add a high-quality microphone designed for recording vocals in a home studio. After that, you’ll be ready to start recording.
Do several test recordings in your new space, and add more sound-absorbing materials as needed. Keep making adjustments until your recordings have a strong, clear sound and your voice has a real sense of presence.
You want to capture a powerful, clear vocal sound with no reflections from the walls or unwanted natural reverb from the room. To achieve this, a budget-friendly DIY booth is a great addition to your home studio.