DIY Sound Diffusers
Introduction
You might remember sound diffusers from your high school band practice—maybe you used egg cartons on the walls, or randomly stacked blocks of cloth. Either way, muffling sound often seemed complicated.
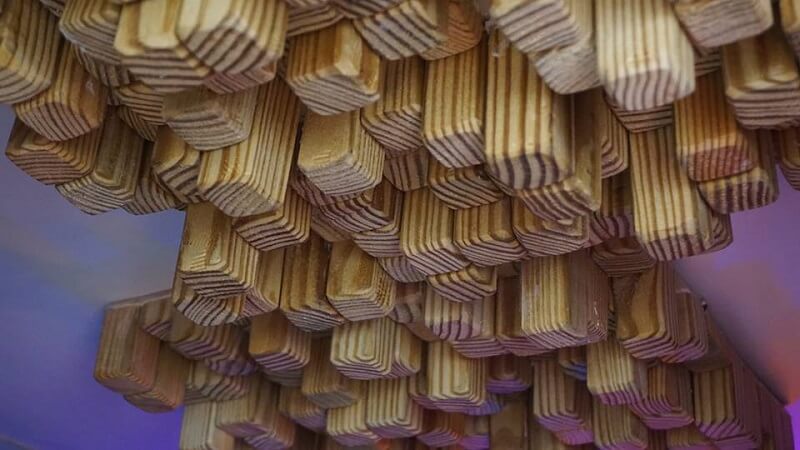
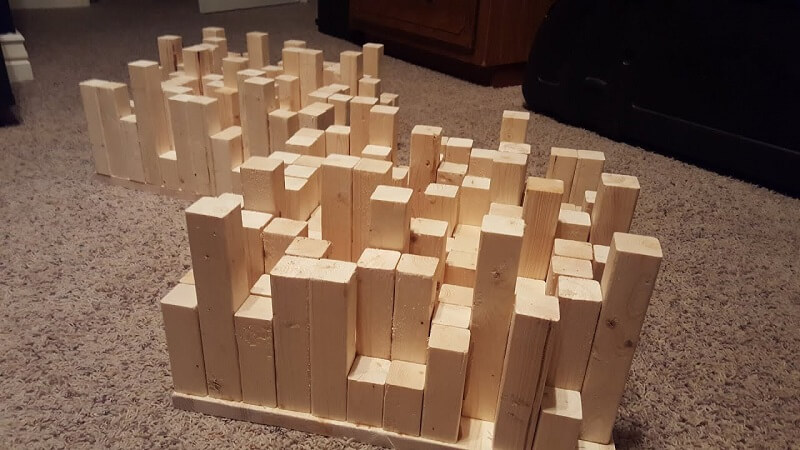
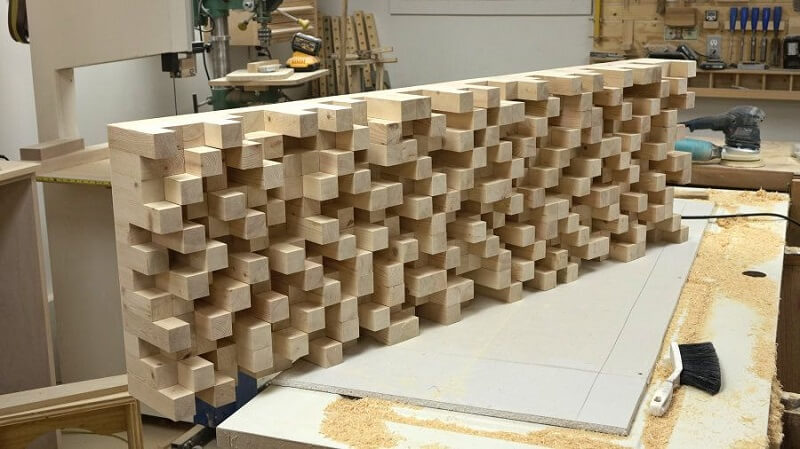
But that’s not the case if you use a skyline diffuser. Made from blocks of wood in all different sizes, all stuck together, this functional wall decoration looks just like a city skyline. It could be a cool piece to hang on your wall even if it wasn’t so great at diffusing sound waves.
Did you know that over 90% of rooms have poor sound diffusion—and that you can build your own acoustic diffuser to solve the acoustic distortion in your space? You’ve probably heard that dead, lifeless sound hanging in a room, where nothing seems to move. That dry, brittle sound comes from too much absorption. Acoustic engineers call it a “dead room.”
When you’re outside in an open area, with no buildings or walls around, you hear sound coming from everywhere—front, back, left, and right. That’s what proper diffusion sounds like. That’s the kind of sound you should have in your room.
Why should the sound in your room be different from the sound you hear outdoors? Imagine taking the room away, so you can hear everything, everywhere in your space. How do we achieve that natural, outdoor sound diffusion in your home theater, listening room, or professional recording studio? Through acoustic treatment, of course!
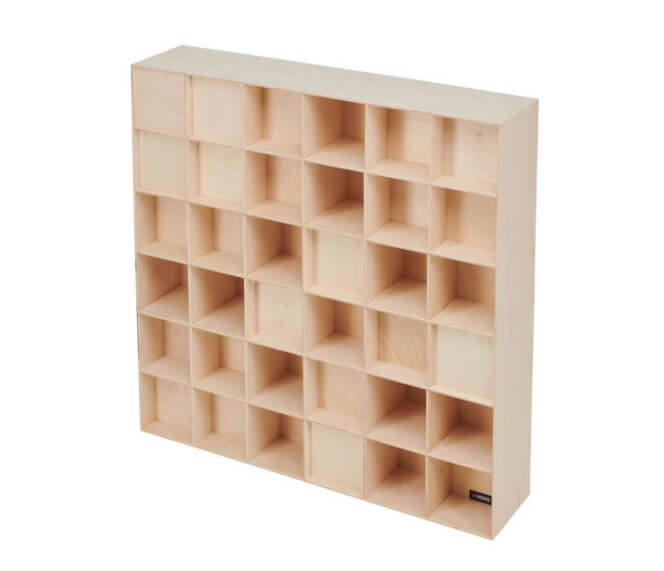
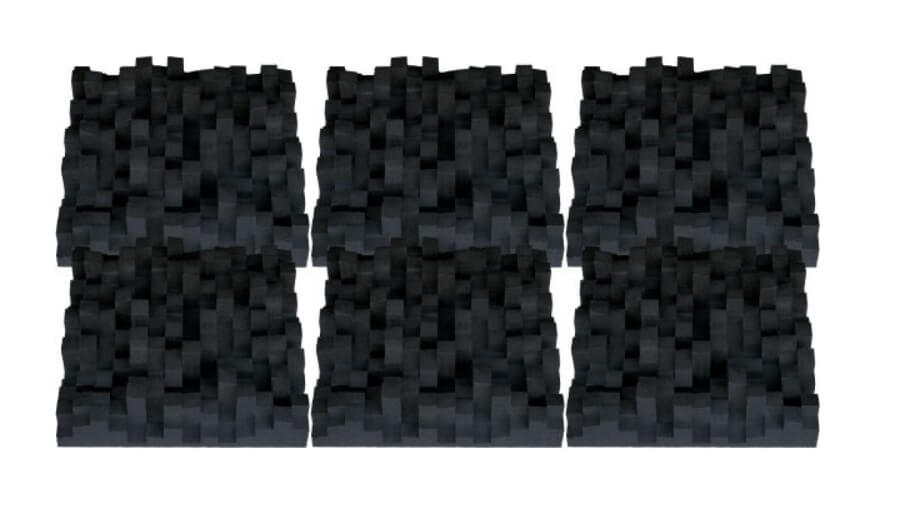
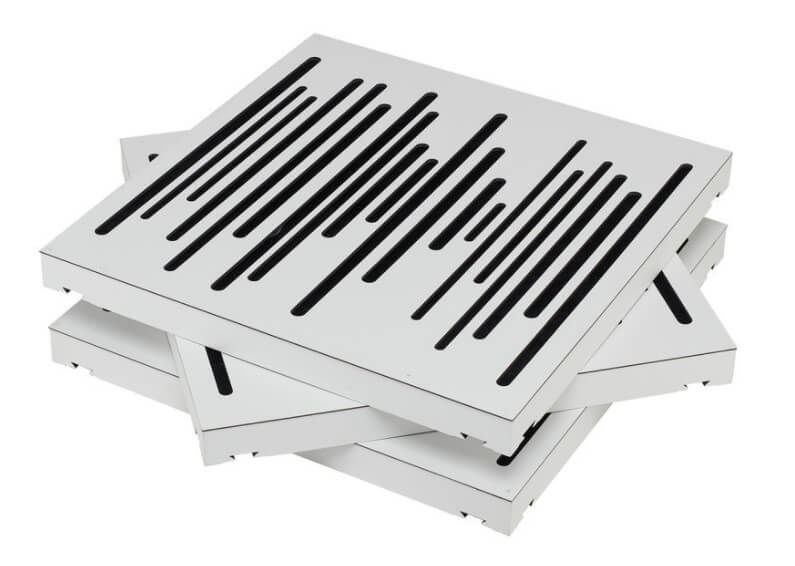
If this DIY process feels a bit too complex, take a look at our top 3 diffuser picks from Thomann!
| For EU Customers | |||
|---|---|---|---|
Hofa Diffusor |
|||
|
|||
What’s Sound Diffuser?
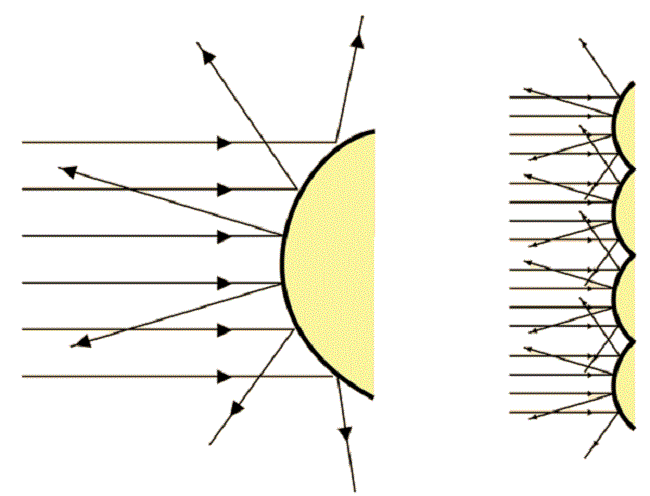
A sound diffuser is a device used to manage reflections and make small rooms sound larger by using psychoacoustics. Diffusers work by taking a strong reflection that hits them and breaking it up into many smaller reflections. This process makes it harder for your brain to pinpoint where the energy is coming from, since the sound bounces off the walls in smaller, spread-out octave bands.
To achieve this effect, you can use multiple diffusers on the problem surfaces. When building your own DIY sound diffusers, it’s important to carefully consider the materials you use, the type of diffuser, how many to build for your needs, and where to place them in your room.
Each room has unique requirements when it comes to acoustic treatment. For example, a control room needs different treatments than a live room, and a vocal room has different needs than a live room. There are many factors to consider and plan for when designing your space.
How a Sound Diffuser Works
A diffuser is designed using a mathematical system that often involves prime numbers. Instead of adding confusion about diffusion, it’s important to understand that a diffuser scatters sound waves over a 180-degree angle. It uses wells or towers arranged in patterns of different depths, heights, widths, and spacing, all calculated to create ideal sound wave scattering.
The depth or height of each well or tower is determined by the quarter wavelength rule, while the width is set to half a wavelength. By controlling both the horizontal and vertical dimensions, wavelengths from low to high can be diffused in a controlled and predictable way. This affects the timing, direction, and intensity of sound waves, resulting in a more enjoyable listening experience.
If the wells or towers are not properly calculated and built, they won’t scatter the waves evenly, which can cause an unpleasant listening experience. The orientation of the wells is also crucial for effective diffusion: horizontal orientation leads to vertical diffusion of sound, while vertical orientation creates horizontal diffusion. When combined and placed correctly, these techniques improve harmonics and make a room sound larger.
DIY Sound Diffuser Placement
Once you’ve decided to build your own DIY sound diffusers, the next step is figuring out the best way to position them. It’s important to work out these details before you start building. Where you place your diffusers and which type you choose will depend on how you use the room and the distances you have to work with.
Each prime number diffuser needs a certain amount of space to work effectively. The way you use the room will also help you decide between one-dimensional and two-dimensional diffusers. Most of the time, QRD diffusers are placed on the back wall or behind your listening position, while skyline diffusers can be used anywhere you want to add diffusion to the sound. Below, we’ll show you one method to build your own QRD diffusers for your mixing room.
Items and Tools you need for DIY Skyline Diffuser
The most important step when creating and building your own skyline diffuser is to measure the frequencies you want to target. Once you’ve identified the specific frequency range that needs attention, you can make the necessary calculations to determine the formula and design for your diffuser.
For example, let’s say you need to address frequencies between 850Hz and 4500Hz. There is an online calculator where you can enter your frequency range, and it will provide you with the results and a design outline for your diffuser. Here are the results after entering our “problematic” frequencies:

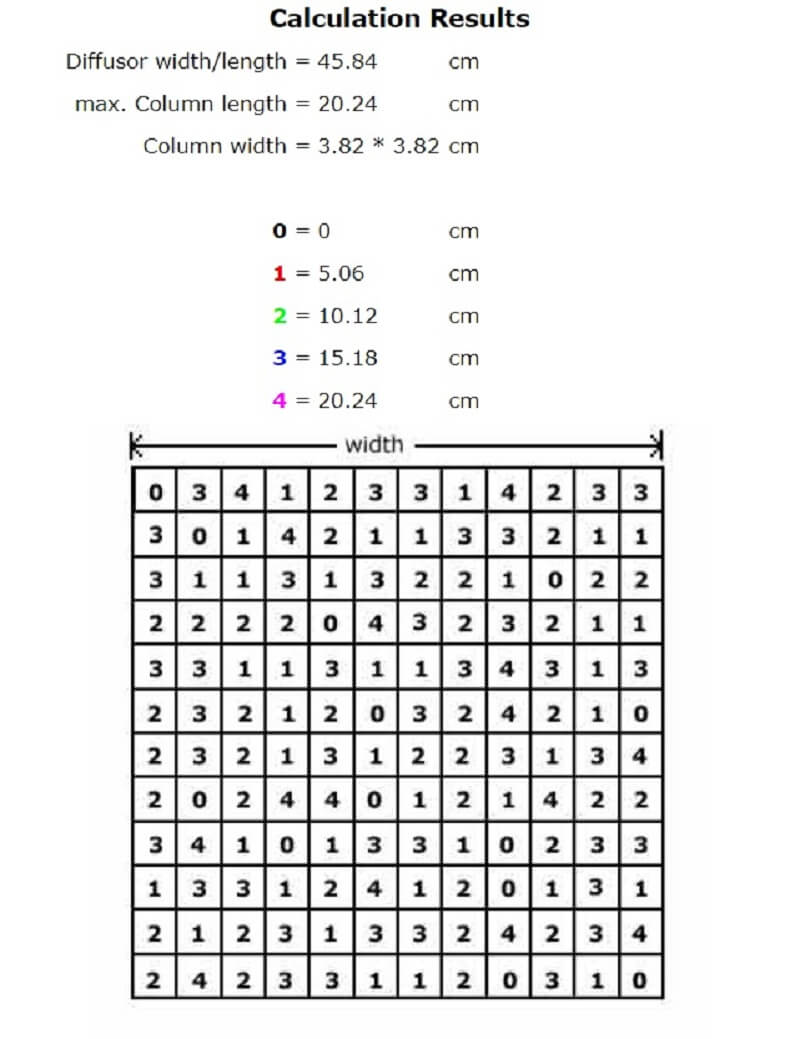

This result tells you the total length of wood you’ll need to create and assemble your diffuser: 14.88 meters in total, with each piece measuring 3.82 x 3.82 centimeters.
Along with the total, you’ll have a design layout for the diffuser, including the number of parts you’ll need in four different lengths. We’re not including the zero spots—those are simply gaps where you don’t place any pieces (or columns, as the calculator calls them).
In addition to the columns, you’ll need a base to attach everything to, either by gluing or screwing the pieces down. The base should measure 45.82 cm to fit all your pieces. Once you see the size of the diffuser, you might notice it’s on the smaller side and wonder if it will be effective. Many people decide to build several of these diffusers and place them together on the wall to cover more area and improve performance.
The fastest way to get started is to order the pre-cut pieces from your local wood shop or a private workshop and assemble them yourself. Alternatively, you can buy the wood and cut it at home using the dimensions from the calculator. Cutting at home may take more time, but ordering pre-cut pieces is usually a bit more expensive—so you can choose whichever option suits your needs best.
To make this DIY diffuser, you’ll need a hammer, a power drill (if you use screws), wood glue, and wall hangers. For materials, you’ll need a plywood base (45.82 x 45.82 cm) for attaching the pieces, and about 15 meters of wood in 3.82 x 3.82 cm sections.
Conclusion
With a bit of time, creativity, and some hands-on effort, you can seriously upgrade the sound in your studio. Acoustic treatment is often overlooked, and many people don’t take it seriously. Trust us—putting your money into improving your room’s acoustics will pay off much more than buying another piece of gear or plugin.
We get it—the excitement of new equipment is real, and it can boost your confidence. But if your room isn’t properly treated, even the best hardware won’t reach its full potential. Imagine dropping $1000 on studio monitors and setting them up in a bare, untreated room. You might think you made a bad choice, when the real problem is the room itself.
We believe this is one of the easiest DIY diffusers you can make, and it will make a noticeable difference in your room’s sound. If you have any other methods or tips for basic acoustic treatment using diffusers, please share them in the comments below. We wish you an easy project and a great result!

