DIY Microphone Pop Filter
Introduction
Almost every photo you see of a voice actor in a studio shows them using a pop filter. But just because pop filters are everywhere, does that mean you absolutely need one? Are there ways to position yourself with the microphone to get the same effect? We don’t think so. The best way to eliminate sibilance and popping sounds from consonants is by using a pop filter. While there are ways to reduce these noises, a pop filter is the most effective way to eliminate them completely.
When it comes to recording at home, you’ll probably find it’s not as easy as your favorite podcast hosts and artists make it seem. To save money on equipment, you can try some do-it-yourself options, including making your own pop filter. In this guide, we’ll explain the benefits of using a pop filter and how you can make one yourself. Pop filters are useful for both vocal recording and podcasting.
Using a pop filter is simple—you don’t need to do anything complicated. Just position it in front of the microphone’s membrane, at least 3 inches away, and find the distance that works best for your voice. That’s all there is to it. With a little DIY effort, you can achieve better-sounding vocals, and in our opinion, it’s definitely worth it. Let’s take a closer look at what a pop filter is.
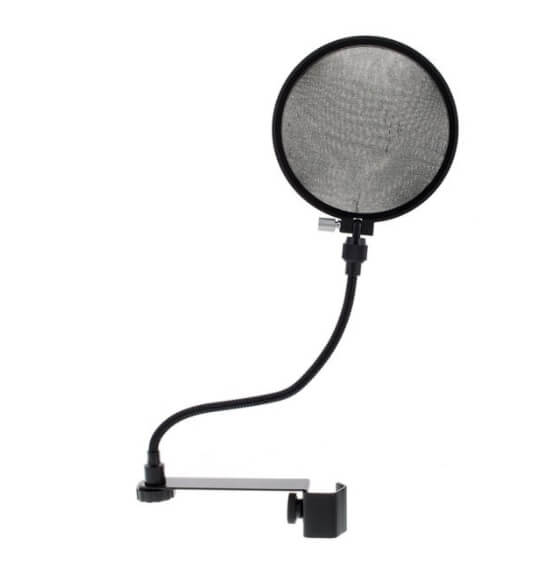
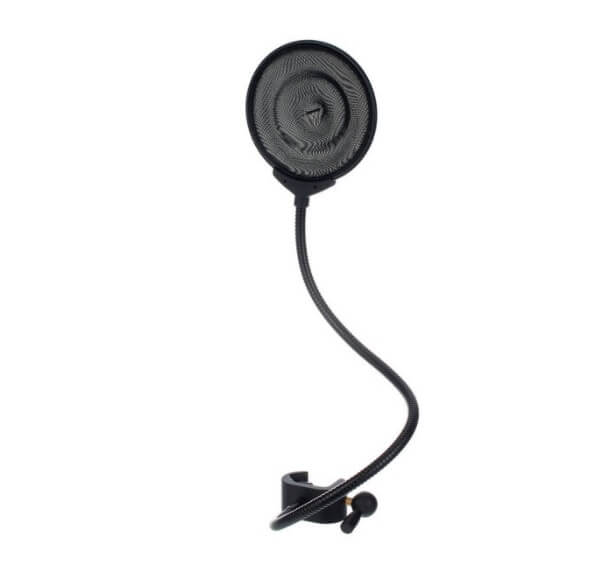
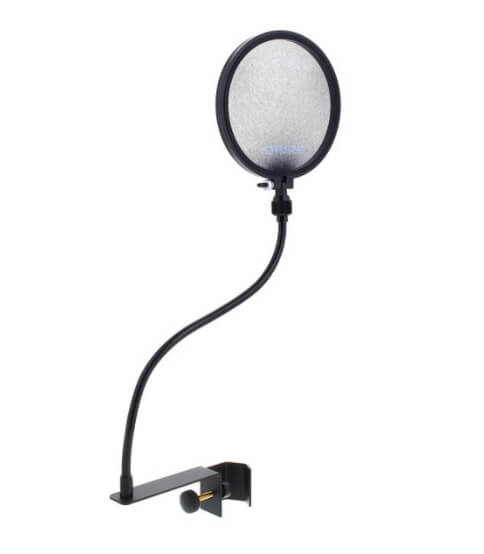
If you’d rather not make one yourself, check out the top 3 pop filter choices from Thomann!
|
|||
|
|||
|
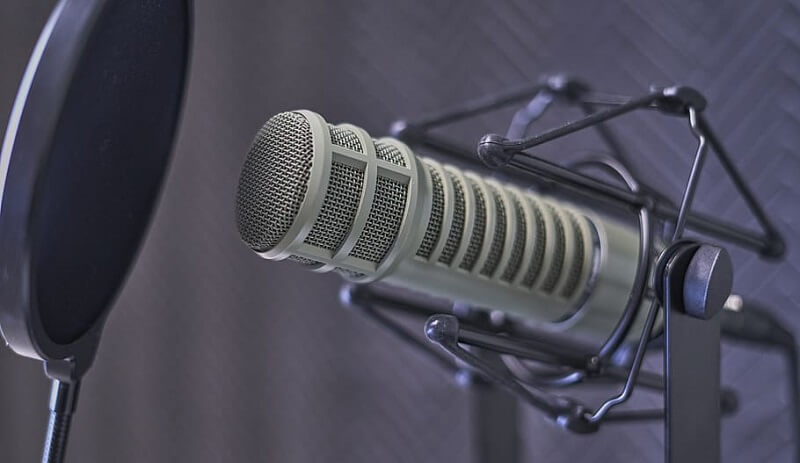
What is Pop Filter?
A pop filter is simply a layer placed between your mouth and the microphone while you’re recording. As the name suggests, it filters out those unwanted ‘pop’ sounds. These pops occur when you talk or sing and a burst of air from your mouth hits the microphone.
With a pop filter between your mouth and the microphone, this impact is reduced or even eliminated. Physically, a pop filter is a thin membrane stretched inside a round frame. It can come in different shapes, but the most common form is circular.
You might have seen one attached to a microphone stand. It’s large enough to cover the entire microphone and is usually about 6 to 10 inches in diameter.
Pop filters come in a variety of shapes, sizes, and materials, but they all serve the same purpose: to protect the microphone from disruptive gusts of air known as plosives (or p-pops). By diffusing the air before it reaches the microphone capsule, a pop filter removes the distortion and ‘popping’ noises that plosives cause.
Do You Need One?
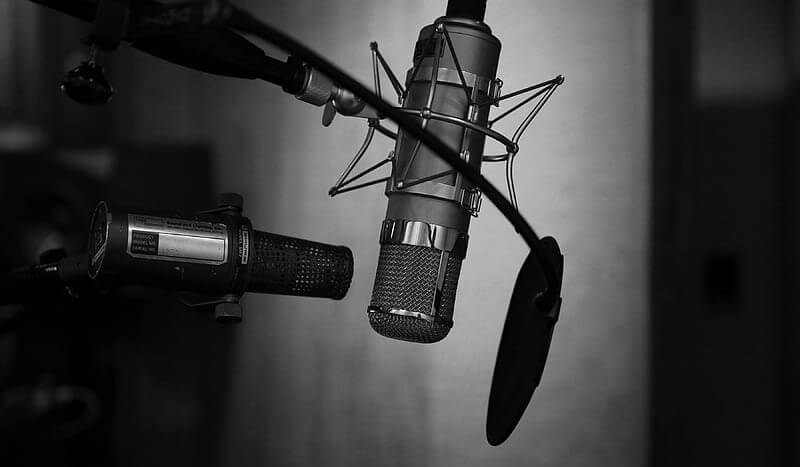
As mentioned above, a pop filter is essential for eliminating those annoying ‘popping’ sounds that can occur when speaking or singing into a microphone. When you talk or sing, the air you exhale can create unwanted noises.
This issue is especially noticeable with words that start with letters like ‘P,’ ‘B,’ and sometimes ‘F.’ When you say these words, the burst of air from your mouth can hit the microphone and cause a popping sound. A pop filter helps block this from happening.
Whether you’re singing or recording voiceovers, you want your sound to be as clear as possible. While much of this comes down to the microphone itself, even high-end models can’t avoid the problem of popping sounds.
In fact, larger, high-quality microphones are often even more sensitive because they pick up the smallest changes in air movement. That’s why a pop filter is so important—it absorbs the force of your breath, so your microphone captures only the sound you want.
Another benefit of a pop filter is that it can catch any saliva from your mouth, which helps protect and extend the life of your microphone.
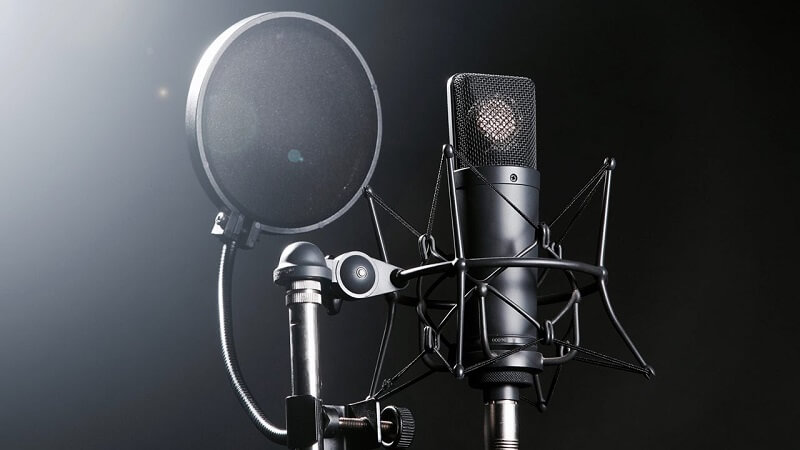
How far should the Pop Filter be?
How far you place your pop filter really depends on how much energy you or your artist will bring to the recording. The farther the pop filter is from the microphone, the less likely you’ll get those unwanted pops.
However, more distance means you’ll need to turn up your microphone gain, which can also increase room noise.
So, think of it this way: for louder, more energetic singing, the pop filter should be about a hand’s width from the microphone. If you’re recording softer, more intimate vocals, you can set the pop filter about two to three fingers away from the mic.
This is just the general rule of thumb we use when recording for ourselves or for others.
The key is to experiment and find the distance that works best for your room and for the vocals in your mix. Get familiar with the style and type of vocals you’ll be recording. That way, you’ll make the right call on how far to place the pop filter from the mic and from the singer’s mouth.
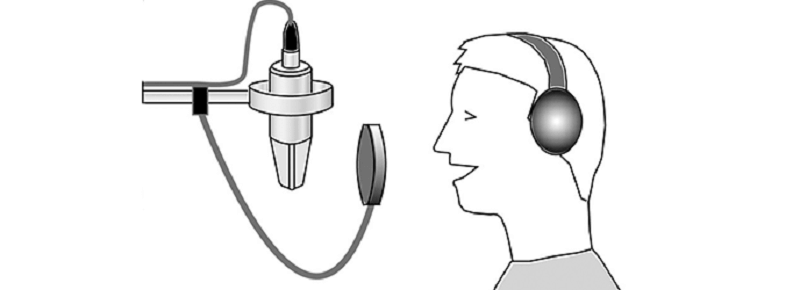
3 DIY Ways to Make a Pop Filter
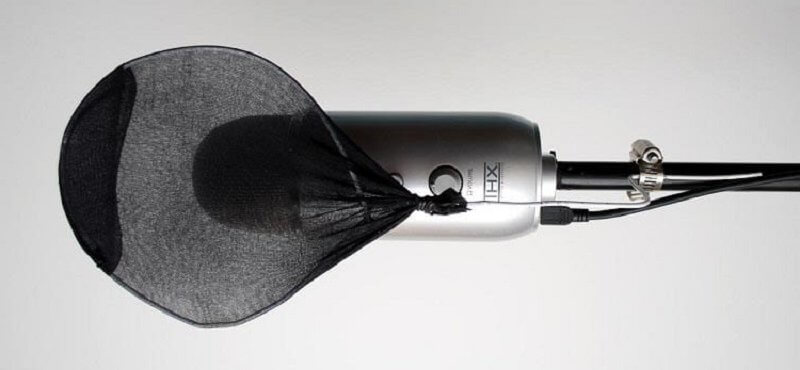
1# Coat Hanger Wire Pop Filter
- Take a wire coat hanger and bend it into a circle. Then, pull the sides of the circle outward so that it forms more of a square shape.
- Next, pull on the flat sides of the shape to make it more circular again.
- Find an old pair of pantyhose and stretch them over the coat hanger circle. Gather any extra slack around the hook of the hanger. Pull the pantyhose as tight as you can.
- You have now created a pop filter. Place it directly in front of your microphone. Make sure the filter does not actually touch the microphone.
How do you secure the pop filter in place?
- Straighten out the hook of the wire hanger and bend it into a large curve. Secure the tip of the wire to the microphone stand using tape.
- Attach the tip of the wire to the mic stand with a clamp holder.
- Get a second microphone stand and attach the pop filter to it. Then position the filter as needed.
- Adjust the position of the filter to suit the type of microphone you are using. Some microphones receive sound from the top, while others do so from the side.
2# Embroidery Hoop Pop Filter
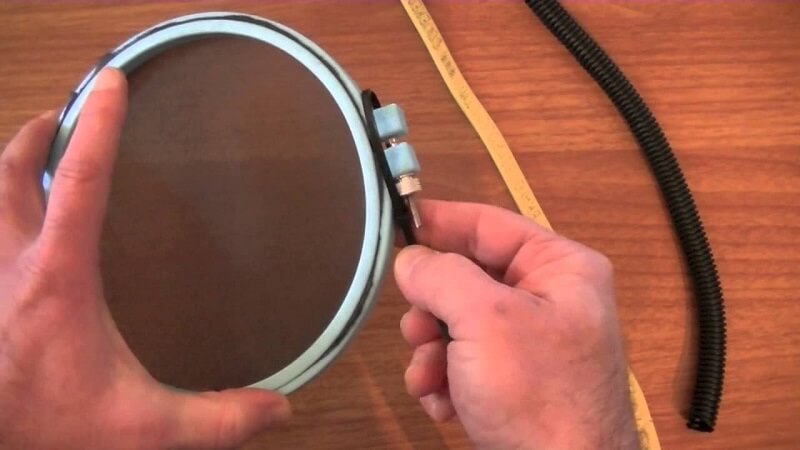
- Take a pair of nylon pantyhose and cut off one leg at the base. Then, cut straight across the toe area, keeping as much material as possible to create a long nylon tube.
- Slide your hand inside the stocking and gently stretch the fabric. Next, cut the stocking lengthwise by running your scissors along the inside, making a straight line from one end to the other.
- Fold the nylon sheet in half to form a square with two layers. Stretch the nylon so it covers the embroidery hoop.
- Loosen the embroidery hoop and pull the nylon material across until it is nice and tight (it may help to ask someone to hold the hoop while you keep the fabric taut).
- Place the outer embroidery ring over the inner ring and tighten the screw to secure them together.
- Trim away any extra nylon around the edge of the pop filter.
- Lay the filter on a table with the rough side facing up. Use 1-2 zip ties to firmly attach a wire to the clamp on the embroidery hoop.
The correct way to fix it in front of your microphone:
- Attach the hose clamp to your microphone stand or boom arm, making sure it’s positioned close enough to fully cover the microphone.
- Run the underside of the wire between the clamp and the microphone stand, then use a screwdriver to tighten the clamp until it feels secure.
- Optional: For a more polished look, slide a length of colored split loom conduit tube over the wire, starting at one end and working to the other. Trim it to fit as needed.
- Adjust the pop filter by bending the flexible wire extension into place.
#3 Plastic Cap Pop Filter
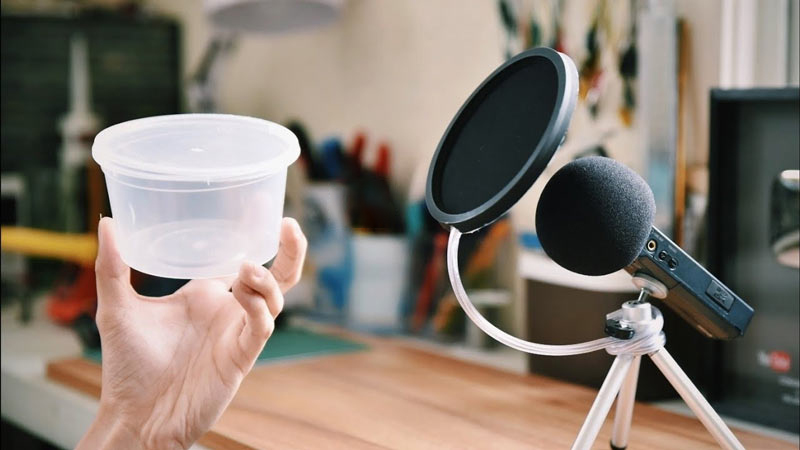
- Take a cup from a plastic container, preferably one that is circular or large enough to cover the front of your microphone.
- Cut out the inside of the plastic cup, leaving only the thicker outer ring that can clamp onto the container.
- Cover the plastic ring with pantyhose. If one layer is too thin, twist the end and add another layer for extra coverage. This will give you two layers of material, which should work better for this purpose.
- Use a bendy wire to secure the materials in place so they don’t come apart when you handle them. Try using some sturdy clamps to hold everything together, and you should be all set.
Attaching the pop filter to the microphone stand:
- Use a wire to attach the homemade pop filter to the microphone stand.
- Since the pop filter is lightweight, you can also secure it with tape.
- For greater stability, consider attaching it at two points, ideally using a clamp. This way, you’ll be able to easily adjust the wire and reposition the pop filter as needed without any problems.
Conclusion
Pop filters are a useful addition to any podcasting setup, as they help reduce distracting distortion caused by plosive sounds. While there are plenty of store-bought pop filter options, there are also several easy and affordable ways to make your own.
Eliminating unwanted sounds from your recordings is simple with the right pop filter. There are dozens of options available, including microphones with built-in pop protection.
There are also some simple DIY methods that are perfect for beginners. Our guide covers a few of these techniques and shows you how to create a custom pop filter.
If you have any other suggestions for DIY pop filter methods, please let us know—we’d love to update our guide with your ideas. Thanks for joining us for this article!

